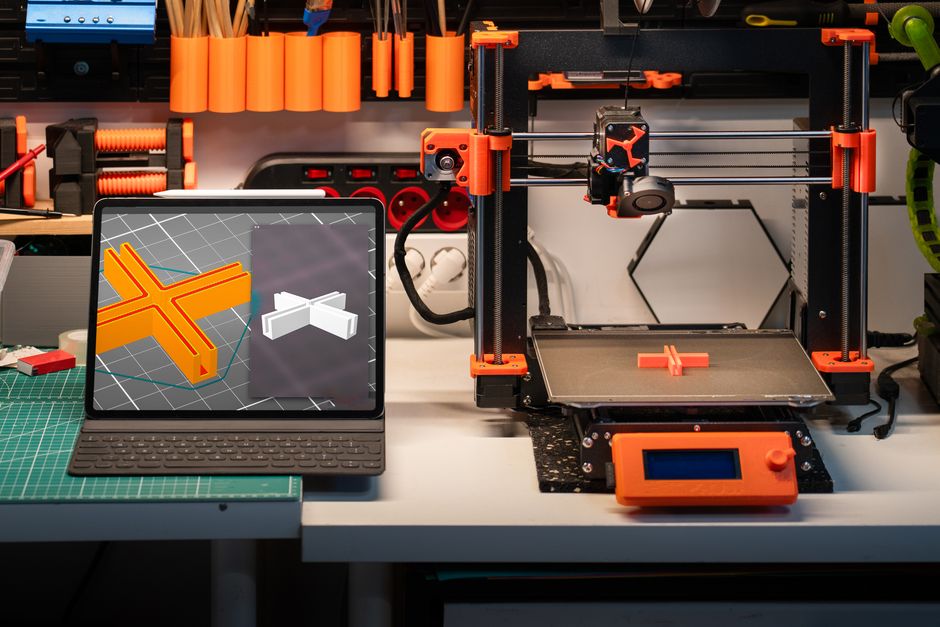

Functional parts live or die by layer bonding, dimensional accuracy, and whether you can print them reliably. On an FDM printer, the nozzle diameter you choose directly affects all three—because it changes the width and shape of every extruded line, which then changes how well layers fuse and how much detail your print can capture.
This guide breaks down what happens with 0.2 mm, 0.4 mm, and 0.6 mm nozzles so you can pick the best option for things like brackets, housings, mounts, and snap-fit style features, along with practical slicer guidance for each.
How Nozzle Diameter Changes Functional Print Results

-
Strength and bonding: Functional strength depends heavily on perimeter quality (number of walls, overlap between lines, and consistent extrusion). Smaller nozzles produce narrower lines and typically push you toward thinner layers. That can improve precision, but it also means you need good flow calibration and enough perimeters to avoid weak, under-bonded walls. Larger nozzles lay down wider lines, which can improve material economy per minute and often gives robust walls—assuming you maintain correct line width and don’t overheat or under-cool.
-
Surface finish: Smaller nozzles generally produce smoother curved surfaces and sharper edges because the line width is smaller and the printer can place material more precisely in Z and XY. Larger nozzles show more “stair-stepping” on curves and can round off small features more noticeably.
-
Speed and consistency: Larger nozzles usually tolerate higher volumetric flow better, so you can print faster while still keeping extrusion stable. Smaller nozzles tend to be more sensitive to speed changes, temperature fluctuations, and minor partial clogs.
-
Dimensional accuracy and tolerances: If your functional part needs tight fitment (pins in holes, sliding guides, threaded inserts, snap hooks), the nozzle choice changes how cleanly those features are formed. Smaller nozzles help with fine geometry, but accuracy still depends on calibration (flow/extrusion multiplier, temperature, and compensation settings in the slicer).
-
Typical slicer behavior: Most slicers scale line width and layer height relative to nozzle diameter. If you swap nozzles without revisiting these settings, you can end up with gaps, over-extrusion bulges, or walls that don’t fuse properly.
0.2 mm Nozzles for Fine Features and Tight Tolerances
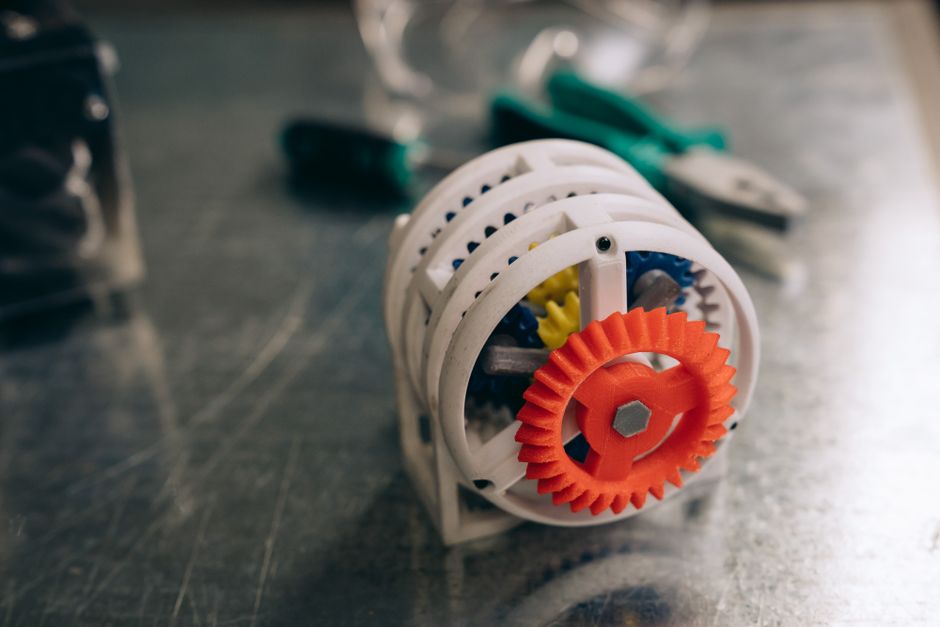
Strengths
With a smaller nozzle, you can typically run smaller layer heights and narrower line widths, which helps the printer place material more precisely. That precision can translate into better mating surfaces and less “mush” around edges—especially when you’re printing features that must flex or slide.
0.2 mm also tends to shine on parts that include lots of corners and small radii, because each line is thinner, so the shape doesn’t “round off” as much.
Weaknesses
The trade-off is throughput and reliability. A 0.2 mm nozzle generally prints slower for the same quality level, because the system needs to extrude small amounts consistently. If you push speed without tuning, you’re more likely to see under-extrusion, rough surfaces, or weak-looking perimeters.
Also, because the nozzle is smaller, it’s less forgiving with imperfect filament handling and debris. If you plan to print abrasive or contaminated materials, 0.2 mm can become a frequent maintenance point.
Practical guidance for functional prints: plan on using enough perimeters to build real wall thickness, not just “more infill.” If you need a hole to be accurate, tune hole compensation and consider a calibration test so your slicer’s assumptions match your actual extrusion.
0.4 mm Nozzles for Most Functional Parts
A 0.4 mm nozzle is the usual sweet spot for functional FDM printing because it balances detail, strength, and speed. If you print a mix of brackets, adapters, mounts, enclosures, and everyday mechanical accessories, this is often the simplest choice.
Strengths
A 0.4 mm nozzle produces line widths that are large enough to create strong, continuous perimeters at practical speeds. It also gives you enough surface definition for many functional use-cases without the time penalties of 0.2 mm.
For slicer settings, 0.4 mm commonly pairs with medium layer heights (often around the range most profiles use for “detail” to “standard”) and line widths near the nozzle size. That means you can usually rely on mainstream slicer defaults as a starting point—then fine-tune with a calibration print.
Weaknesses
The main downside is that very small features can still look a bit less crisp than you’d get with 0.2 mm. Small holes, thin walls, and micro-geometry may require careful tuning, and you may need to slow down for best results.
If you rely on tight sliding fits or snap components, 0.4 mm can still deliver strong functional parts—but expect to iterate: adjust hole size/clearance and check how your first layers behave.
For reliability, make sure your functional parts are not only “filled,” but built in walls: use multiple perimeters and keep extrusion consistent. Infill strength matters, but perimeters usually do the heavy lifting in bending, mounting loads, and impacts.
0.6 mm Nozzles for Speed and Bulk Strength
A 0.6 mm nozzle is ideal when your functional goal is fast production and robust bulk: thicker brackets, clamps, larger housings, stiff structural parts, and anything where surface detail is secondary to durability.
Strengths
A larger nozzle lays down wider lines, which can make perimeters feel more “substantial” and often helps maintain printing stability when you increase speed. If you’re printing larger parts with fewer fine features, 0.6 mm can be a great way to reduce build time while keeping walls strong.
In slicers, 0.6 mm setups often support moderate-to-larger layer heights, which reduces total layer count and can improve mechanical consistency because you’re spending less time starting and stopping between layers.
Weaknesses
The limitation is detail. Curves may look chunkier, small holes can get blunter, and thin features can be harder to model and print reliably. If your part needs precision fitment (like a snug pin joint), 0.6 mm may require more careful clearance tuning—and sometimes additional design adjustments.
Larger nozzles can also amplify problems if flow calibration is off. Over-extrusion can make corners bulge and reduce dimensional accuracy, while under-extrusion can create weak, porous walls that don’t bond well.
Practical guidance: when printing with 0.6 mm, prioritize consistent cooling and extrusion stability. For mechanical parts, keep perimeters as the backbone, and match infill style to how the load will travel through the part.
How to Pick Between 0.2, 0.4, and 0.6
The “best” nozzle size is the one that matches your functional priorities. Use these rules to decide without guessing:
- Choose 0.2 mm if your functional part needs tight tolerance features (small holes, accurate pins, thin snap elements, fine radii) and you’re willing to slow down for precision.
- Choose 0.4 mm if you want the most reliable balance for everyday functional prints (strong walls, good surface quality, practical speed) and you don’t want to re-tune everything every time you swap parts.
- Choose 0.6 mm if your functional part is large or heavy-loaded and you want faster builds with thick, durable walls, and you can relax precision requirements on small features.
No matter which nozzle you pick, the biggest determinant of functional performance is how well your slicer settings match your real printer behavior. Start by printing a small calibration piece for dimensional accuracy (single-wall and multi-wall sections), then validate the key feature—like a hole diameter or snap-fit engagement length—before committing to the full part.
If you only change one thing when you switch nozzle sizes, change it knowingly: adjust layer height and line width together, then re-check flow/extrusion calibration. That single step prevents most “my parts got weaker/rougher after a nozzle swap” problems and keeps your functional prints strong, consistent, and repeatable.
PriceIt3D may earn a commission when you buy through links on this page, at no extra cost to you. Affiliate notice.