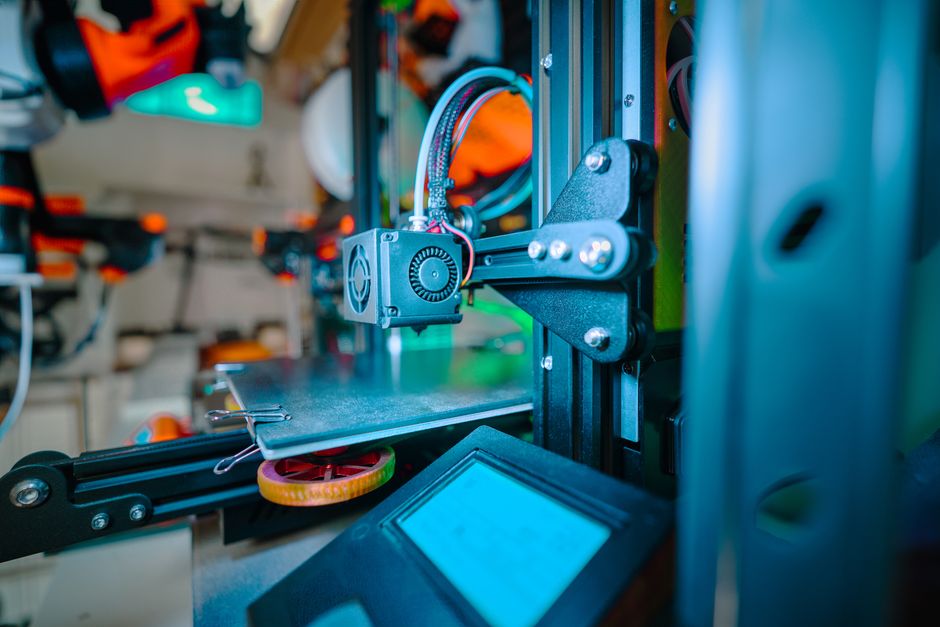
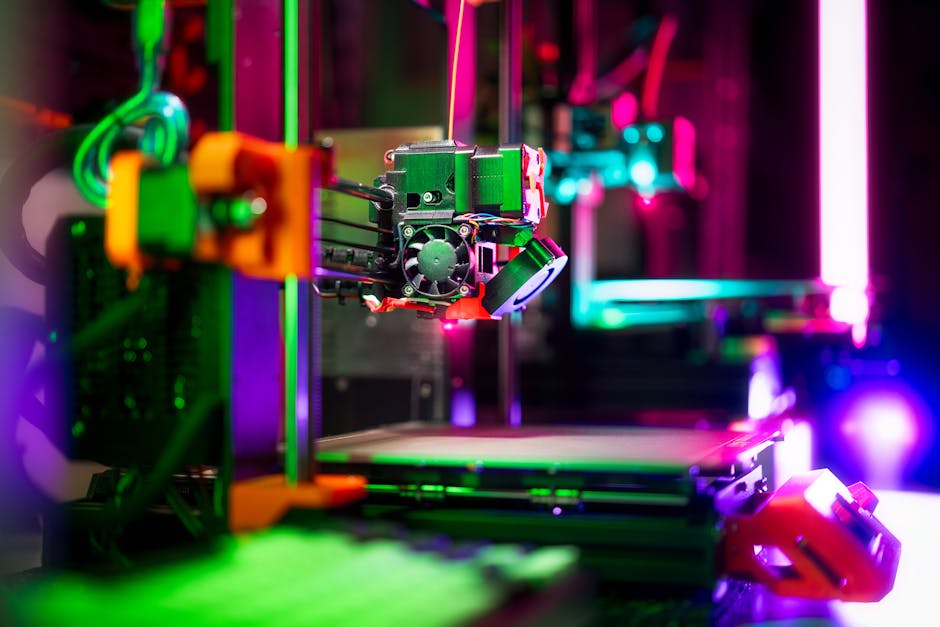
A smaller nozzle can make tiny details look sharp enough to read from across the room. The catch: you also reduce your margin for error, so the nozzle diameter and your slicer settings have to match.
This guide breaks down the best nozzle sizes for miniatures, text, and cosplay parts, then explains what to change in your slicer—line width, layer height, speed, and wall strategy—so you get crisp edges while keeping clogs and blobs under control.
Choose the Nozzle Diameter for Small Details

- Your line width (the amount of plastic laid down per pass) should scale with your nozzle size. If you push too wide, tiny features merge; if you push too narrow, extrusion gets inconsistent and clogs become more likely.
- Your layer height needs to be small enough to approximate curved surfaces and angled edges without visible steps.
- Speed matters more than most people expect. High speeds don’t just reduce quality—they can also stress extrusion consistency, especially with smaller nozzles.
- Walls/perimeters control how much plastic is reserved for the outer contour. For detail work, thicker/stronger outlines help keep letters, panel lines, and sculpted edges from “filling in.”
A simple rule: use the biggest nozzle that can still resolve your smallest required feature. That’s how you get detail without constant troubleshooting.
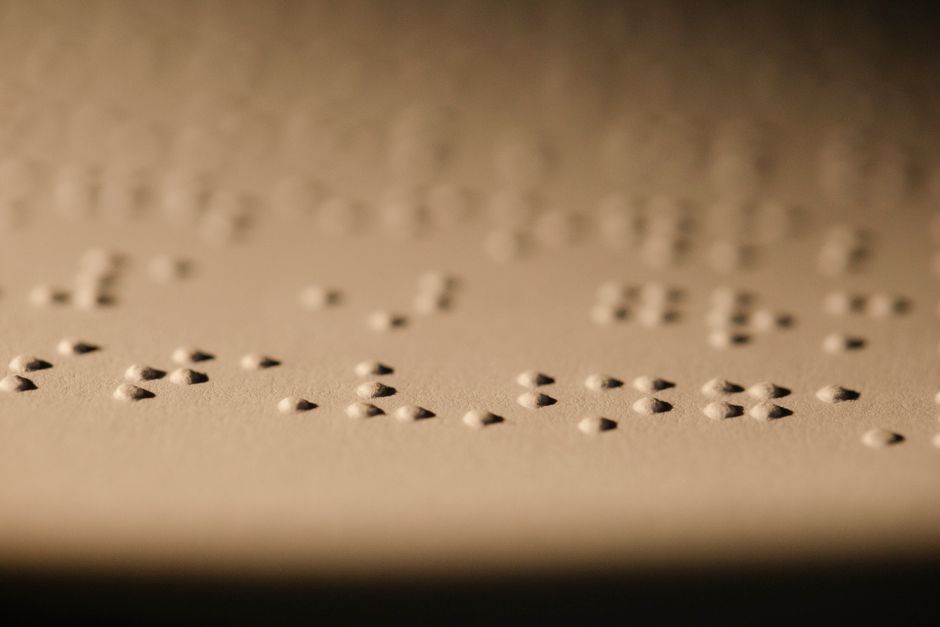
0.25 mm Nozzle for Fine Miniatures and Micro-Text
Typical slicer pairing:
- Line width: set it slightly below the nozzle diameter (often around 90–110% of nozzle size). Too close to the nozzle size can increase clog risk; too small can cause thin, fragile extrusion.
- Layer height: keep it low—roughly 0.5× the nozzle diameter or a bit more. That helps angled surfaces look smoother and letters read cleaner.
- Speed: slow down for both quality and consistency. For detailed outer walls and text, expect modest speeds (think “quiet, careful printing,” not fast production).
- Wall strategy: increase perimeters so the silhouette is drawn by multiple passes instead of a single thin outline. Use enough walls that letters and engravings keep their edges instead of rounding off.
Why this helps: smaller line widths and thinner layers reduce the “minimum feature size,” so you can resolve narrow strokes and sharp corners. Why it clogs: less filament has to flow through the nozzle, so any variation in filament diameter, partial blockage, or slightly overheated extrusion path shows up as under-extrusion, blobbing, or failed details.
Practical tips to keep it reliable:
- Dry filament and keep it consistent. Even high-quality PLA can become finicky if it’s damp, and small nozzles punish inconsistency.
- Watch your text thickness: aim for letter strokes that are at least a couple of line widths wide. If your strokes are thinner than your line width, slicers may still “create” the geometry, but real extrusion won’t survive the transition.
0.3 mm Nozzle for Crisp Edges Without Constant Tinkering
If you want “miniature-grade detail” without feeling like you’re babysitting the printer, 0.3 mm is often the sweet spot.
Typical slicer pairing:
- Line width: set line width to match the nozzle size proportionally (again, around the same ballpark as nozzle diameter, slightly adjusted). This keeps strokes and panel lines consistent.
- Layer height: choose a fine layer height that’s still practical—often about half the nozzle diameter. You’ll get cleaner curves than larger nozzles without turning every print into a multi-day project.
- Speed: lower your outer-wall speed compared to general printing. Inner infill can be faster if your slicer allows separate speed controls, but outer contours and small letters should stay conservative.
- Wall strategy: use multiple perimeters (not just “one wall and hope”). For cosplay armor edges and raised details, more perimeters improve edge sharpness and reduce the risk of corners rounding.
Why this helps: 0.3 mm keeps the detail advantage of smaller nozzles, but it tolerates small variations in extrusion better than 0.25 mm. That translates to fewer “almost printed” letters and fewer partial clog events.
For text and engraved details specifically:
- Prefer fonts designed for 3D printing (thicker strokes, fewer hairlines).
- Keep minimum stroke width in mind: set expectations based on line width. If the stroke is only barely thicker than one pass, it may break up when the nozzle turns corners.
If you’re using a filament known for steady extrusion and clean surfaces, a consistent material diameter helps smaller nozzles behave. For example, 3DLabPrint PolyLight 1.0 LW-PLA 1kg 1.75mm Orange is a PLA option that can work well for crisp cosmetic detail when kept dry.
0.4 mm Nozzle for Text, Armor Panels, and Most Standard Detail
0.4 mm is the most common “default” nozzle size for a reason: it’s easier to run, easier to recover from, and still capable of impressive detail with the right settings.
Typical slicer pairing:
- Line width: set line width slightly under the nozzle diameter to help keep fine features sharp while avoiding over-extrusion. This helps letters stay readable instead of swelling.
- Layer height: choose a fine layer height for detail work, typically around half the nozzle diameter.
- Speed: slow down for outer walls, especially when printing text, trim lines, and panel seams. You can often keep infill and internal regions faster if you separate outer/inner speed in your slicer.
- Wall strategy: use enough perimeters to get crisp contours and strong embossed/recessed details. If you’re printing engraved lines, too few walls can make them fill in as the nozzle deposits around the feature.
Why this helps: the flow rate is more forgiving, so it’s easier to maintain continuous extrusion during small direction changes. For many cosplay parts—raised symbols, surface texture, buckles, and panel lines—0.4 mm is the practical balance between sharpness and reliability.
When 0.4 mm may not be enough:
- Ultra-small micro-text and tiny miniature facial features can look mushy because the smallest resolvable stroke is limited by your line width.
- Very shallow engraved recesses can blur if the slicer can’t carve enough contrast at your chosen layer height.
0.6 mm Nozzle for Chunkier Cosplay Features and Faster Iteration
A 0.6 mm nozzle is best when the details are large enough to survive thicker lines—cosplay armor plates, big raised lettering, thick decorative trims, and structural parts that still need recognizable surface features.
Typical slicer pairing:
- Line width: set line width proportionally to the nozzle diameter, but keep it controlled. Thicker line widths can make small text look rounded or “blocky.”
- Layer height: choose a layer height that doesn’t exaggerate steps on curved surfaces. Smaller layer heights are possible, but if you go too fine you lose the speed advantage.
- Speed: you can often run faster than with 0.25/0.3 mm, but don’t ignore outer wall speed. Outer contour quality still depends on consistent extrusion.
- Wall strategy: use more perimeters if you need sharper silhouettes. With a larger nozzle, perimeters become even more important because a single thick contour pass can round off edges.
Why this helps: faster printing and easier extrusion reduce clog risk and make iteration simpler. Why it limits you: the effective “pixel size” of the print grows with the nozzle and line width, so miniature-grade details won’t look as crisp.
Quick Picking Guide for Miniatures, Text, and Cosplay
Match your smallest feature to the nozzle option that can reproduce it with confidence.
- Choose 0.25 mm when your primary goal is micro-text, very small miniatures, and fine engraved lines, and you’re ready to print slower and manage consistency.
- Choose 0.3 mm when you want high detail with fewer headaches—especially if you’re printing lots of parts or doing character commissions.
- Choose 0.4 mm when you’re balancing crisp readable text, cosplay surface details, and day-to-day reliability. It’s usually the best “default” for detailed props.
- Choose 0.6 mm when your cosplay features are chunkier and you want faster iteration with strong external contours.
No matter which diameter you pick, keep one workflow habit: tune your line width and layer height together, then slow your outer walls and increase perimeters for the parts of the model that must look sharp. That combination is what turns “small nozzle” into genuinely crisp miniatures, readable text, and clean cosplay detail—without turning every print into a clog-finding mission.
PriceIt3D may earn a commission when you buy through links on this page, at no extra cost to you. Affiliate notice.