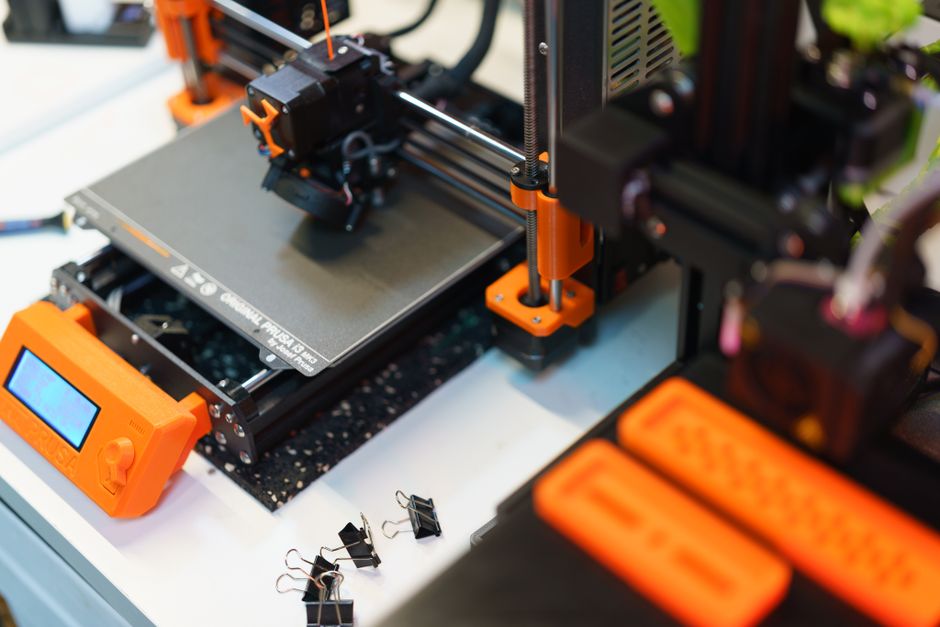
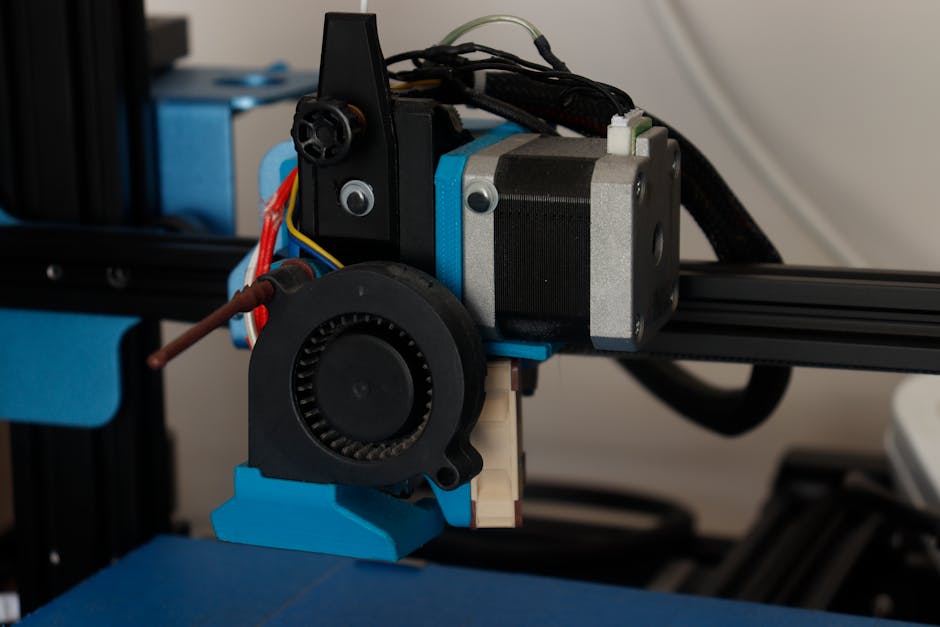
Good bridges and clean overhangs don’t come from luck. They come from getting one workflow right: cooling that’s timed to the toolpath, consistent extrusion, and speeds/layering that match how molten plastic transitions into solid shape.
This guide walks you through the end-to-end slicer workflow you can apply to almost any FDM setup—so you can tune both bridging and overhangs systematically, not randomly.
Start With a Baseline Profile

Use the same filament, the same nozzle, and the same general temperature range your filament manufacturer recommends. Then slice one simple part that shows both bridges and overhangs so you can see improvements (or new problems) immediately.
Follow this order for the fastest path to results:
- Set a baseline profile and disable surprises. Start from one known-good profile, confirm layer height, nozzle size, and retraction settings are sensible, and keep modifiers off until you’re ready to tune overhang behavior.
- Dial in cooling strategy first (fan speed curve timing). Make sure your fan can respond during the time the toolhead is drawing unsupported spans or printing outward over empty space.
- Tune speeds next, especially overhang and bridge speeds. Lower speeds when you need the bead to hold position instead of stretching/sagging, and avoid “faster is better” for unsupported geometry.
- Choose layer height and extrusion consistency that support bridging/overhangs. Smaller layers can improve droplet control, while overly tall layers can turn overhangs into sagging ramps.
- Adjust wall order to control how the outer contour freezes. If your slicer offers options like outer-first vs inner-first, test which order leaves the outer line with the most stable support at the moment it lands.
- Use fan control for overhangs/bridges specifically. If you have conditional fan settings (often “fan on overhangs,” “fan for bridges,” or variable fan), enable them and tune them so the fan ramp matches the unsupported segments.
- Validate with a test cube and iterate one variable at a time. Print a bridging/overhang test cube, measure the failure modes (sagging, drooping corners, stringing, gaps), and repeat with a single change.
That sequence matters because cooling and speed interact: a more aggressive speed can “undo” the cooling benefit, while better cooling can hide flow issues—until you switch to a different geometry like a bridge.
Tune Cooling Before You Touch Speeds

If you’re experimenting with different materials, you’ll see this immediately. For example, a PLA filament like often bridges more predictably because it freezes relatively fast, while PETG like typically needs careful timing to avoid sagging and strings.
Here’s what to check in your slicer’s cooling section:
- Fan minimum vs maximum. If your fan has a minimum speed, confirm it’s high enough for the unsupported segments you care about. If the fan starts too low, overhangs can droop before the ramp helps.
- Fan ramp behavior. Many slicers allow a ramp time or a delay. Unsupported extrusion happens quickly—long delays can cause the first part of a bridge to fail even if the fan later looks “strong enough.”
- Separate cooling for print phases. If you have settings for “all layers,” “first layers,” or “other,” ensure your overhang/bridge layers aren’t being forced into a different cooling mode.
Practical cooling symptoms and what they usually mean:
- Bridges thicken in the middle or droop downward: cooling is likely late/insufficient for the start of the bridge.
- Overhangs curl at the edges: the bead may be staying too soft while it cools.
- Overhangs look brittle or rough: cooling may be too aggressive for the extrusion temperature/flow balance, causing rapid solidification before the line settles.
Don’t crank fan to the maximum blindly. Instead, tune the behavior so unsupported segments cool during the exact moments the tool is not supported.
Dial in Speed, Layer Height, and Extrusion
Once cooling is behaving, speed and layering control how much molten plastic you’re asking the printer to “hold in place.”
Speeds that matter most
Bridge and overhangs usually react badly to two speed mistakes:
- Bridges too fast: the strand can’t deposit consistently, so it stretches and sags.
- Overhang travel too fast while laying outer walls: you get poor adhesion at the edge and visible sagging/curl.
If your slicer has dedicated settings (names vary), prioritize:
- Bridge speed (and sometimes bridge flow): reduce bridge speed until bridges stay level.
- Overhang speed (or “outer wall speed” on overhangs): reduce this so outer lines have time to bond and freeze.
- Top/bottom and perimeter speeds: if you change these globally, you’ll affect more than bridges/overhangs—so keep changes targeted.
Layer height and “control volume”
Layer height affects how thick the extruded bead is and how quickly it can solidify into a controlled shape.
If overhangs show:
- Large droop with smooth curves: the layer is often too tall for stable edge control.
- Gaps and poor corner definition: layer height may be fine, but flow/extrusion consistency could be off.
A good approach is to keep the layer height modest and consistent with your nozzle diameter, then adjust by small increments while watching how corners and underside surfaces look.
Extrusion consistency (flow/width)
Bridging and overhangs punish inconsistent extrusion. Two slicer-level causes you can often fix:
- Extrusion multiplier/flow: if it’s too high, bridges become heavy and droop; if it’s too low, they thin out and can break.
- Line width / wall thickness assumptions: incorrect line width can make the bead too wide (overfills and sags) or too narrow (doesn’t bond and then curls).
Your goal is not “perfect looking at first try.” Your goal is repeatable toolpath-to-toolpath deposition so bridging/overhang behavior stays stable while you adjust cooling and speed.
Set Wall Order and Manage Overhang Paths
Wall order controls the sequence of inner vs outer contours. That sequence affects what the outermost lines land on and how quickly the surface under them is cooling.
Depending on your slicer, you may see options like:
- Outer before inner
- Inner before outer
- Seam placement and perimeter order
Why this matters for overhangs:
- The outer contour is often where the unsupported edge defines success or failure.
- If the outer contour prints while the prior geometry is still too soft (or not supported correctly), you’ll see sagging corners or rounded underside edges.
- If the outer contour prints after the supporting structure has cooled and stabilized, edges can hold straighter.
A practical way to tune wall order:
- If outer corners droop, test the alternative order so the outer line has better support at deposition time.
- If inner walls look fine but outer surfaces show gaps, wall order is often part of the story—especially when overhangs are steep or combined with thin walls.
Also check path behavior around overhangs:
- Combing and travel settings: stringing during unsupported segments can mask as “overhang failure,” even when adhesion is okay.
- Retraction behavior: bridging can be sensitive to excessive retraction, which can break the strand continuity. If your slicer offers special handling for bridges, use it.
Wall order won’t fix a fundamentally cold or inconsistent bridge, but it can make the tuned cooling and speed actually “stick” to the outer geometry.
Verify With a Test Cube Calibration
A test cube is the fastest way to see what’s wrong, because it reveals multiple failure modes on one print.
Look for a cube that includes:
- Bridging spans (simple over-gap lines)
- Overhang angles (a range so you can find the threshold where droop starts)
- Vertical surfaces and corners (so you can tell sag vs adhesion issues)
When you print and evaluate:
- Bridges: check droop amount, surface roughness, and whether the start/end of the bridge looks weaker.
- Overhangs: identify the angle where the edge begins to curl or sag. That tells you whether the limiting factor is cooling timing, speed, or extrusion.
- Stringing: if your “overhang looks bad” but the underside is actually attached, stringing/retraction might be the main culprit.
Then iterate using the rule that speeds up results:
- Change one thing at a time—cooling behavior, then speed, then layer height/flow/wall order.
- Keep notes on what improved and what got worse. Unsupported geometry can improve while stringing gets worse, and vice versa.
This is also where you confirm that your fan control is really applied to bridges/overhangs. If your slicer uses conditional fan triggers, make sure the trigger actually activates on the unsupported segments in your test.
A good working target is consistency: bridges that stay mostly level across repeats, and overhangs that progress smoothly across angles without sudden collapse.
The best setup for you depends on what fails most. If bridges droop first, prioritize bridge-specific cooling timing and bridge speed. If overhangs curl at the edges, prioritize overhang fan control and overhang speed, then verify layer height and wall order. If both fail, follow the tuning order above so you don’t end up chasing your tail with speed and fan at the same time.
PriceIt3D may earn a commission when you buy through links on this page, at no extra cost to you. Affiliate notice.