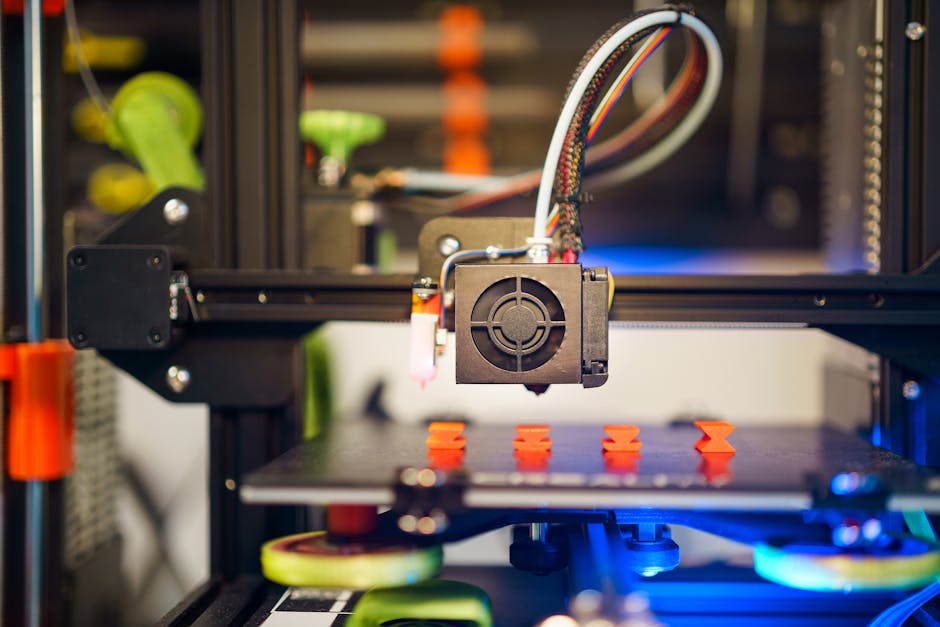
Uneven first layers on an Ender 3 are rarely random. They’re usually repeatable leveling failures, and each failure points to a different cause—probe offset, a warped bed, bad mesh quality, or Z-axis problems. Below is a practical way to troubleshoot those causes and understand when Creality Ender 3 V2 style auto-probe leveling (CR Touch / BLTouch) is the best fit versus stock manual leveling with springs.
Start with the symptom: which leveling failure you’re seeing

- One side is always too high or too low: often mechanical alignment (Z gantry not square), a warped bed, or a consistent probe mounting issue.
- The whole layer is “far” at some spots and “squished” at others: mesh quality problems or an incorrect probe-to-nozzle offset.
- Prints look fine after leveling, then drift later in the session: Z leadscrew issues, bed/frames moving under load, or thermal effects that your calibration isn’t accounting for.
- You can get a good center, but corners never behave: bed flatness (warping) is likely, and the mesh may not match your actual bed shape.
These patterns matter because each leveling approach fixes different parts of the problem. Manual springs are mostly about getting a correct reference. Probing systems can correct for height variation, but only if the probe and mesh are set up correctly.
Stock springs: when manual leveling is actually the right tool
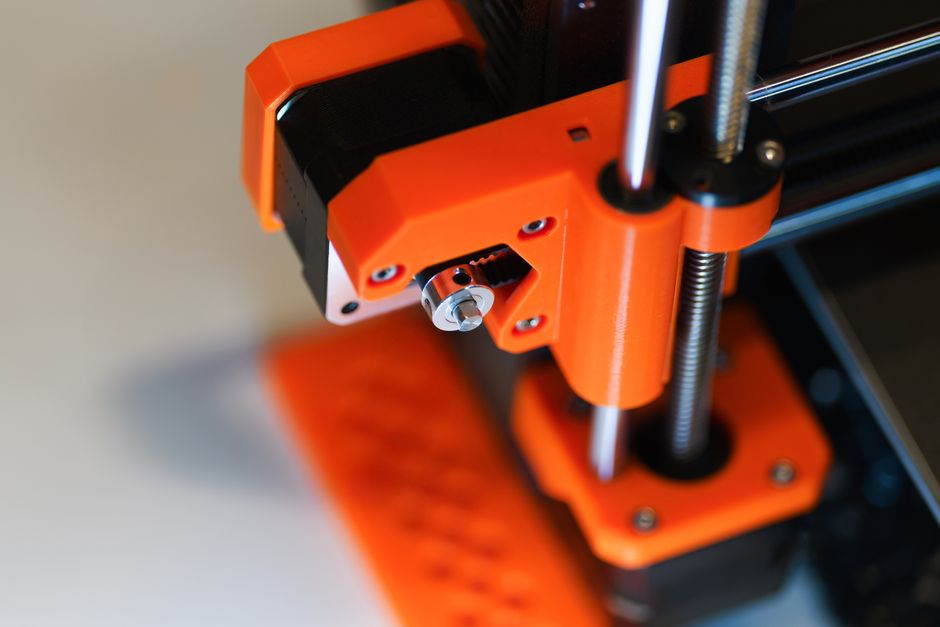
Common spring leveling failure modes:
- You level to the wrong reference: If the nozzle height reference shifts (loose bed screws, inconsistent knob turns, a shaky bed), your “level” isn’t what the first layer uses.
- Bed warps more than you can compensate: If the bed has significant bowing, manual leveling can make the center good while corners remain off.
- Corners and edges are fine on paper, but the first layer says otherwise: That often points to Z-axis binding or an inconsistent nozzle-to-bed gap across the travel.
Best-fit situations for stock springs:
- You’re printing in areas where a small unevenness doesn’t ruin the part (tall parts, low first-layer sensitivity).
- Your bed is fairly consistent and you’re willing to re-check leveling routinely.
- You prefer fewer electronics and calibration steps.
CR Touch vs BLTouch: probe leveling fails for predictable reasons
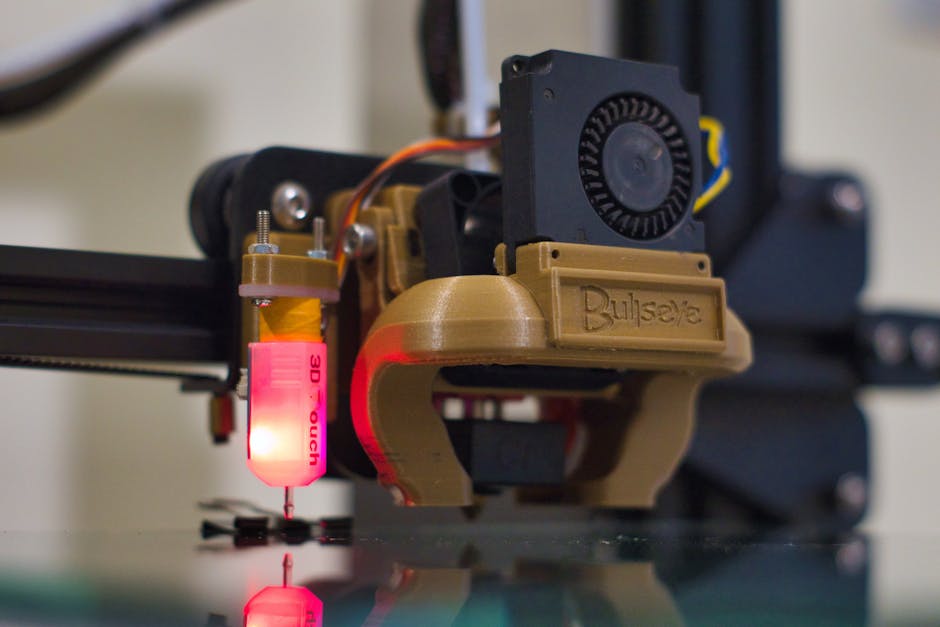
A CR Touch or BLTouch adds an auto-probing step to generate a height map (mesh) and compensate during printing. When it fails, the cause usually falls into four buckets: probe offset, probe repeatability, mounting rigidity, and setup quality.
Probe offset (the #1 auto-leveling mistake)
Auto leveling assumes the probe measures the bed at the correct location relative to the nozzle. If the probe offset is wrong (even slightly), the firmware “corrects” the wrong spot—leading to consistent layer issues.
What it looks like:
- The same regions are always too high/too low after every calibration.
- You can’t “dial it in” with just first-layer height tweaks.
What to check:
- The reported probe offset vs the physical offset (toolhead geometry changes can break assumptions).
- Any part movement between probing and printing (loose probe mount, shifting bracket, cable drag).
Probe mounting and repeatability
A probe that flexes, tilts, or hits the bed inconsistently will produce a messy mesh. A stable mount is critical because the probe needs to touch the bed reliably in the same way each time.
What it looks like:
- Mesh looks inconsistent across repeated runs.
- The printer “chases” the correction during the first layer.
Trigger behavior and wiring
Even when mechanics are good, electrical behavior can cause missed or inconsistent triggers.
What it looks like:
- Sudden calibration changes after firmware/settings changes.
- Auto-probe sometimes stopping short or not triggering as expected.
When probing is the best fit:
- You need more uniform first layers than springs can provide.
- Your bed has mild to moderate warp and you want the printer to compensate with a mesh.
- You’re okay with calibration as an ongoing part of maintenance.
Mesh quality: warped beds are only half the story
Probing helps most when your mesh actually represents the bed you print on. Mesh quality is a combination of coverage, how cleanly probing is done, and the way your firmware uses that map.
Common mesh-related failure modes:
- Too few probe points for the way your bed warps: If your bed has gentle curvature, sparse points may still work. If it has more complex shape, sparse sampling produces a mesh that “misses” the real deviations.
- Poor probing repeatability: Any inconsistency in probe contact (or bed movement during probing) makes the mesh noisy.
- Mesh doesn’t match the print condition: If you calibrate cold but print warm (or with different fan/blower settings), the bed can change shape. The mesh becomes outdated.
How to improve mesh reliability (without overcomplicating things):
- Probe after the printer has reached typical printing temperature.
- Ensure the bed is mechanically stable (no rocking, loose mounts, or shifting).
- Confirm that the mesh visually makes sense (smooth where you expect smooth, and not wildly chaotic).
A key point: if your bed is badly warped, auto leveling can’t fix everything—especially if the compensation would require extreme Z corrections that strain adhesion stability.
Z-axis and first-layer physics: the leveling result still depends on Z
Even perfect leveling data won’t produce a good first layer if the Z motion is inconsistent. Auto-probing corrects bed height, not Z mechanics.
Common Z-related issues that look like leveling problems:
- Gantry not square or Z rails binding: The toolhead may sit higher/lower depending on position.
- Leadscrew backlash or inconsistent motion: The nozzle may move unpredictably during the first-layer passes.
- Nozzle height changed by setup differences: Swapping parts, adjusting mounts, or changing hotend assembly can subtly shift the true nozzle position.
What it looks like:
- Mesh correction happens, but the first layer still “fails” in a pattern that changes with motion direction or time.
- The printer behaves differently at the start of the print vs after it has moved and warmed.
A practical troubleshooting workflow for Ender 3 bed leveling
Use this sequence to narrow the cause fast. Stop as soon as you find what’s driving the symptom.
- Warm up the printer and bed to your typical printing temperature before leveling or probing.
- Verify mechanical stability: bed screws tight, bed not rocking, probe mount firm, cables not pulling the toolhead.
- Confirm the nozzle-to-probe offset (for CR Touch/BLTouch setups) using your firmware’s calibration process and then check it didn’t drift due to reassembly.
- Redo leveling / probing cleanly: run the leveling sequence again rather than tweaking blindly.
- Inspect the mesh quality (auto-probe) or your manual correction pattern (springs). Look for consistent bias vs random noise.
- Check Z motion: confirm smooth travel, no binding on the Z rails, and stable gantry movement.
Which leveling approach fits your situation
CR Touch/BLTouch systems are best when you need compensation and can maintain calibration discipline. Stock springs are best when your bed is stable enough and you prefer fewer moving parts.
- Choose stock springs if your bed is fairly consistent, you don’t mind frequent manual checks, and you’re working with parts that tolerate slight first-layer unevenness.
- Choose BLTouch-style probing if you want mesh-based compensation and your calibration process is stable (correct offset, solid probe mount, consistent probing temperatures).
- Choose CR Touch-style probing if you want the same overall approach and you’re willing to fine-tune offset and keep the probe area mechanically rigid for repeatability.
The best next step is to identify whether you’re dealing with a consistent offset/bias (often probe/nozzle geometry or mechanical alignment) or a noisy/inaccurate map (often mesh quality, thermal mismatch, or unstable probing). Once you know which category you’re in, the right leveling approach becomes obvious—and your first layers start behaving the same way every time.
PriceIt3D may earn a commission when you buy through links on this page, at no extra cost to you. Affiliate notice.