Direct drive upgrades on an Ender 3 aren’t just about swapping a bracket. The “right” choice is the one that matches your extruder/hotend footprint, keeps wiring straightforward, and lets you dial in retraction without a long trial-and-error cycle. Below, you’ll compare Sprite-style kits and stock-style Ender conversions across the four areas that usually make or break the upgrade.
Before you buy, confirm your starting hardware so you don’t end up fighting incompatible mounts or connectors.
- Your toolhead parts: hotend model and any existing shroud/fan setup (direct drive kits often assume a specific mounting layout).
- Your extruder mount style: whether you’re starting from the stock extruder position/geometry or already have a different carriage.
- Your motherboard and firmware path: whether you flash Marlin-like firmware and how you plan to adjust steps/retraction.
- Your wiring constraints: can you route the motor/thermistor/fan wiring without sharp bends where the toolhead moves?
- Your endstop strategy: whether your upgrade relocates any Z-related sensing or keeps the same endstop wiring.
- Your performance goals: slower, steadier prints for max reliability, or higher speeds where extra toolhead mass can matter.
Sprite-Style Direct Drive Kits
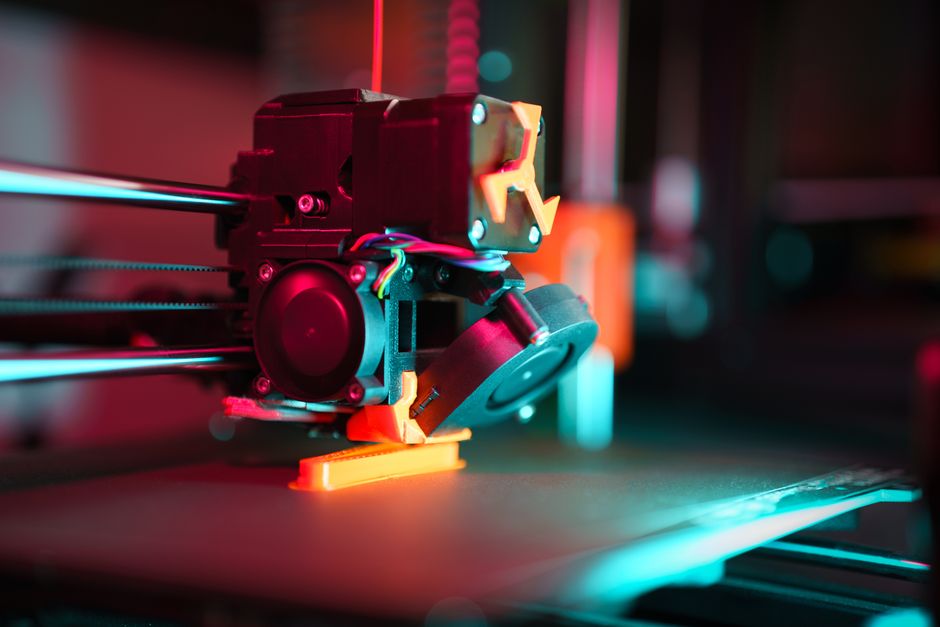
Sprite-style direct drive upgrades are built around an integrated geared extruder assembly and a toolhead-focused mounting approach. In practice, they’re often “more self-contained”: motor/extruder hardware is bundled together, and the conversion tends to minimize creative bracket-making.
Strengths
The biggest compatibility win is mechanical integration. Because the extruder, drive gears, and mounting platform are treated as a single module, you typically get a cleaner alignment between filament path, hotend inlet, and fan/shroud coverage. That alignment matters for print quality because it reduces friction and keeps the filament feeding consistently—especially with demanding materials like flexible filaments.
Extruder compatibility usually centers on “does it mount” more than “does it re-use everything.” You’re still adapting your Ender 3 carriage/toolhead, but Sprite-style kits are generally designed to work with common hotend arrangements and provide a repeatable filament-to-hotend path.
For wiring/firmware effort, the kit approach can be simpler: you move the extruder motor connection to the correct board header, adapt any endstop or probe wiring only if the toolhead changes require it, and then update the firmware settings that control extruder behavior (steps/rotation distance and retraction). Even if you keep the rest of your configuration, direct drive typically demands re-tuning retraction and often changes how pressure behaves at the nozzle.
Retraction impact is usually the easiest to understand: direct drive pushes the “bowden distance problem” out of the equation. That means you generally switch from longer retractions (common with Bowden setups) to shorter retractions. The exact numbers depend on your hotend, filament, and cooling, but the direction of change is consistent.
Print quality tradeoffs often come down to toolhead dynamics. Integrated direct drive extruders can add weight to the moving carriage, and that can limit how high you safely push acceleration/jerk-like settings. The upside is that you often get better control over extrusion reversals (less stringing and ooze) and improved consistency for flexible materials.
Tradeoffs
The main tradeoff is that you’re committing to the kit’s geometry. If your existing carriage has custom mods, different hotend mount offsets, or unconventional fan shrouds, a Sprite-style kit may require extra tweaking or partial disassembly.
Firmware effort isn’t “one-and-done.” Even with a kit that comes with documentation, you’ll almost certainly need to adjust:
- Extruder calibration (steps/rotation distance/flow consistency)
- Retraction distance and retraction speed
- Potentially temperature and cooling tuning for the filaments you use
Another practical tradeoff is cable management. Any direct drive conversion shortens the filament path but increases the demand for clean, strain-relieved wiring on the moving toolhead.
Stock Ender Mods and Carriage Conversions

Stock-style Ender direct drive conversions typically keep more of the original extruder/hardware relationships and focus on modifying mounts and filament routing so the drive is close to the hotend. Instead of a fully integrated extruder module, you might use the stock extruder motor/drive arrangement with a toolhead bracket that places it near the hotend.
Strengths
The biggest compatibility advantage is flexibility with your existing setup. If you already tuned your hotend assembly, fan ducts, or carriage mods, a stock-style conversion can be easier to adapt because you’re reusing more of what already fits.
Extruder compatibility is often less “drop-in,” but more “replace-by-parts.” That can help if you have a known-good stock extruder/hardware combination. As long as the modified filament path stays straight and the nozzle/hotend inlet aligns cleanly, you can get reliable feeding.
For wiring/firmware effort, stock-style conversions can be a mixed bag. If you keep the original extruder motor and wiring path, you may reduce the amount of board header switching. However, the more you alter the carriage and reroute cables, the more you’ll spend on strain relief and correct connector mapping.
Retraction behavior depends heavily on the converted filament path. When the path becomes short and stiff (direct drive), you’ll still see the general benefit: retractions can move toward shorter distances and less “elastic delay.” If your conversion leaves extra slack or introduces rubbing, you can lose some of the expected stringing improvements.
Print quality tradeoffs are also more variable. Done well, stock-style mods can match direct drive benefits—cleaner reversals and better flex support. Done loosely, they can introduce inconsistent extrusion due to friction, misalignment, or the filament rubbing on a bracket or guide.
Tradeoffs
The most common downside is that you’ll do more fitting and validation. Stock conversions can require measuring alignment so that filament enters the hotend without side-loading. Side-loading increases friction, which affects under-extrusion, surface finish, and retraction consistency.
Firmware effort is usually the same “category” as with kit approaches: direct drive changes the mechanical model of the extrusion system. You still need to tune retraction and validate extruder calibration. But because stock conversions can vary more from build to build, you may need additional iteration to reach a stable baseline.
Toolhead dynamics can be favorable or unfavorable depending on how the bracket changes mass distribution. The tradeoff isn’t directly “kit vs mod,” it’s “how your toolhead ends up moving.” If your conversion creates uneven weight distribution or increases leverage on one side, you can see ringing, layer shifts, or inconsistent dimensional accuracy.
Which Direct Drive Upgrade Fits Your Ender 3 Setup
Pick the conversion style that matches your tolerance for integration work.
Choose a Sprite-style kit if you want a more repeatable mechanical layout, fewer “does this line up?” moments, and a straightforward path to retuning retraction for direct drive. This is especially compelling if you’re planning to run flexible materials and want reliable feeding without extensive bracket machining.
Choose stock-style Ender mods if you need maximum compatibility with your existing hotend/fan/carriage setup or you prefer to keep your wiring and extruder relationships close to what already works. This route can be great for experienced tinkering, but expect more checking for alignment, clearance, and filament path friction.
The one practical rule that applies to both: retraction tuning is not optional. Direct drive changes how filament responds at the nozzle, so plan to run a small retraction and stringing calibration process rather than assuming your Bowden settings will translate.
If you want the lowest-risk next step, verify your filament path straightness and wiring strain relief first, then calibrate extruder basics and retraction together. That sequence prevents you from chasing firmware settings when the real culprit is mechanical alignment or cable interference.
PriceIt3D may earn a commission when you buy through links on this page, at no extra cost to you. Affiliate notice.