
Waterproof FDM prints aren’t about a single magic setting—they’re about removing the paths water can follow: the seams between extrusions, the gaps between layers, and any exposed porous surfaces.
This guide walks you through the full process: choosing a filament that actually survives wet conditions, dialing in walls and top/bottom coverage, using ironing to improve the outer skin, sealing layer lines (including varnish and epoxy), and finishing with a leak test you can trust.
Choose the Right Material for Water Tightness

For most hobbyists trying to make “water stays out” containers, PETG is often the most forgiving FDM option. PETG tends to bond well between layers and is less brittle than PLA, which helps when you tighten lids, tap fittings, or handle the part after it’s sealed. A common example you can start with is OVERTURE PETG 1kg 1.75mm Starry Blue.
Avoid PLA for anything that needs real water resistance. Even when prints look sealed, PLA’s layer interfaces and surface pores are more likely to allow slow water ingress and can soften or creep over time.
For the best long-term performance, also consider whether the part will see water plus heat, UV, or chemicals. The more aggressive the environment, the more important it becomes to pair the right filament with a real coating/sealant.
Design for Waterproofing: Walls and Geometry

- Use thicker features where water pressure or repeated handling will stress the part (threads, corners, bottom seams).
- Keep critical seams away from high-pressure areas when possible. If the print will be exposed to water pressure, avoid putting the seam where it’s most likely to become the “weak line.”
- Avoid trapping water in features you can’t coat. Inside channels and undercuts can be hard to fully seal.
- Plan your openings. If you need a screw-top or fitting, design for good mating surfaces and consider adding a sealing land (a flat ring surface) rather than relying only on filament-to-filament contact.
When you design with sealing in mind, your post-processing can focus on sealing the surfaces water touches—rather than trying to compensate for unavoidable internal voids later.
Slice Settings That Reduce Seams and Pinholes
Your goal is to reduce three things: (1) gaps between extrusion lines, (2) weak layer interfaces, and (3) rough outer skin that holds water along micro-channels.
Use this workflow as a baseline, then fine-tune based on your printer and filament:
- Set wall count high enough to create redundancy: use multiple perimeters so a single seam or pinhole doesn’t create a continuous leak path.
- Use generous top and bottom layers: increase top/bottom thickness for containers and reservoirs so the underside is truly covered.
- Align the part orientation to protect the leak-critical surfaces: print so the surfaces that contact water are built with the most reliable “skin” and fewer exposed seams.
- Enable ironing for smoother top surfaces: ironing can help close tiny valleys that collect water and reduce the chances of micro-channels that wick liquid along the surface.
- Dial in fusion before chasing perfection: use consistent temperatures, correct cooling, and suitable retraction to avoid under-extrusion and stringy gaps.
- Strengthen the “seam story”: reduce visible gaps by improving first-layer consistency and ensuring extrusion is stable across the part.
- Seal every opening path: after printing, clean off supports, especially from inside corners and around holes, because small debris can block sealants while also leaving channels.
- Do a leak test before full finishing: run an early water test once the part is dry and before you commit to thicker coatings.
A note on numbers: the exact perimeter count, layer heights, and top/bottom thickness vary by nozzle size and print quality. What you’re aiming for is a visible, fully closed skin and a bottom that doesn’t look translucent or “grainy” when you inspect it closely.
Post-Processing to Seal Layer Lines
Even with excellent slicing, FDM prints are not inherently “sealed.” Post-processing is what turns a good print into something that resists water ingress.
Sealing basics that matter
- Surface prep is part of sealing: remove dust and loose bits; lightly smooth where needed so coating can fully wet the surface.
- Focus on continuity: coatings work best when they don’t crack, peel, or leave pinholes.
- Seal both outside and any exposed internal cavities: water gets in through any path it can reach.
Varnish and similar coatings
Varnish-type coatings can help water resistance by forming a more continuous outer film. They’re often easy to apply and can be a good step for items that need mild water protection (like splashes, outdoor exposure for non-pressurized parts, or steady but low-contact use).
For true waterproofing, varnish can still leave vulnerabilities if the surface has micro-porosity or if application is too thin. Multiple thin coats usually perform better than one thick coat, because thick coats are more prone to trapping bubbles or curing defects.
Epoxy for stronger waterproofing
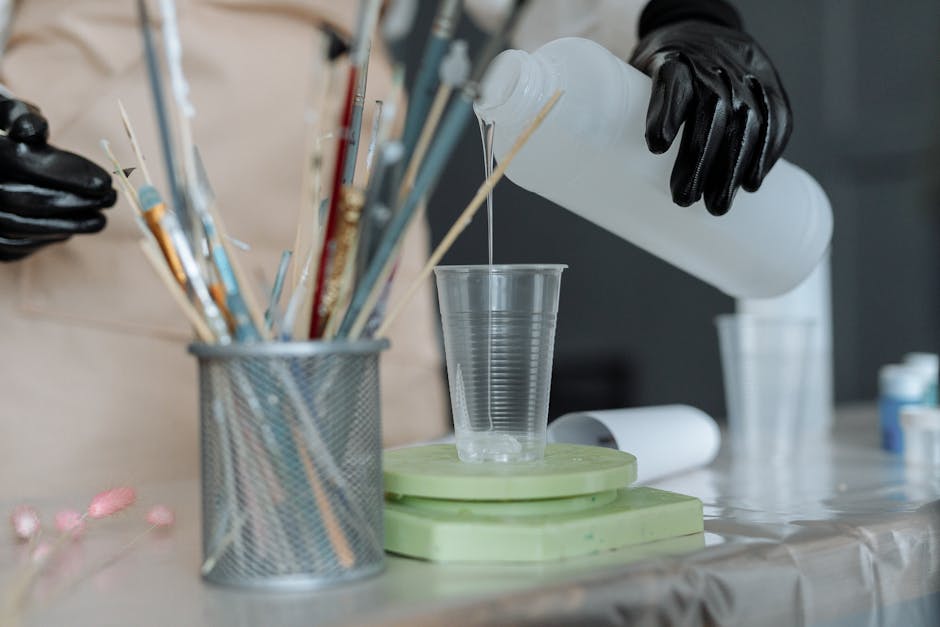
Epoxy is one of the most common choices when you need to block water paths reliably, especially on internal surfaces like basins or reservoirs. It can penetrate a bit and form a tough, water-resistant layer once cured.
Epoxy also comes with practical considerations:
- It may require careful mixing and controlled curing.
- It can pool in corners, so rotate or brush strategically.
- It bonds best when the plastic surface is clean and properly prepared.
Sealing after you test
Apply post-processing after you’ve confirmed there aren’t major leaks. If you seal first and only then discover a leak, you may end up trapping the problem and making it harder to locate.
How to Leak-Test and Fix Small Issues
Leak testing is where “looks waterproof” becomes “is waterproof.” Start simple, then move toward more meaningful tests.
A good leak-test approach:
- Dry test first: ensure the part is fully dry and free of trapped moisture.
- Water test with dye: fill the part and add a tiny amount of food-safe dye (or a test-friendly dye you don’t mind) to make seepage visible.
- Inspect slowly: check around seams, layer lines, screw holes, and corners. Many leaks start as tiny wet spots that grow after time.
- Test in steps: begin with low water volume and then increase to the level the part will normally see.
If you find a leak, fix it systematically:
- Dry the part completely.
- Identify whether the leak follows a seam, a hole, or a bottom/edge region.
- Patch the problem area using the same sealing strategy you plan to rely on long-term (for example, additional coating for surface micro-gaps, or epoxy in persistent seam areas).
- Retest. Waterproofing improvements should be validated, not assumed.
Your end goal is not just “no drips,” but “no gradual seepage over time,” because many FDM waterproof failures happen slowly through tiny channels.
Who This Waterproofing Approach Fits
- PETG + ironing + top/bottom thickness + epoxy or layered varnish is a strong fit for containers, storage bins, splash-protected housings, and many small workshop projects that need reliable water resistance.
- If the part must handle higher pressure or repeated submersion, you’ll likely need a more robust sealing system and more frequent leak testing.
- If you’re making something that only sees brief splashes, you can often get away with smoother outer surfaces and a simpler coating—but still test, because surface porosity is unpredictable across printers and filament batches.
The one thing to do next: print a test coupon or a small version of your part, run a timed leak test, then dial in wall/top/bottom and sealing based on where failure actually occurs.
PriceIt3D may earn a commission when you buy through links on this page, at no extra cost to you. Affiliate notice.