Blobs and zits are the kind of print defects that make surfaces look rough even when everything else seems dialed in. On direct drive printers, they’re commonly connected to retraction behavior, but the same visual problems also show up when your extrusion is slightly too high or the nozzle is partially restricted.
This guide walks you through an end-to-end calibration workflow: you’ll start with quick cause identification, lock down extrusion basics, tune retraction deliberately, and then confirm whether you’re chasing a tuning issue—or a partial clog. Along the way, you’ll use simple test prints and measurement checkpoints so you’re not guessing.
Step 1: Map the defect to the moment it happens
- Zits on vertical seams / layer starts: often tied to how the nozzle behaves at the end and start of extrusion moves (retraction, wipe, coasting, or a restart pressure spike).
- Blobs at corners / direction changes: can be retraction-timing plus pressure management (retraction distance/speed, restart behavior).
- Random bumps across a surface: can point to inconsistent extrusion (partial clogs, heat creep, worn/nozzle issues, or feed problems).
- Entire walls look a bit thick or squished: points more toward over-extrusion (flow, extrusion multiplier, or too-wide extrusion width).
This “when does it happen?” mapping prevents you from changing five slicer settings at once.
Step 2: Use one reliable extrusion baseline test (not retraction yet)
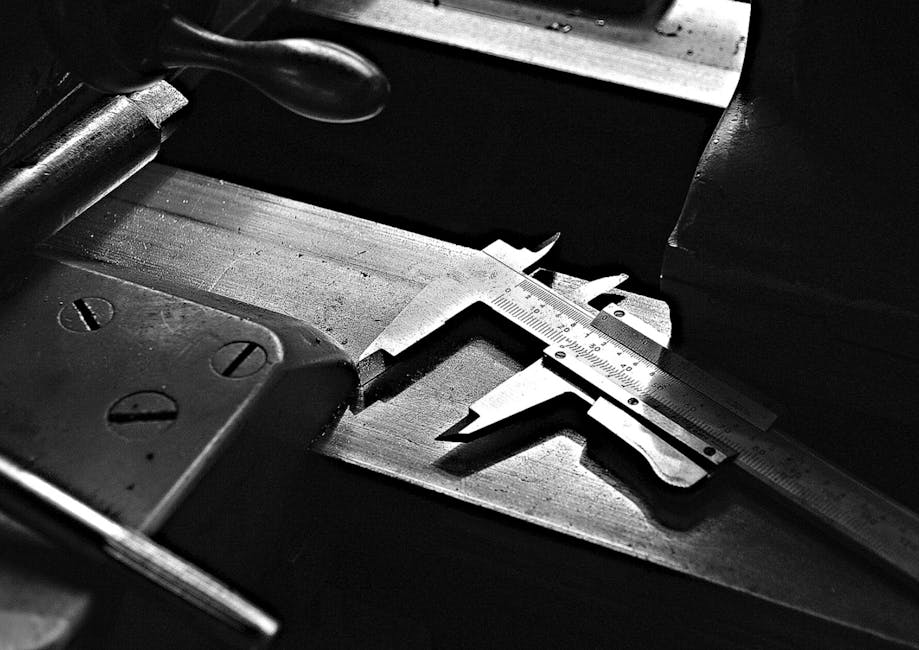
Start by dialing in a basic wall thickness / single-perimeter check using a simple print (often a 1–2 wall thickness test or a tight pattern that makes wall width obvious). Measure with calipers or by comparing against your expected slicer target.
What you’re looking for:
- If the walls are consistently wider than expected, reduce the extrusion multiplier/flow until the wall thickness looks right.
- If the wall thickness matches, don’t change flow yet—move on to retraction tuning.
Why this matters: retraction primarily controls pressure release and restart. It can’t fix “too much plastic coming out” over and over.
Step 3: Run a focused retraction test for direct drive
With extrusion baseline established, tune retraction using a test that exaggerates start/stop artifacts.
A good approach is a retraction tower / retraction distance test that includes multiple retraction distances (and keeps everything else constant). Direct drive retraction tuning can be especially sensitive because filament is fed close to the nozzle, so pressure changes can happen quickly.
Tune using small increments and one direction at a time. Don’t chase perfect results with random jumps.
Look for these outcomes:
- Too little retraction: more stringing and also heavier blobs at stops.
- Too much retraction: under-extrusion on restart and sometimes tiny gaps right next to seams.
- Right range: minimized zits/blobs at layer starts/stops while maintaining consistent line continuity.
Step 4: Check retraction speed and restart behavior (pressure is the real lever)
Even when retraction distance is correct, speed and restart handling can still create zits.
- Retraction speed too low: filament doesn’t relieve pressure fast enough before the head starts moving, so material “oozes” into the seam.
- Retraction speed too high: can pull filament too far, making the next line start starve before pressure recovers.
Also watch restart-related settings in your slicer:
- Wipe / linear advance-style behavior (if enabled): can reduce seam artifacts by controlling how pressure is managed.
- Coasting / retract on layer change: can change how much plastic remains in the nozzle at the end of a move.
Checkpoint: after each single change, print the same test again so you can compare apples to apples.
Step 5: Separate retraction artifacts from partial clogs
If zits/blobs persist even after reasonable retraction tuning, a partial clog (or near-clog) is a strong suspect—especially if the defects appear inconsistently.
Here’s how to tell tuning vs. clog:
- Tuning symptoms usually scale smoothly with retraction changes (more/less retraction produces predictable changes in blob height and stringing).
- Partial clog symptoms tend to be erratic: sometimes restarts look ok, then a later seam suddenly makes a bump. You might also see worsening over time as the print heats the system.
Use these confirmation checks:
- Heat-soak consistency: run the same short retraction/start test, but keep the hot end behavior consistent (same preheat, same idle time, same part cooling).
- Cold extrusion check (safe, with the printer idle): when cold, confirm filament moves smoothly by hand in the extruder path (without forcing). If it feels inconsistent, investigate the feed path.
- Nozzle restriction check: if you can, do a controlled nozzle cleaning procedure appropriate for your material and hot end (for example, a cleaning filament, or a standard nozzle cleaning method). If blobs reduce after cleaning, you had a restriction.
Why this matters: a partial clog changes the “pressure dynamics” in a way that retraction-only tuning can’t fully compensate.
Step 6: Lock in settings with two short “truth tests”
Once you have a retraction range that looks better and extrusion is stable, validate with short prints that represent the moments where blobs/zits show up most.
-
Print a layer start / seam-focused test (single-wall or perimeter-heavy seam) and inspect at 100% scale.
-
Print a corner stop test (small geometry with sharp direction changes) and check whether blobs correlate to corner restarts.
If both improve together, you’re probably tuning correctly. If one improves and the other stays ugly, the remaining cause is usually restart pressure management (coasting/wipe/flow) or a partial restriction that needs cleaning.
The end-to-end workflow to follow (in order)
- Identify when the defect appears (layer start, seam, corners, or random spots) so you target the right behavior.
- Print an extrusion baseline (single-wall or wall-width test) and measure wall thickness; adjust flow/extrusion multiplier until it matches what the slicer intends.
- Run a retraction distance test on the direct drive setup while keeping temperature and other settings constant.
- Tune retraction in small steps until blobs/zits at stops/seams shrink without causing gaps or under-extrusion on restart.
- Adjust retraction speed deliberately and reprint the same test to confirm seam artifacts move in the expected direction.
- Check restart-related settings (wipe/coasting/restart pressure behavior) one at a time; validate with the seam-focused test.
- Suspect a partial clog if behavior is erratic or worsens over time; clean/inspect appropriately and retest.
- Confirm with two short “truth tests” (layer start + corner stop) to ensure your fix works across the scenarios that create zits and blobs.
This is the fastest way to avoid the common trap: increasing retraction to compensate for over-extrusion, or changing retraction while the real limitation is a nozzle restriction.
The right outcome is a direct-drive setup where seam restarts are calm (no sudden bumps) and wall thickness stays consistent. If retraction tuning makes the defects move predictably, keep tuning. If it doesn’t—or if things degrade during a print—treat it like a restriction problem and clean/verify the hot end before chasing slicer settings again.
PriceIt3D may earn a commission when you buy through links on this page, at no extra cost to you. Affiliate notice.