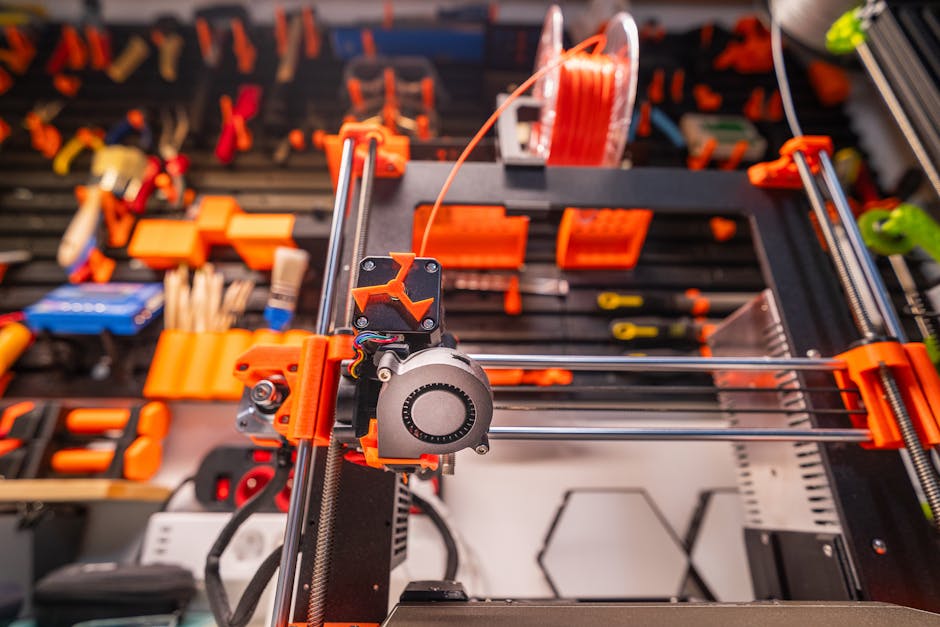
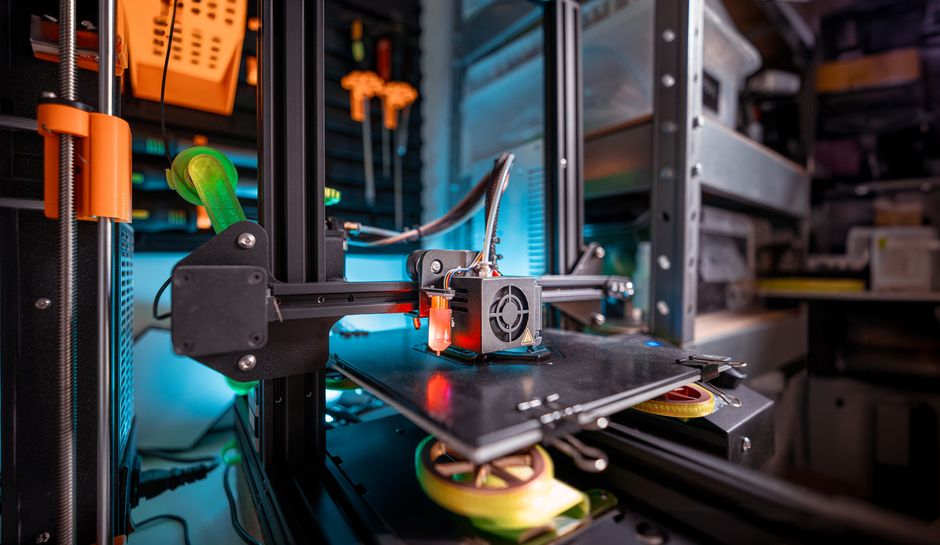
Perfect first-layer adhesion isn’t luck—it’s the nozzle-to-bed gap plus the right first-layer motion. If the gap is off, you’ll see it immediately as lifted edges, messy ridges, or strings even when your print looks fine later.
This guide walks you through bed leveling, Z-offset, live adjustment, first-layer speed/height choices, and practical ways to diagnose common first-layer problems like elephant foot, gaps, and stringing.
Bed leveling for a square start
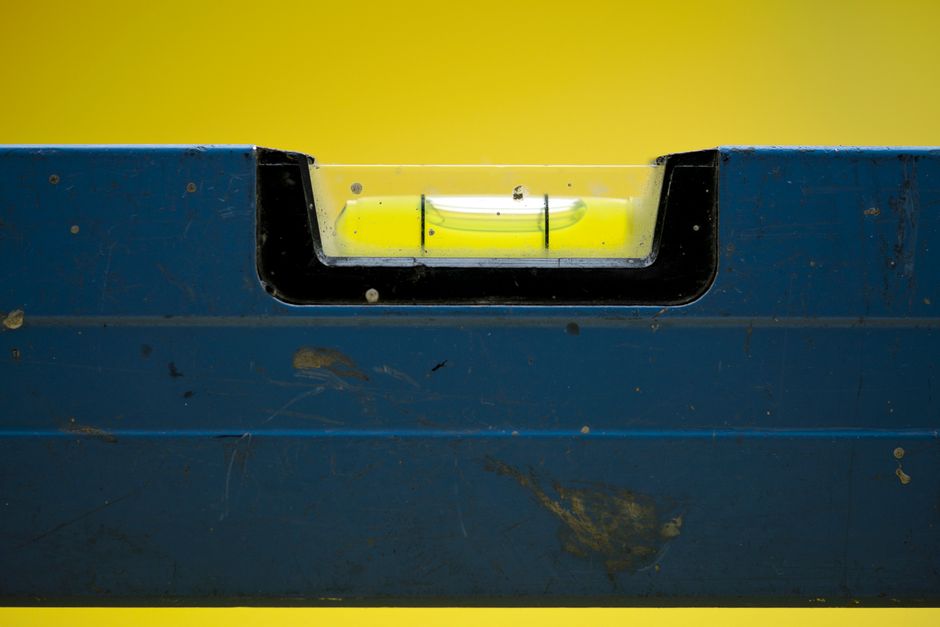
- Preheat everything the way you actually print. Bed material expands slightly, and nozzle pressure changes extrusion. Leveling a cold bed often leads to first-layer surprises mid-print.
- Clean the build surface. Dust, old adhesive, and oils are a common reason “calibration” looks wrong. Wipe with the right cleaner for your surface (commonly isopropyl alcohol for glass/metal).
- Set a leveling mode and level the bed. Use manual leveling (adjusting corners) or auto leveling (probing), depending on what your printer supports.
- Confirm the “feel” at multiple points. A sheet of paper (or a feeler gauge if you prefer repeatability) should show consistent drag at the nozzle height you’re aiming for.
If you only level one spot, you’ll often get a first layer that looks perfect in the center and too tight at the edges—or the reverse.
Set and verify Z-offset
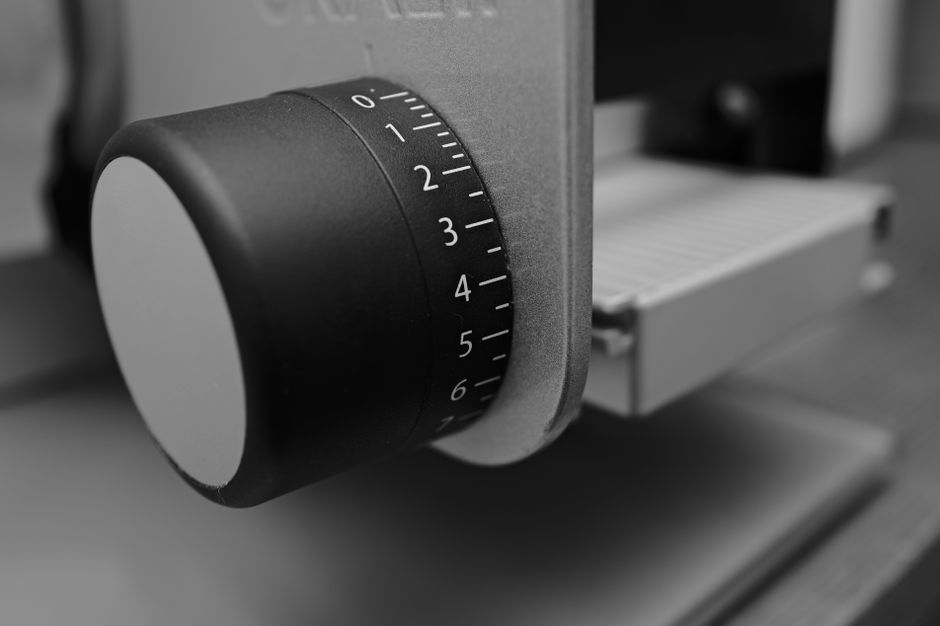
Start by using your printer’s built-in method (paper/feeler, probe-based calibration, or a dedicated Z-offset procedure). Then verify with a test that shows you the effect of the gap.
Use this calibration mindset:
- If lines don’t merge and leave visible gaps, the nozzle is likely too high (insufficient squish).
- If the first layer looks overly flattened and spreads outward, the nozzle is likely too low (too much squish).
- If the layer is inconsistent across the bed, you still have leveling or surface adhesion variation to fix.
After you set Z-offset, save it exactly as your printer expects (some firmware separates probe-based offsets from manual offsets). If you don’t save correctly, the printer may fall back to a previous value next print.
Use live adjust while the first layer prints
Even with good setup, real-world factors can shift the gap: a slightly different first-layer temp, a fresh sheet of filament that needs steady extrusion, or a build surface that behaves differently that day.
Live adjustment lets you correct without wasting an entire print.
- Print a simple first-layer test (a small square or line pattern is enough).
- Watch the first few passes rather than waiting for a full layer. The nozzle behavior right away tells you whether adhesion is happening.
- Adjust Z (or “Live Z”) in small increments if your printer offers this mid-print.
- Stop early if things are clearly wrong. If the nozzle is scraping or plastic isn’t sticking at all, catching it early saves material and prevents a clogged mess.
What you’re looking for is consistent contact: each line should flatten slightly and bond to the one next to it, without turning into a wide “squished pancake.”
Nail first-layer speed and height
First-layer adhesion is influenced by extrusion and cooling as much as it is by the Z gap. Your slicer settings determine how much plastic gets laid down and how much time it has to fuse.
Key settings to focus on:
- First-layer height: A slightly thinner first layer can help control squish and reduce elephant foot, while still improving coverage. Many slicers let you set the first-layer height independently from the rest.
- First-layer speed: Slower first-layer speeds improve bonding because the nozzle lays down plastic more steadily and the material has time to wet the surface.
- First-layer flow/extrusion multiplier: If your printer is under-extruding, even a perfectly calibrated Z-offset won’t fill gaps. If it’s over-extruding, you’ll get blobs and a messy surface.
- Fan behavior (if your printer uses a part-cooling fan): For many materials, aggressive cooling on the very first layer can reduce wetting. Some printers keep fan low for the first layer, then ramp up.
A practical calibration flow is to keep most settings constant, adjust one variable at a time, and use the same first-layer test shape each run. That way you’ll actually learn which change fixed what.
Diagnose elephant foot, gaps, and first-layer stringing
When first layer adhesion is off, the symptoms are consistent. You can use that to pinpoint whether the issue is Z-offset, leveling, extrusion, temperature, cooling, or filament condition.
Here’s a symptom-to-fix checklist for common first-layer problems:
- Elephant foot (bulging edges on the bottom): Raise Z-offset slightly, reduce first-layer squish, and consider lowering first-layer temperature or flow if your material tends to spread.
- Gaps between lines: Lower Z-offset (more squish) and verify first-layer flow isn’t too low. Also confirm the bed surface is clean and the nozzle isn’t partially clogged.
- First layer doesn’t stick at all (lines lift or roll up): Clean the bed again, verify correct bed temperature for your filament, and check whether the nozzle is too high due to an incorrect Z-offset save.
- Rough, “dragged” lines (looks like the nozzle is grinding): Raise Z-offset slightly or re-check leveling. Make sure you’re not setting the first-layer height too low.
- Brittle bottom layer (looks fused poorly and flakes): Check first-layer temperature and flow, then reduce part-cooling fan impact on the first layer if you ramp the fan too early.
- Stringing or wisps on the first layer: Often caused by excess nozzle temperature, filament moisture, or too-aggressive travel behavior. Try drying the filament, dialing back nozzle temperature slightly, and ensuring retraction/travel settings are reasonable (even though retraction behavior can be different on the first layer).
One more tip that saves time: when diagnosing, look at both shape and repeatability. If the issue only happens in one corner, suspect leveling or surface problems. If it happens everywhere, suspect Z-offset, extrusion, temperature, cooling, or filament quality.
If you’re calibrating consistently, you’ll build a workflow you can trust: level for flatness, set Z-offset for the correct gap, verify with a test, then use live adjust to correct tiny day-to-day changes.
PriceIt3D may earn a commission when you buy through links on this page, at no extra cost to you. Affiliate notice.