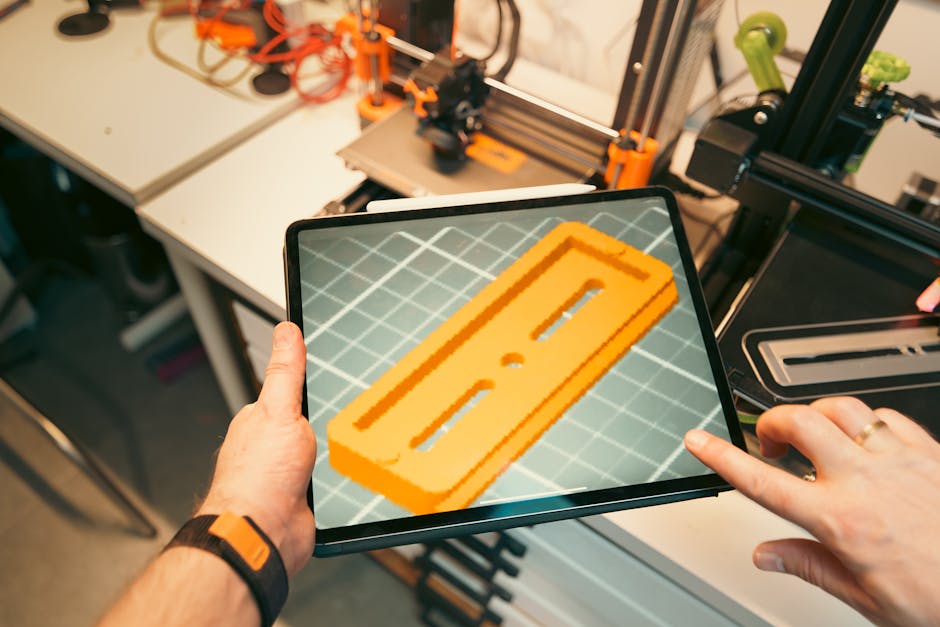

When you start chasing accurate dimensions, slicing software stops being “just a preview” and becomes part of your calibration process. Cura and PrusaSlicer can both help—but the differences show up in how they expose dimensional compensation, how you run test prints, and how straightforward they make first-layer and bed-level-related setup.
This guide compares both slicers with beginners in mind, then lays out a simple dimensional accuracy workflow you can follow no matter which one you choose.
Cura for Dimensional Accuracy: Calibration and Helpers
Where Cura helps accuracy
Cura’s dimensional accuracy workflow usually starts with extrusion “truth.” That means getting line width and overall extrusion multiplier close, then tightening the remaining error with incremental compensation.
- Flow and dimensional calibration mindset: Cura’s settings are built around extrusion behavior (flow/extrusion multiplier, line width, retraction/coasting behavior). If your parts come out slightly larger or smaller than designed, Cura’s compensation settings in the XY direction are where you correct the systematic bias.
- Pressure/linear advance support (via firmware settings): If your printer supports pressure advance/linear advance, Cura can surface the related controls so you can reduce over/under-extrusion during speed changes. That’s important because dimensional errors often show up on corners, at seam transitions, and around holes—not just as a slow drift.
- Dimensional and fit correction: Cura includes horizontal expansion-style compensation options and hole-related compensation options (wording varies by Cura version). These are the settings you use after measuring a test print with calipers.
- First-layer and “it sticks and looks right” helpers: Cura makes it easy to dial in first-layer height, line width, and other early-layer behaviors. While bed leveling itself is primarily handled by your printer and firmware, the slicer determines what the first layer is trying to do—so correct first-layer setup reduces the chance you’ll “calibrate” for accuracy when the real problem is Z offset.
Where Cura can feel harder for beginners
Cura is extremely configurable, which is great once you know what each control changes. Early on, that can make it easier to adjust multiple knobs at once.
If you change flow, XY compensation, first-layer settings, and retraction behavior in the same round of test prints, you’ll have a harder time identifying which setting caused the dimensional shift. Cura works best when you treat it like a measurement-driven calibration tool: change one thing, print, measure, repeat.
PrusaSlicer for Dimensional Accuracy: Calibration and Helpers
Where PrusaSlicer helps accuracy
- Flow/extrusion consistency first: PrusaSlicer emphasizes getting your baseline extrusion right (filament profile behavior, line widths, and temperature/retraction-related settings). Consistent extrusion reduces the size error you need to “fight” later with compensation.
- Pressure/linear advance workflow: Like Cura, PrusaSlicer’s usefulness for dimensional accuracy depends heavily on firmware support for pressure advance/linear advance. When it’s available, dialing this in matters because it affects how much material is laid down during acceleration and deceleration—exactly where holes and sharp corners tend to betray you.
- Dimensional compensation that maps to real measurements: PrusaSlicer commonly exposes size compensation in a way that makes it easier to correct systematic XY error (part becomes too large or too small) and to treat holes differently from outer walls. That matters for “fits”: a printer can be consistently off by, say, 0.2 mm in XY, and you don’t want to fix it globally in a way that ruins hole clearance.
- Bed leveling and first-layer helpers: PrusaSlicer provides first-layer and bed-related features that help you get a reliable start. Even though the actual bed mesh lives in the printer/firmware, slicer-side first-layer settings determine how the toolpath behaves at the first contact. A stable first layer also makes dimensional tests more repeatable.
Where PrusaSlicer can feel harder for beginners
PrusaSlicer’s layout can appear more structured, but that can lead to a different beginner trap: trusting defaults too long. If your printer’s hardware differs from the assumed baseline (nozzle size, extrusion friction, different filament lots), you still need to measure and adjust. The advantage is that the “what to do next” is usually clearer.
A Simple Dimensional Test Workflow for Beginners
No slicer can guess your printer’s real extrusion behavior. Accuracy is earned by measuring, then applying one correction at a time.
Use this workflow whether you pick Cura or PrusaSlicer:
- Pick one accuracy target (for example: the outside length of a calibration block, or a hole diameter you care about) and write down what “correct” means.
- Verify first-layer readiness: confirm your Z offset is reasonable and your bed is level enough that the first layer isn’t visibly squished or detached across the test area.
- Calibrate extrusion/flow baseline: run an extrusion/line-width check so your walls and perimeters look consistent and your part doesn’t systematically over- or under-fill.
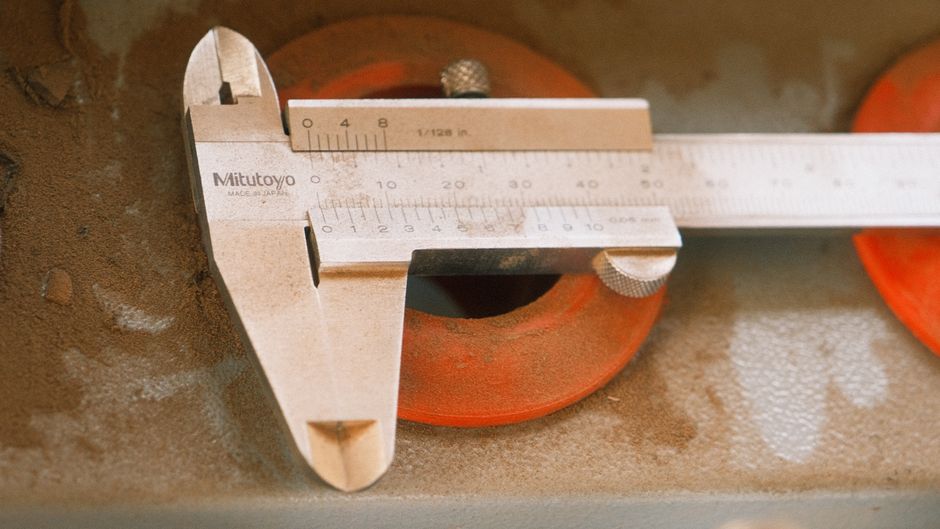
- Measure and correct XY size error: print a dimensional test that includes straight edges (a ruler-like wall section or block). Measure at multiple spots. Apply the slicer’s XY size compensation so the outside dimension matches.
- Measure and correct hole error separately: print a hole test (a few diameters that represent your real clearance needs). Apply hole-specific compensation (or adjust the hole behavior) based on your measured averages.
- Validate at your real print speeds with pressure behavior: if your printer supports pressure/linear advance, use the settings to reduce corner/acceleration-induced dimensional drift. Recheck the same dimensional features you measured earlier.
- Lock a profile and retest once: after your corrections stabilize, reprint the original dimensional test part. If it matches within your tolerance, save the settings as a profile tied to that printer and filament type.
This process keeps you from “chasing your tail” across multiple slicer settings at once. The key is that every adjustment is linked to a measurement.
Which Slicer to Choose for Accurate Dimensions
If your priority is accurate dimensions and you want a workflow that helps you avoid confusing multiple variables, PrusaSlicer is usually the better starting point. It tends to make dimensional compensation and first-layer stability feel more directly connected to measurable outcomes, so you can get to trustworthy fits with fewer guess-and-check rounds.
If your priority is simplicity and community familiarity—and you’re comfortable learning by iterating—Cura can be the right choice. Cura’s flexibility is great once you adopt a strict “change one thing, measure, repeat” routine. It’s also a strong pick if you already have established Cura profiles for your printer and want to refine only the dimensional compensation and extrusion baseline.
The practical next step is the same for both: choose a dimensional test part you can measure confidently (straight edges and holes), then run the workflow above until your outside dimensions and hole fits land consistently. After that, the slicer becomes a reliable tool instead of a source of uncertainty.
PriceIt3D may earn a commission when you buy through links on this page, at no extra cost to you. Affiliate notice.