
Silk and matte PLA can deliver that smooth “finished product” look, but they’re also more sensitive to bad drying and nozzle residue than regular PLA. When settings are off, you’ll see wispy strings, sharp zits, and sometimes a hiss as volatiles escape from a coated nozzle tip.
This guide walks you through the full workflow—from drying and slicer setup to quick test prints and nozzle cleaning—so you can stop stringing and reduce the chance of clogs before they ruin the job.
Start With Dry Filament and a Stable Feed Path
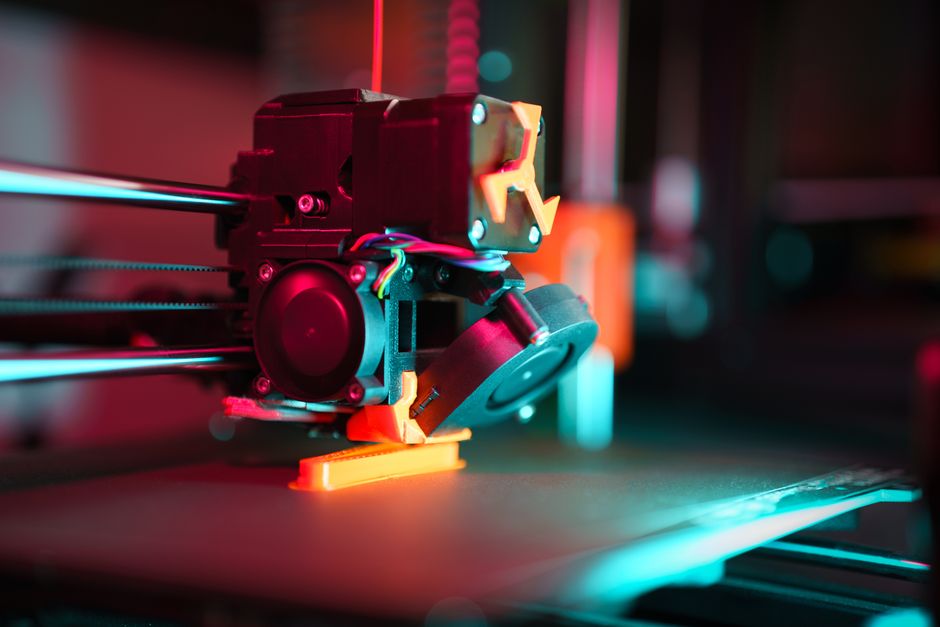
Before you change temperatures, do these fundamentals:
- Dry PLA in a sealed container style setup if possible (or use your dryer). A typical PLA approach is low heat in the tens of degrees Celsius range (often around the 40–55°C neighborhood) for several hours, but follow your dryer and filament guidance.
- Keep filament dry while printing. If your printer lives in a humid space, store spools in a sealed bag or dry box between prints.
- Check the feed path for friction. Silk PLA can be a bit more finicky in how it feeds; a gritty PTFE tube, worn extruder gear, or a partially blocked guide can encourage under-extrusion that later turns into a clog.
- Verify the nozzle is seated and the hot end is clean at the start. Old burnt material on the nozzle tip makes stringing worse and causes early heat creep behavior.
Why this matters: stringing doesn’t just come from retraction settings. Wet filament adds bubbles; friction adds inconsistent extrusion; residue adds a sticky “seed layer” that catches more material.
Slicer Settings That Stop Stringing (Silk vs Matte)

Aim for these goals in slicer:
- Reduce the time molten plastic spends oozing.
- Lower how much the nozzle tip re-coats itself between moves.
- Keep extrusion consistent so the nozzle stays in a predictable temperature/pressure range.
Practical settings to review:
- Nozzle temperature: don’t run maximum temperature “just because.” Start near the middle of PLA’s typical range, then adjust in small steps. If you see strings and wisps, lower temperature a little; if the print looks weak or doesn’t bond, raise slightly.
- Retraction: the right retraction reduces ooze during travel. Too little leads to strings; too much can create clogs or grinding from pulling molten plastic up into cooler zones.
- Travel behavior: enable “avoid crossing perimeters” / “combing” style options so the nozzle tends to travel through less visible areas.
- Z-seam placement: choose a consistent seam location (often inside a corner) so occasional minor residue doesn’t form strings on the most visible face.
- Wipe/coast features: if your slicer supports wipe, it can reduce leftover strands. Coasting can help some PLA types, but if it’s too aggressive it can cause under-extrusion that later contributes to partial clogs.
Why this matters: travel moves are where stringing is “made,” but the reason is usually nozzle ooze plus inconsistent pressure. Silk and matte surfaces make those flaws easier to notice.
Retraction, Temperature, and Cooling—Dial Them With Tests
Stringing is easiest to solve with controlled changes. Make one tuning change at a time and use short tests that finish quickly.
Start by deciding what you’re seeing:
- Wispy, hair-like strands from travel = usually too much ooze (temperature too high, retraction too low, or airflow too weak).
- Thick blobs at the start or end of moves = often retraction too aggressive, travel speed too low, or pressure not stabilizing.
- Random zits and blobs after a pause = often drying issues or nozzle tip residue building up.
Then tune in this order for most printers:
- Dryness and temperature baseline (don’t tune retraction on wet filament).
- Retraction amount (increment gradually) and verify retraction speed isn’t causing grinding.
- Cooling fan speed during the layer (enough to solidify before the next travel).
- Travel speed (faster travels reduce time to ooze, but too fast can destabilize extrusion on some printers).
If you have both silk and matte rolls, tune once per filament type. Even with the same label “PLA,” their additives and surface behavior can change how quickly material releases from the nozzle.
Prevent Clogging During Long Prints
Clogs often happen when small residue problems become a bigger one: more stringing coats the nozzle, the coated nozzle traps more PLA, and eventually the flow can’t recover cleanly.
To prevent that spiral:
- Avoid temperature creep. Don’t increase temperatures “midway” to fix stringing. If it’s stringing, you’re typically fighting too much heat and ooze, not too little.
- Keep cooling consistent. If the part cooling fan is failing or clogged, silk PLA can stay molten longer than expected and encourage residue buildup.
- Don’t over-retract. Over-retraction pulls melted plastic upward into cooler areas. That can create a heat block effect and partial jams.
- Watch for under-extrusion early. If the extruder starts skipping or the top layers look rough while side walls still look “okay,” pause and investigate rather than letting it progress to a full clog.
- Maintain the nozzle and hot end gap. Even without removing the nozzle, regular cleaning helps. A nozzle that’s slightly coated is still “functional,” but it will string more and clog sooner.
Why this matters: preventing a clog isn’t just about the clog. It’s about stopping the first signs of residue accumulation so you never reach the point where the nozzle can’t release material cleanly.
Clean Nozzle Residue When Silk Starts to String or Hiss
When silk PLA begins to hiss or spit strings that weren’t happening earlier, it often means the nozzle tip has a polymer coating, degraded material, or stuck buildup. This residue changes how plastic wets the nozzle, which increases ooze and makes retraction less effective.
Do a quick cleaning routine before you start another long print:
- Pause and inspect. If you see dark specks at the nozzle tip or strings that seem “sticky” and repeat in the same way, residue is likely.
- Heat the nozzle to a typical PLA printing temperature, then carefully wipe the tip with a suitable cloth or tool. The goal is removing surface film—not digging into the nozzle.
- If the buildup persists, consider a cold-pull style purge using clean filament. This can lift out material trapped inside the nozzle when heated then cooled.
- For stubborn residue, run a couple of short purge/wipe cycles. Don’t keep cranking temperature higher and higher; that can bake the residue harder.
- If cleaning doesn’t restore normal behavior, remove and inspect the nozzle (or perform a deeper hot-end service). Continued stringing after basic cleaning often points to a worn or partially blocked nozzle.
Why this matters: once the nozzle tip is coated, every subsequent travel move creates more residue and more strings—so cleanup isn’t optional if you want stable results.
Run a Simple Test Print Routine for Reliable Results
The fastest way to dial in silk and matte PLA is a short, repeatable routine. Use prints that finish in minutes and highlight the problem areas: travels, seam placement, and surface skin.
Follow this 9-step routine:
- Dry the filament for the same amount of time before each tuning session.
- Set nozzle temperature to a mid-range starting point for PLA.
- Calibrate extrusion first so you’re not tuning retraction to fix under-extrusion.
- Start with a conservative retraction value for your printer type, then adjust upward only if strings remain.
- Keep retraction speed reasonable so you don’t grind or create inconsistent pull-back.
- Increase cooling until layers solidify quickly, but stop short of causing brittleness or poor bonding.
- Use travel settings that minimize crossing perimeters and keep the seam in a predictable spot.
- Print a short stringing/retraction focused test and change only one parameter per round.
- If strings appear suddenly mid-session or the nozzle starts hissing, stop and clean the nozzle before doing more tuning.
This routine saves time because it stops you from chasing symptoms. Dryness, baseline temperature, and retraction/cooling are the main levers; cleaning prevents your “test” from turning into a residue experiment.
When you’re done, you should see a clear improvement across multiple test repeats: fewer strands, consistent walls, and no escalating weirdness as the print goes on.
PriceIt3D may earn a commission when you buy through links on this page, at no extra cost to you. Affiliate notice.