
Resin printing odor isn’t just “smell”—it’s evidence that volatile compounds are escaping when you print, handle parts, or clean up. The best enclosure ventilation setup balances three things: controlling where air goes, reducing odor-causing compounds, and maintaining reliable airflow without creating new leaks.
This guide compares carbon filters vs vent ducting, then walks you through a safe, practical enclosure build for home resin printing.
Why Resin Printer Ventilation Matters in Real Homes

- Capturing airborne fumes before they spread through the room. In practice, that means pulling air from the enclosure and not relying on “natural circulation.”
- Reducing the cues that tell you contamination may be present. Odor is useful feedback. If odor escapes, it usually means airflow is going the wrong way or filtration is undersized.
For safety, ventilation should be paired with common-sense handling: keep the enclosure closed during printing, minimize open-time for uncured resin, and follow your resin’s safety instructions (the label and SDS/MSDS). A good build reduces effort and risk—without making “perfect” the enemy of “done.”
Carbon Filter in an Enclosure: When It Works Best

Strengths
Carbon filtration is usually the better choice when:
- You can’t easily vent outdoors, or you need a quieter, simpler setup.
- You’re targeting odor reduction more than removing air from the building entirely.
- You’re willing to periodically replace or refresh filter elements, since carbon media has a finite capacity.
Weaknesses and Key Limits
Carbon does not replace a complete ventilation strategy. Two common issues show up:
- Odor “slips through” when the carbon is undersized or saturated. If you notice smell returning over time, it’s often a capacity/airflow mismatch.
- Carbon mainly addresses VOC odor, not everything you might want to capture. If your cleaning routine creates residue aerosols, you may need a particulate pre-stage (for example, a prefilter) in front of the carbon to protect it and improve overall filtration.
Carbon filtering can still be effective, but it works best when you design for correct airflow and maintenance—especially filter sizing and how air is routed in and out of the enclosure.
Vent Ducting Outdoors: When It’s the Safer Choice
A vent duct exhausts enclosure air outside. Instead of trying to “treat” air inside the home, ducting aims to remove fumes from the living space.
Strengths
Ducting is usually the better choice when:
- You prioritize maximum fume removal and want to reduce the chance of odor building up indoors.
- Your space allows a short, sealed duct path to a window, exterior wall port, or dedicated vent.
- You want a setup that scales more naturally with enclosure volume (you can increase airflow appropriately).
Weaknesses and Key Limits
Ducting comes with its own realities:
- Leaks matter. If the enclosure isn’t sealed well enough, air can escape into the room instead of being pulled through the exhaust.
- Backdraft and pressure issues can happen if the fan and exhaust path aren’t designed correctly (for example, if air can re-enter when the fan stops).
- Noise and airflow feel different. Duct runs and fan choice can increase turbulence and sound.
When it’s installed correctly, ducting is typically the most straightforward way to prevent fumes from lingering indoors—but it requires careful routing and sealing.
Build a Practical Safe Setup: Pressure, Airflow, and Placement Steps
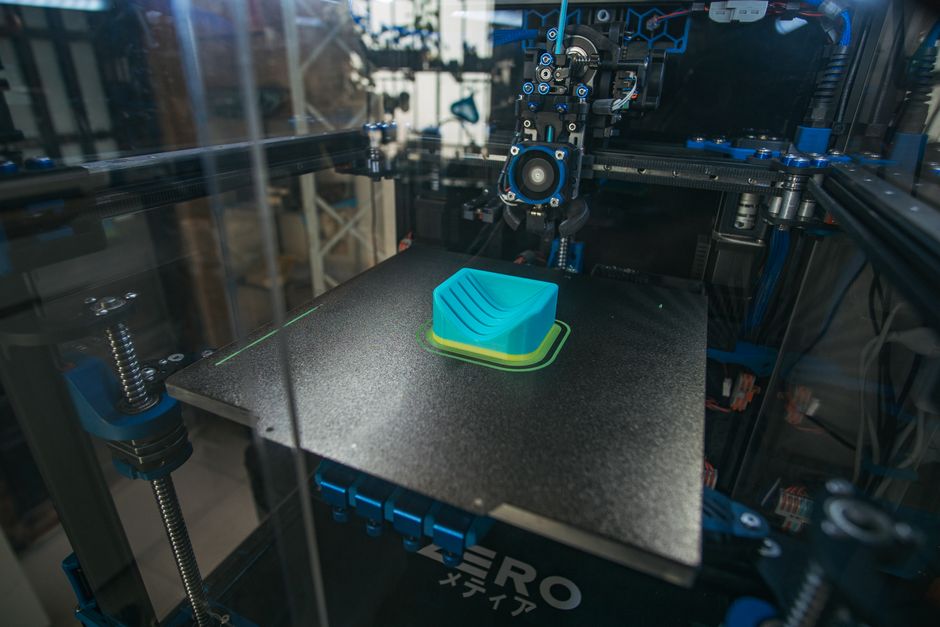
Whichever option you pick, aim for negative pressure inside the printer enclosure: the enclosure should “want” to pull air inward through controlled openings, then exhaust that air through filtration or ducting. This reduces the chance of fumes escaping at the door.
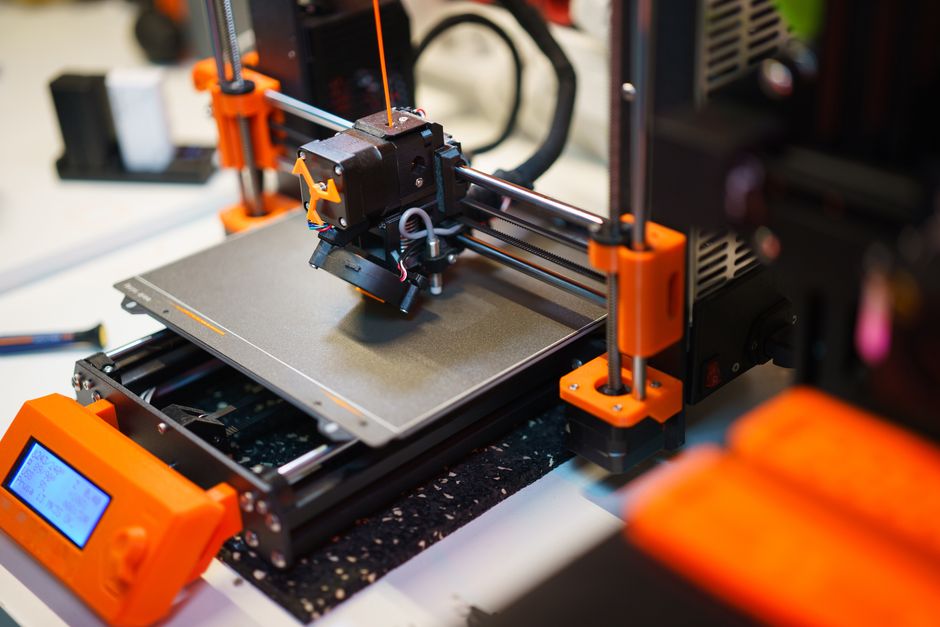
A practical way to implement this is to start with a purpose-built enclosure and then add ventilation ports. For example, the modular approach of The Original Prusa Enclosure can make it easier to route cables and add fan/filter mounts.
Use these steps to build a setup that minimizes odor reliably:
- Confirm what you’re controlling. Focus on enclosure air during printing and on handling/cleaning moments. If your cleaning station is outside the enclosure, fumes can still escape from that area even with perfect printer ventilation.
- Route airflow with a simple path: intake low or internal → exhaust at the enclosure’s “fume zone.” Since resin fumes tend to concentrate near where work happens (print movement area, open resin handling), placing the exhaust where you’re most likely to release vapors improves odor control.
- Create negative pressure with a dedicated exhaust fan. Use the fan to pull air out rather than relying on passive vent holes. Passive holes often become odor leaks.
- Choose carbon filtration vs duct exhaust for the fan outlet.
- For carbon: use a filter stage sized for your enclosure airflow and replace it on a schedule based on odor return.
- For ducting: run a sealed duct to the exterior and include measures to prevent outside air from pushing back in.
- Add a particulate prefilter when using carbon. This protects the carbon media, improves consistency, and helps avoid rapid clogging from fine residue or spray mist during typical use.
- Test with odor and verify sealing before you print long jobs. Close the enclosure, run the fan, and check for odor at the door seams and around cable pass-throughs. Fix leaks first; don’t just increase fan speed.
Finally, don’t forget your “after-print” workflow. Cured parts still come from a dirty system (gloves, tools, alcohol/wash areas). If you use a dedicated curing area, treat it as a separate exposure step—SUNLU UV Resin Curing Box can help contain the curing stage, but the handling steps around it still influence overall odor.
Pick the Right Option for Your Space and Printing Habits
A good ventilation choice depends less on theory and more on what you can reliably maintain.
Choose carbon filtration if
- You can’t vent outdoors easily.
- Your primary goal is odor reduction in a room where ducting is difficult.
- You’re willing to manage filter replacement and ensure the enclosure remains properly sealed.
Choose vent ducting outdoors if
- You want the strongest reduction in indoor fumes.
- You can route a short, sealed duct and manage noise.
- You expect frequent printing and want a setup that’s less likely to “gradually fail” compared to finite carbon capacity.
Either way, prioritize these “make it work” principles
- Enclosure sealing is part of ventilation, not an afterthought.
- Airflow direction beats fan power. Pull air out; don’t push air into the room.
- Maintenance beats upgrades. Filters, duct seals, and prefilters degrade—odor returning is your signal to adjust.
If you want one practical next step: build a negative-pressure enclosure test—run the fan, check door seam odor, and then decide whether your exhausted air should go through carbon or straight outdoors based on whether the smell problem is solvable with filtration and maintenance in your setup.
PriceIt3D may earn a commission when you buy through links on this page, at no extra cost to you. Affiliate notice.