
Transparent prints are possible on a desktop printer, but “clear” is rarely just one thing. The difference between a foggy window and a glass-like part is mostly haze (from the material and the way it cools) plus surface finish (from how walls and top layers are built).
This guide walks you through the most reliable filament options for clarity, what to check in product listings, and typical settings and tactics that push prints toward cleaner, more glassy results.
PETG for the clearest, most durable transparent-looking parts

PETG tends to form a smoother surface than many PLAs when tuned well, and it generally tolerates slightly imperfect conditions (temperature swings, minor tuning errors) without turning brittle or instantly cracking.
Strengths
- Usually clearer and less brittle than standard PLA
- Better impact resistance for functional clear parts
- Often easier to dial in for low-haze walls than PLA blends
Weaknesses
- Commonly stringier than PLA, and stray hairs can create visible “clouding”
- Cooling and retraction tuning matter a lot for haze
- Colored PETG won’t be crystal clear (it will be translucent, not transparent)
OVERTURE PETG 1kg 1.75mm Starry Blue is a good example of PETG behavior. Even though it’s tinted, PETG is still a strong option when your goal is “clean-looking translucency” rather than frosted opacity.
Clear PLA blends for easy, affordable transparency
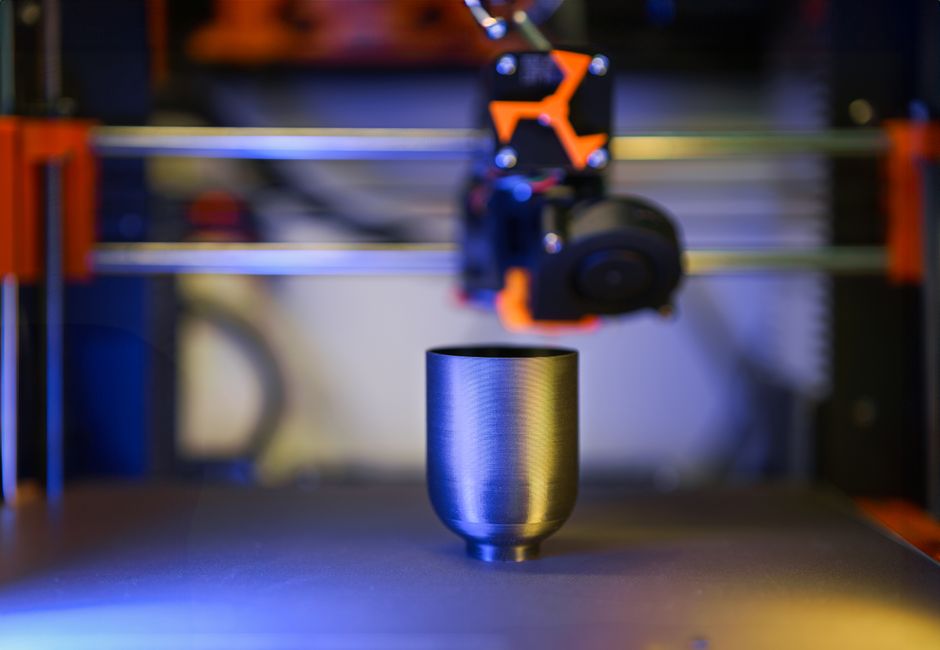
The catch: many PLA variants are prone to haze from crystallization, micro-voids, or cooling patterns. That’s why the best results usually come from PLA filaments marketed for optical clarity or low-haze performance.
Strengths
- High surface detail and easy printing on many desktop setups
- Typically lower warp risk than higher-temperature plastics
- Good choice for display parts and prototypes
Weaknesses
- More likely to go cloudy than well-tuned PETG
- Can be more brittle, which limits functional use
- Heat history and airflow can change the look between prints
3DLabPrint PolyLight 1.0 LW-PLA 1kg 1.75mm Orange is an example of a specialized PLA-style option. If you’re chasing transparency, the important part isn’t the color—it’s the blend design aimed at better clarity and print behavior. For maximum “window-like” results, you still want a truly clear or low-tint version.
Engineering plastics for near-glass clarity
If your goal is “as clear as a molded part” and you’re willing to tune and manage print conditions, engineering plastics (commonly used in clear applications) can deliver the most glass-like appearance.
These materials can be less forgiving and may require a more controlled environment, better bed adhesion strategies, and careful tuning for layer bonding and surface finish.
Strengths
- Often excellent optical performance when printed correctly
- Higher performance for functional clear parts
Weaknesses
- Higher tuning effort (temps, retraction, airflow, enclosure)
- More demanding on hardware and consistency
- Some are more sensitive to moisture and require reliable drying
What to look for in a transparent filament listing
When you’re shopping for high-clarity results, the listing text can help you predict haze and printability—if you know what to look for.
Check for these things before you commit:
-
Clarity wording that implies low haze
- Look for terms like “clear,” “optical clarity,” “low haze,” or “transparent.”
- If the product only claims “transparent color” or the photos look milky in the background, assume haze is part of the material.
-
Color and pigment load
- A “transparent blue” is still going to look tinted and can appear hazier because pigments scatter light.
- For the most glass-like look, prioritize clear/near-clear (or very lightly tinted) variants.
-
Surface/optics claims
- Listings that mention smooth walls, reduced clouding, or optical-grade behavior are better signals than generic “high quality.”
-
Printability signals
- Look for guidance on nozzle temperature ranges, drying recommendations, and fan/enclosure notes.
- Transparent printing is extremely sensitive to moisture and inconsistent extrusion; reliable filament documentation usually correlates with fewer surprises.
-
Diameter consistency and extrusion behavior
- Even small diameter variation can add tiny gaps and surface texture—both reduce clarity.
- If the filament is known for stable diameter and consistent flow, your tuned settings are more likely to carry across spools.
Print settings that reduce haze and improve glassy finish
Glassy clarity isn’t only about temperature—it’s about minimizing imperfections that scatter light: surface roughness, layer gaps, micro-bubbles, and hairs/stringing.
Use this baseline approach, then adjust with short test cubes before committing to full parts:
-
Start with a slightly smaller layer height
- Aim for a finer layer height than typical drafts. Finer layers reduce the “stair-step” texture that creates a cloudy look.
-
Slow down outer walls
- Reduce speed for walls and top surfaces. Slower extrusion improves layer bonding and helps the surface lay down smoother.
-
Tune retraction to prevent stringing
- Visible strings and blobs can look like internal haze once they get on the outside.
- If you see hairs, lower travel strings first (often by tuning retraction length/speed), not by wiping constantly.
-
Manage cooling carefully
- For PETG, too much fan can increase surface roughness and haze.
- For PLA, fan helps shape, but aggressive cooling can also reduce optical smoothness. Use low-to-moderate cooling and stick with it consistently.
-
Calibrate extrusion for consistent wall lines
- Over/under-extrusion can create gaps or ridges that scatter light.
-
Use seam placement and fewer visible transitions
- Place the seam on an edge that won’t face the “view” direction.
- For highest clarity, avoid lots of external infill texture on the viewing faces; keep the number of outer surfaces you’re showing to the light.
-
Use clean slicing and realistic wall counts
- A strong perimeter/wall strategy matters more than fancy features.
- If your slicer supports it, consider wall ordering or “outer before inner” behaviors that keep the most visible surface looking consistent.
-
Dry your filament (seriously)
- Moisture can create tiny bubbles or steam effects that directly increase haze.
- Drying doesn’t just improve strength—it can improve optical clarity.
Typical starting temperature ranges (for tuning, not a promise)
- PETG: start around common PETG nozzle ranges and adjust for smooth extrusion without excessive stringing.
- PLA: start around typical PLA nozzle ranges, then tune to keep the surface smooth and avoid over-bubbling.
If you can’t get a clear result, temperature is usually where to look first, but cooling and retraction are often equally responsible.
Post-processing for clearer, more glass-like results
Even with great settings, transparent parts benefit from finishing—especially if you can tolerate a bit of time for optics.
- Mechanical polishing: fine sandpaper progression followed by buffing can reduce micro-roughness and visibly improve clarity.
- Heat soaking/annealing (material-dependent): some plastics can become clearer after controlled heating, but warping is a real risk. Always anneal test pieces first.
- Clear coating: a thin, transparent coat can improve surface smoothness, but it can also introduce its own haze or yellowing over time—test on a scrap.
The best approach is iterative: polish or anneal a small coupon that matches your print settings and orientation, then scale up only if it hits the look you want.
Which filament should you choose for high-clarity prints
- Choose PETG if you want the most reliable path to clear-looking parts with good toughness and easier daily consistency.
- Choose clear/low-haze PLA blends if you need simple printing and crisp detail, and you can accept that haze control may take more careful tuning.
- Choose engineering plastics if optical performance is your top priority and you’re ready for tighter environmental control and extra tuning.
For your next step, pick one material type (PETG or clear PLA blend), dry it, print a small “see-through” test (walls, seam, and a flat face), and adjust only one variable at a time until the surface stops looking milky and starts looking glassy.
PriceIt3D may earn a commission when you buy through links on this page, at no extra cost to you. Affiliate notice.