
If your everyday printing needs include practical parts, quick prototypes, and repeatable results, the Bambu Lab A1 line is a smart place to look. The big question is which one matches your workspace and your typical print sizes: the full-size A1 or the more compact A1 Mini.
This comparison covers the real-world differences you’ll feel while printing, from build volume and tuning options to maintenance habits and who each model suits best.
Everyday printing tradeoffs: build volume and workflow
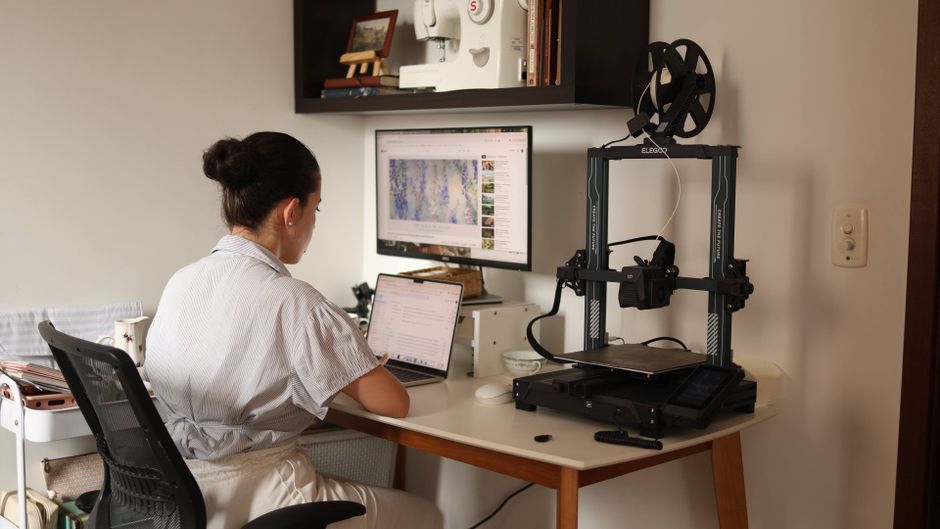
With the A1, you have more room for larger functional prints, longer single-piece designs, and parts that would otherwise require splitting and re-assembly. That usually means fewer print jobs, less post-processing, and less time thinking about whether you need to redesign your model.
With the A1 Mini, the smaller platform is easier to fit into tighter spaces and can make it less intimidating to run frequent, smaller prints. For many “everyday” users—desk accessories, small jigs, cable management, brackets, organizers, and quick fixtures—smaller volume is often enough and can even be a workflow win: you print smaller parts more often instead of planning around a big build.
Both are designed around convenience-first printing. In practice, you’ll spend more time refining your model and less time babysitting the printer—so choosing the right size really comes down to what you print most.
Bambu Lab A1: strengths for general home use

Strengths
- More usable build space for larger practical parts, multi-feature assemblies, and designs that are annoying to split.
- More flexibility when you’re iterating: you can test bigger geometries without immediately redesigning them into smaller sections.
- Everyday-friendly operation that’s geared toward consistent results, so you can focus on improving the print (orientation, supports, surfaces) rather than troubleshooting.
Weaknesses
- It’s less ideal if desk space is tight or if you mostly print small items and want the simplest, most compact setup.
- Larger prints tend to demand more material and time, so if your print habits are mostly small and frequent, the Mini’s smaller workflow can be a better fit.
Bambu Lab A1 Mini: strengths for small spaces and quick runs
The Bambu Lab A1 Mini is built for people who want convenient printing but don’t need large builds every day.
Strengths
- Compact footprint makes it easier to place in small workshops, offices, garages, or shared spaces.
- Smaller prints are often faster to iterate, which helps when you’re printing jigs, tools for organization, or repeatable accessories.
- Great for learning and experimenting: you can run frequent test prints without committing to the time and material of bigger builds.
Weaknesses
- You’ll split more models into sections for larger projects, which adds design planning and cleanup steps.
- If your everyday printing includes larger functional parts (enclosures, bigger brackets, long fixtures), the smaller volume can become a recurring constraint.
Tuning and print quality: what you can expect
Both A1 models are aimed at “quality without fuss,” meaning the software experience and calibration routines are designed to keep results predictable. The best print quality still comes from setting the right expectations and tuning in the right places.
Here’s what matters most for everyday prints—regardless of which one you own.
-
Quality vs speed tuning
Most users get better results by thinking in terms of a print “mode” rather than micromanaging dozens of settings. Choose profiles that prioritize either surface detail or throughput, then adjust only what really changes your outcome. -
Layering, walls, and surfaces
Even good printers benefit from basic model decisions: correct wall thickness, clean geometry, and sensible overhangs. If your parts look great in some directions but not others, orientation is often the fastest fix. -
Material behavior
Different filaments want different handling—especially for cooling, bed adhesion, and how your printer recovers from changes in load. If you regularly swap between materials, you’ll get smoother everyday results by keeping a reliable filament profile workflow.
To make tuning practical, use this checklist for everyday optimization:
- Start with a “standard quality” profile, then change one variable at a time (speed, temperature, or cooling) to see what actually improves the surface.
- Tune wall/perimeter settings before tweaking infill if your priority is strength or clean outer finish.
- Adjust support strategy (type, density, or placement) rather than only changing overall print time.
- Calibrate for adhesion when you change filament types—especially when switching between materials with different cooling/warping behavior.
- Re-check orientation when surface quality matters; flipping the model can be a bigger improvement than raising quality settings.
In general, print quality on both models is strongest when you treat them as repeatable machines with consistent profiles, then let model orientation and support decisions do the heavy lifting.
Maintenance needs and day-to-day reliability
Maintenance on modern automation-first printers is usually about preventing small issues from turning into failed prints. The good news: the day-to-day upkeep is mostly simple and routine.
Expect similar maintenance categories on both the A1 and A1 Mini. Differences are usually about how often you print bigger parts (more time under load means more wear over months).
A practical weekly routine:
- Clean the build plate and remove residue so adhesion stays consistent.
- Wipe and inspect exposed surfaces for dust buildup that can affect sensors and airflow.
- Check the nozzle area for filament debris (watch for stringing changes that hint at clogs or residue).
- Verify belts, screws, and fans are running smoothly by listening for changes in sound and vibration.
If you keep that rhythm, both printers tend to stay reliable for everyday printing.
Which one fits your everyday printing setup?
Choosing between the A1 and the A1 Mini comes down to your typical project size and how you like to work.
The A1 is the better everyday choice if you:
- Often print larger functional parts that are hard to split
- Want fewer redesigns because your printer can handle more of your model sizes
- Plan to make workshop fixtures, bigger organizers, enclosures, or multi-part assemblies
The A1 Mini is the better everyday choice if you:
- Print mostly small accessories, jigs, holders, and quick prototypes
- Need a compact setup that fits in tight spaces
- Prefer fast iteration cycles and frequent small prints
Pick the A1 if your projects regularly outgrow the idea of “small.” Pick the A1 Mini if most of your prints are small enough that splitting is the exception, not the rule—and then spend your effort improving designs, not managing constraints.
PriceIt3D may earn a commission when you buy through links on this page, at no extra cost to you. Affiliate notice.