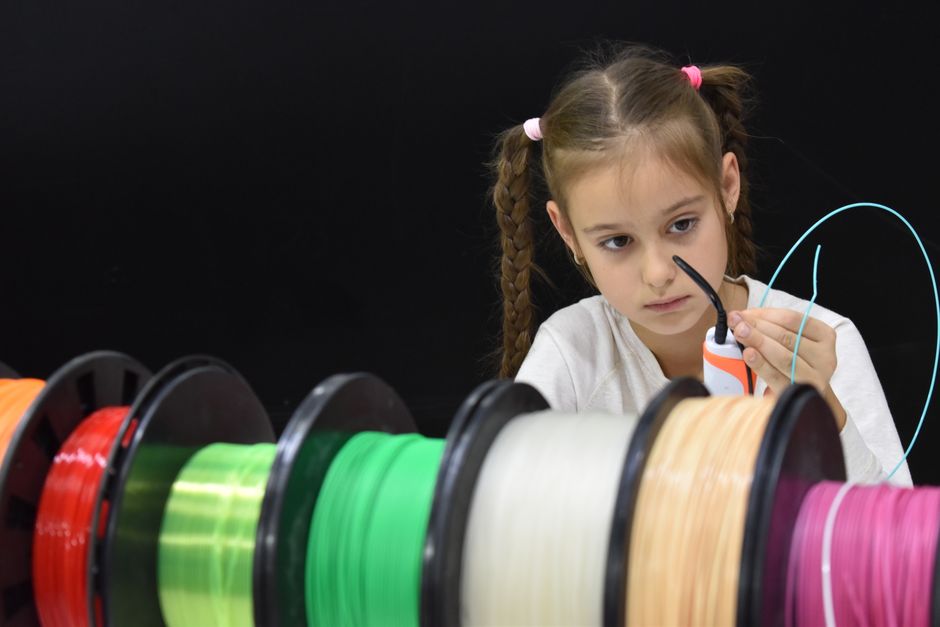

If you’re new to FDM, the printer you choose is only half the story. The other half is whether you can reliably get good first layers, avoid repeat failures, and keep the machine working with reasonable troubleshooting effort.
This comparison focuses on the day-to-day realities beginner print projects care about: print quality consistency, ease of setup, a sensible upgrades path, and the kind of maintenance and troubleshooting you’ll actually run into.
Setup Speed and First Print Confidence
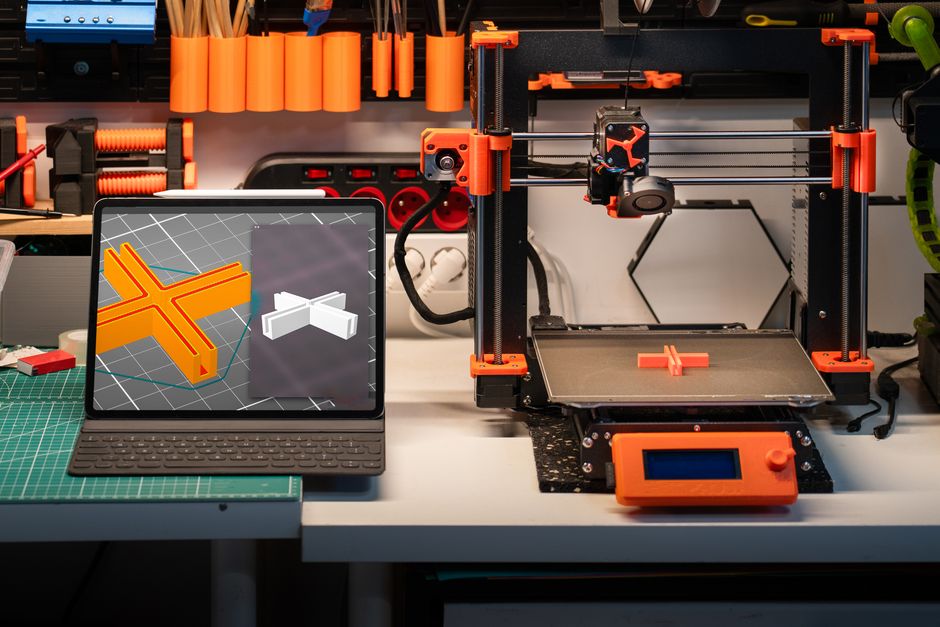
Use this approach to judge each printer after you unbox it:
- How quickly you get to a stable baseline (even if it’s not perfect).
- Whether the printer’s leveling and Z calibration steps are understandable when something is off.
- Whether the default slicer workflow produces a usable first print, or if you immediately need to dig into settings.
Here’s a beginner-safe setup checklist that works for either machine:
- Assemble the printer carefully, then check key fasteners (especially the bed and motion components) for snugness.
- Install a spool correctly, load filament, and perform a short purge so the nozzle starts extruding clean material.
- Run the printer’s bed leveling or Z calibration process, then confirm the paper-drag feel (or nozzle-to-bed gap) across the build area.
- Clean the build surface with an appropriate method for its material (avoid oily residue; dirt causes adhesion failures that look like calibration issues).
- Slice a simple calibration model and watch the first layer closely for consistent line width and no gaps.
- Save your baseline settings and keep a short note of what changed so the next troubleshooting step is faster.
Between the two, the biggest practical difference you’ll feel is how quickly the machine guides you from setup to a dependable first layer. A printer that “almost works” but requires constant babysitting can cost more time than you expect.
What “easy setup” really means
Easy setup is when your first layer starts correct with minimal iteration, and the printer’s calibration steps are repeatable. In practice, that reduces failed prints and makes you learn faster because you’re adjusting one variable at a time.
Print Quality Consistency for Beginner Projects

- Whether your first layer lands where it should
- Whether extrusion looks steady across the bed
- Whether minor temperature or airflow changes cause noticeable layer defects
FDM consistency usually comes down to a few practical factors.
First layer stability matters more than most beginners expect. If the first layer is slightly too high or too low, you’ll get symptoms that look like “bad slicing” but are actually calibration or adhesion problems. The fix is rarely to change everything—usually it’s one focused adjustment.
Second, extrusion steadiness matters. Even when the machine is well-calibrated, inconsistent extrusion can create under-extrusion gaps, weak bonding, or stringing that makes prints look rough. Beginners often misdiagnose this as a slicer issue when it’s actually filament dryness, nozzle condition, or basic flow settings.
Finally, cooling and airflow consistency affect layer appearance, especially on overhangs and small details. If the cooling behavior varies from print to print, you’ll see a mix of results that feels random.
How to compare them without getting lost in specs
Instead of relying on manufacturer claims, compare real-world consistency by running the same type of test print on each printer:
- A first-layer test (to validate bed contact)
- A small benchy-style model (to see overhangs and detail)
- A simple multi-part job (to check repeatability across multiple pieces)
If one printer consistently produces clean surfaces and stable layers with only minor tweaks, you’ll spend less time troubleshooting and more time learning.
Strengths and weaknesses to look for
Ender 3 V3 SE (strengths and weaknesses)
Strengths
- Often benefits from the broader Creality-focused community ecosystem, which means more how-to guides, community troubleshooting patterns, and common replacement parts.
- Beginners typically like machines where calibration concepts feel familiar and adjustable without a steep learning curve.
Weaknesses
- If you end up needing repeated tuning to maintain consistent first layers, that increases ongoing effort.
- Some beginner pain can come from learning which adjustment actually fixes the symptom, especially when adhesion and nozzle condition both affect layer appearance.
Elegoo Neptune 4 Pro (strengths and weaknesses)
Strengths
- Often appeals to beginners who want a more straightforward path from setup to working prints, with calibration and workflow that feels guided.
- Can be a good fit if you value consistent results with fewer “fiddle until it looks right” sessions.
Weaknesses
- If your troubleshooting path depends on manufacturer-specific procedures, you may find fewer third-party guides compared with more widely documented ecosystems.
- Like all FDM printers, it still needs periodic upkeep; ignoring nozzle cleanliness and build surface condition will show up as poor adhesion and inconsistent layers.
Upgrades Path: What’s Worth Doing First
Upgrades can help, but beginners shouldn’t treat them as required. The best upgrades are the ones that reduce failed prints or make tuning easier.
A smart upgrades path usually follows this order:
- First: reliability and repeatability (bed surface, nozzle consumables, basic calibration stability)
- Second: print quality improvements you can feel (cooling consistency, surface finish, fan ducts)
- Third: performance upgrades only after you’re consistently getting good parts
Both printers can typically benefit from beginner-friendly upgrades, but the “best” path depends on how you’ll use the printer.
If you mainly want dependable prototypes and functional parts, focus on:
- A proven build surface option for your filament type
- Keeping spare nozzles and being disciplined about swapping worn or clogged ones
- Learning how to dial in first layer settings rather than chasing every surface artifact
If you plan to move into more detailed prints, look at upgrades that improve cooling consistency and support clean overhangs. That’s usually more valuable than chasing higher speeds early on.
Ecosystem matters more than the upgrade list
The practical advantage of a larger ecosystem is that you can find compatible parts, prints-for-upgrades, and troubleshooting patterns. That doesn’t automatically make one printer “better,” but it often reduces your effort when something goes wrong.
Maintenance and Troubleshooting Effort in the Real World
Maintenance is where beginner experiences diverge. Even the best beginner printer will need regular care, but the effort level changes based on design choices and how stable the machine is once dialed in.
For typical beginner use, expect these recurring categories of issues:
- Adhesion failures: often caused by build surface contamination or first layer settings that drift
- Clogging and inconsistent extrusion: usually nozzle buildup or filament moisture effects
- Warping or lifting: often material-related, but calibration and bed contact still play a role
- Calibration drift: screws, belts, or general mechanical settling that happens over time
The goal is to make troubleshooting predictable. A good beginner setup reduces how often you see problems, and it reduces how hard it is to diagnose.
A simple maintenance rhythm that prevents most beginner headaches:
- Keep the build surface clean and handle it carefully
- Watch the first layer every time (it’s your earliest warning system)
- Inspect the nozzle and swap consumables when print consistency drops
- Periodically check mechanical stability (for example, any components that can loosen with transport or heavy use)
If one printer requires frequent re-leveling or constant tuning to stay consistent, that increases day-to-day effort. If one printer holds its calibration better and makes nozzle and adhesion issues easier to identify, you’ll spend more time printing and less time debugging.
Which one tends to be lower-effort for beginners
In general:
- The printer with the smoother setup-to-working-print experience tends to feel easier week one.
- The printer that holds calibration and makes common failures easier to diagnose tends to feel easier after a few months.
Which Beginner Should Choose Each
Choose based on how you want to learn.
- If you want a huge community ecosystem, lots of documented troubleshooting patterns, and a printer that you can grow with through practical upgrades, Ender 3 V3 SE is often a good match.
- If you want a guided path to consistent results with less early tinkering, Elegoo Neptune 4 Pro is often a strong fit for first-time FDM users.
The most important next step for either choice is to commit to a repeatable baseline workflow: one calibration routine, one known-good filament and slicer profile to start, then adjust only what the first layer and the test print reveal. That’s what turns a beginner printer into a dependable workshop tool.
PriceIt3D may earn a commission when you buy through links on this page, at no extra cost to you. Affiliate notice.