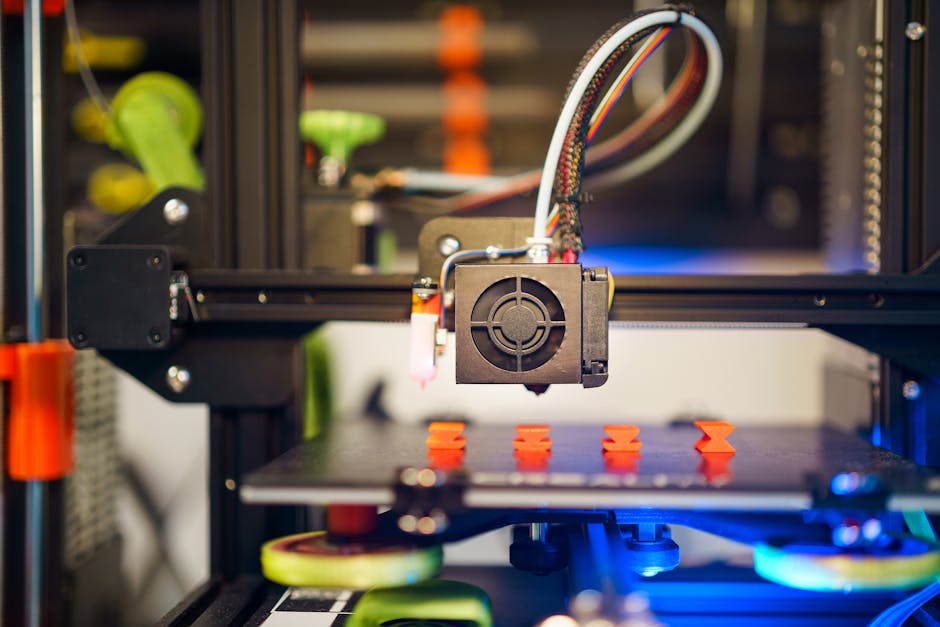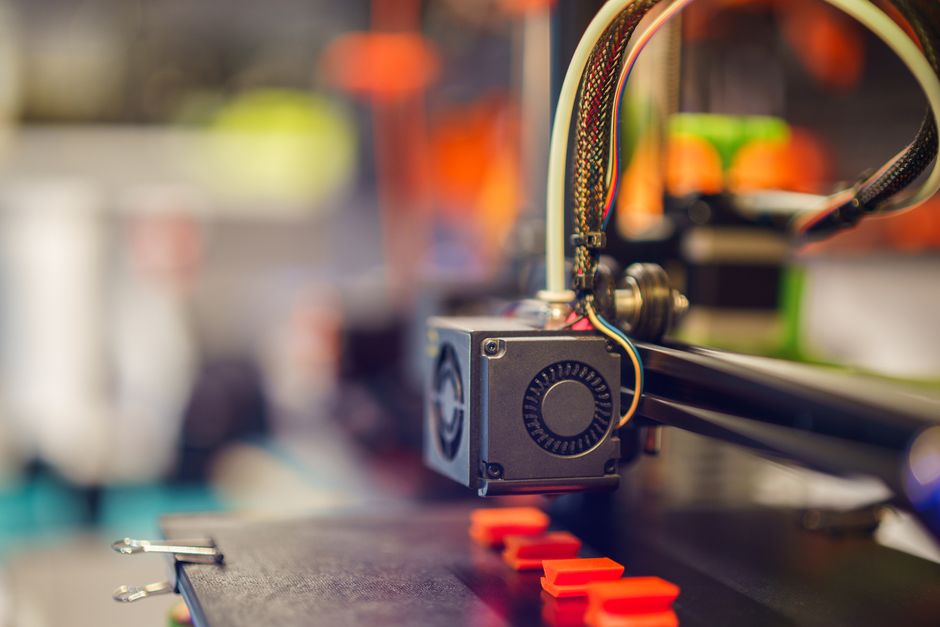

Swapping a Bowden setup for direct drive is one of the most effective ways to improve extrusion control—especially with flexible materials. The mechanical install is only half the job: direct drive changes the filament response, so retraction and pressure tuning need a fresh baseline.
This guide covers the full workflow: mounting the toolhead, routing and managing cables so nothing binds, updating firmware retraction settings, then dialing in retraction and pressure advance until the printer prints cleanly and reliably.
Mechanical Mounting: Toolhead and Idler Setup

Follow a careful mount order so the drivetrain, hotend, and nozzle line up the way the firmware expects:
- Remove the Bowden parts cleanly: take out the Bowden tube, coupler/fitting at the extruder, and any leftover guide hardware you won’t reuse.
- Mount the direct-drive extruder/bracket first: attach the carriage-side bracket firmly, then confirm the toolhead moves smoothly across the full X range.
- Align the extruder feed path: ensure filament enters the drive gears straight (no sharp bends right at the inlet). Misalignment can cause grinding and inconsistent retractions.
- Set up the idler/arm tension correctly: the drive gears should grip filament without excessive force. Too loose slips (under-extrusion/stringing), too tight increases friction and heat at the gears.
- Check hotend/nozzle alignment with the extruder: verify the nozzle is centered relative to the carriage travel and that the filament path won’t rub the shroud or move out of its intended lane.
- Re-square the toolhead and re-level the bed: after mounting, rerun your leveling (or mesh, if you use one). Direct-drive upgrades often change the carriage mass and can affect repeatability.
Why this order matters: firmware tuning won’t compensate for a filament path that’s misaligned or a nozzle that’s not returning to the same Z position. Mechanical consistency makes tuning faster and more repeatable.
Cable Routing and Strain Relief
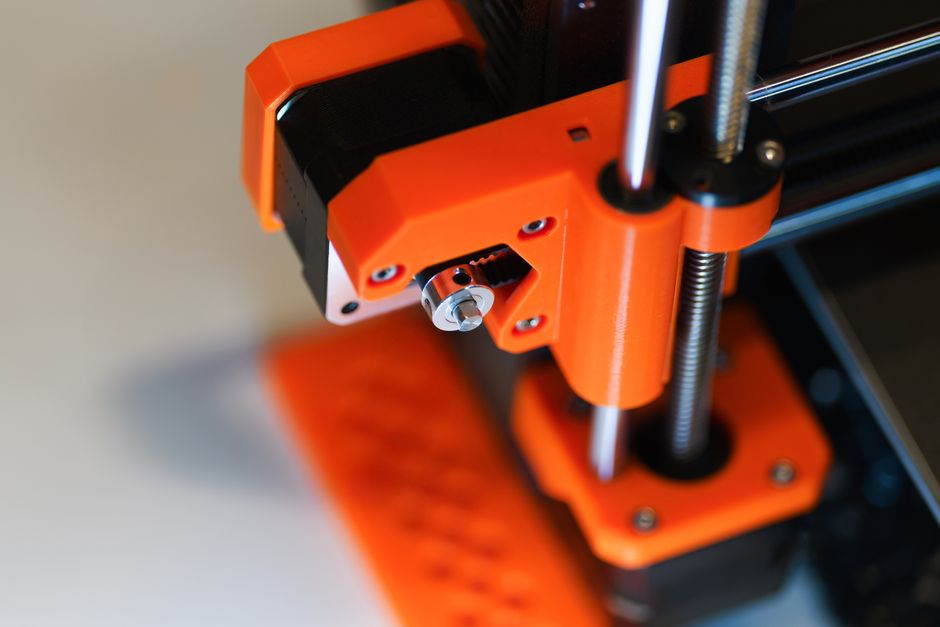
Key goals:
- Avoid cable drag and snag points: route wires so they follow the existing harness path and never cross over moving axis motion in a way that can snag.
- Leave proper slack where needed: you want enough movement headroom for full travel, not a “just fits” setup that works at the center but fails at the extremes.
- Use strain relief thoughtfully: a loose zip-tie or missing clip can cause the wire to pull tight as the carriage moves, leading to stepper stutter or fan cutouts.
- Mind hotend proximity: keep thermistor/heater wiring away from areas that can melt insulation or press against the toolhead.
If your upgrade includes a dedicated carriage fan or required airflow changes, route those wires so they don’t get pinched when the printer accelerates and changes direction.
Firmware Changes for Direct Drive
Direct drive usually means the firmware’s assumptions about filament motion need adjustment. You’re changing two big things: how quickly the extruder responds, and sometimes how much filament the printer expects to move per step.
Start with the basics:
- E-steps (extruder steps/mm): only update this if your direct-drive kit changes the drive gear ratio, hob diameter, or wiring such that the measured “filament moved per motor step” is different. If you reused the same extruder motor and gears from the original setup, you may already be close—but verify by measuring extrusion distance.
- Retraction settings: direct drive commonly requires less retraction distance than Bowden, because the filament path between drive gears and nozzle is shorter. Shorter paths mean less time for filament motion to “lag,” so you typically need smaller retraction moves to avoid over-pulling.
What to change in your firmware menus
Names vary by firmware, but look for these categories:
- Retraction distance and retraction speed
- Any pressure-advance feature (often called “Pressure Advance” or “Linear Advance”)
- Extruder travel limits are the same, but toolhead movement can change where strings or blobs appear—so treat tuning as part of firmware setup.
Practical starting points
Instead of trying to guess perfect values, set a reasonable baseline and then tune:
- Retraction distance: start lower than your Bowden values. If your Bowden profile used larger distances, direct drive often needs noticeably smaller ones to prevent under-extrusion and clicking on restart.
- Retraction speed: keep it moderate at first. Very fast retractions can still cause clogs or grinding, even if the distance is correct.
- Pressure advance: start near zero (or your current value if you already had a well-tuned direct-drive profile). The goal is to reduce pressure-related over/under-shoot when the printer starts and stops.
Why this matters: retraction solves ooze during travel, while pressure advance solves shape and dimensional errors at corners and direction changes. They interact, so you tune them in a controlled sequence.
Retraction and Pressure Advance Tuning
This is where direct drive either becomes “clean and precise” or stays annoying. Approach tuning like a process, not a guessing game.
- Set a safe baseline profile for your filament: use your best-known temperature and speeds, then update only retraction and pressure advance first.
- Tune retraction for stringing vs. blobbing: print a stringing test (or a simple travel-heavy pattern). Watch for thin hairs, globs at the start/stop points, and whether extrusion after travel looks starved.
- Adjust retraction distance first: if you still see strings, slightly increase distance; if you get gaps or under-extrusion right after travel, decrease distance. Keep changes small so you can tell what each change fixed.
- Then tune retraction speed: if stringing remains but distance is correct, adjust speed up or down. Speed changes how force ramps during retraction, which affects flexible filament behavior.
- Tune pressure advance next: print a test that emphasizes corners (many slicers provide basic pressure-advance/corner tests; any “start/stop and direction changes” pattern works). Increase pressure advance until corners look consistent without ringing or overcompensation.
- Lock in separate profiles per filament type: flexible vs. rigid, and different brands/materials, can want different retraction and pressure advance behavior—even at the same temperature.
What to look for as you tune:
- Too much retraction often shows as dry-looking restarts, faint gaps, or inconsistent extrusion after travel.
- Too little retraction often shows as strings, little hairs, and oozing at the end of lines.
- Pressure advance too low can produce blobby corners or dimensional bulges.
- Pressure advance too high can cause corners that look sharp but slightly “etched,” or it can create artifacts that move with acceleration changes.
Flexible filament note
If your goal is flexible performance, direct drive helps because the extruder can respond with less delay. Still, tuning matters even more: stringing and jams often come from retraction values that are still “Bowden-minded.” Keep retraction changes incremental and be ready to reduce speed if the filament buckles.
Test Prints and Reliability Checks
Once retraction and pressure advance look good, verify the install holds up across the job—not just one perfect sample.
- Run a multi-hour or multi-part print: direct drive can mask issues on small tests that appear later—heat soak, fan effectiveness, or cable fatigue.
- Watch for extruder clicking/grinding: clicking during sustained extrusion often points to too much friction (idler tension), a partial clog, or heat issues.
- Confirm cooling airflow: direct drive toolheads often need reliable part cooling and adequate airflow around the extruder motor/gears depending on your design. Poor airflow can make retraction feel inconsistent over time.
- Check for wobble: after the first few prints, re-check mounting fasteners. Carriage movement can gradually loosen hardware, especially if the bracket wasn’t fully seated.
- Validate bed adhesion and Z repeatability: re-level or refresh your mesh if your setup shifts. Even a well-tuned direct drive will struggle if first-layer height becomes inconsistent.
A practical verdict: choose direct drive when you want faster, more controlled filament response—especially for flexible materials—but treat calibration as mandatory. After mounting and routing, tune retraction first (stringing vs. starvation), then pressure advance (corner/start/stop shape). When both are dialed in, the upgrade tends to feel dramatically more predictable than a Bowden setup with the same profiles.
PriceIt3D may earn a commission when you buy through links on this page, at no extra cost to you. Affiliate notice.