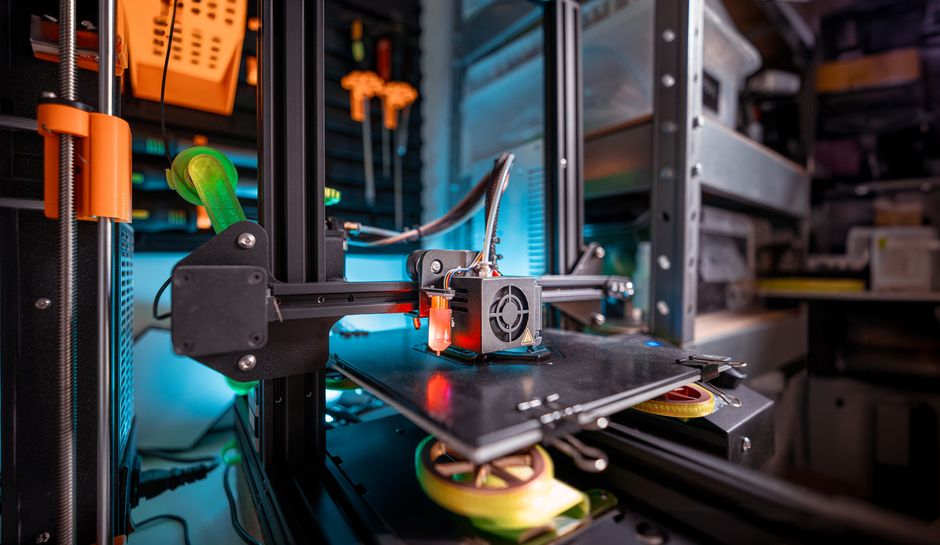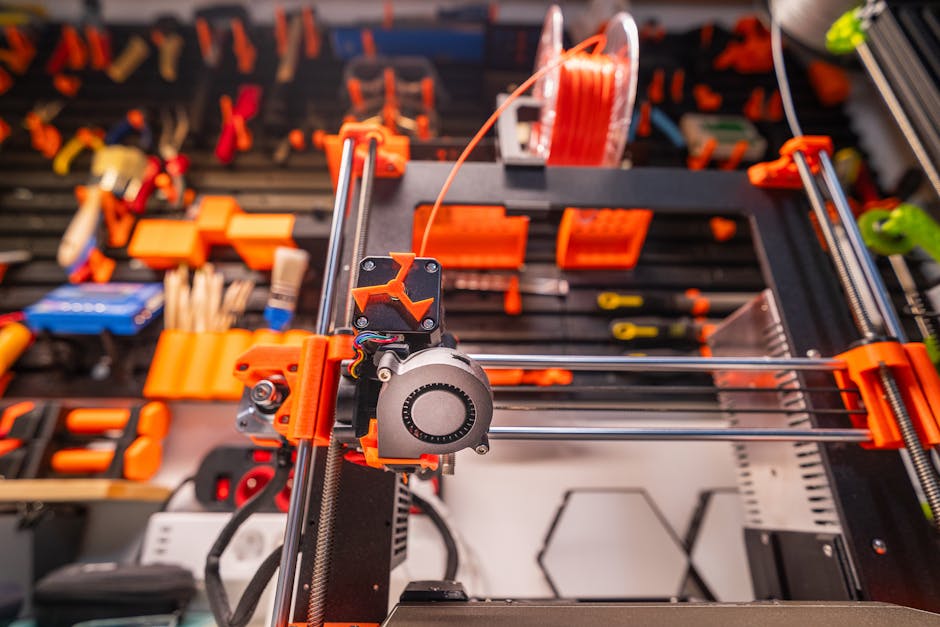

Accurate 3D prints come down to one boring-but-critical setting: how much plastic your printer actually pushes out versus how much your slicer expects.
If your dimensions are consistently off (for example, walls too thick, holes too small, parts shrinking or swelling), you don’t need more “better settings.” You need to calibrate flow rate and extrusion multiplier—then confirm with a measured calibration print.
Diagnose Under- and Over-Extrusion Before You Tune

Under-extrusion (too little plastic) and over-extrusion (too much plastic) often show up in predictable ways. Use these signs as a fast guide before you change numbers:
- Under-extrusion often makes perimeters look slightly rough or gappy, especially where lines should merge cleanly.
- Over-extrusion often creates extra “pillow” blobs along edges, ridges between lines, or bulging walls.
- Holes get smaller with over-extrusion and smaller/blocked with under-extrusion (because the wall thickness or top surface changes).
- Thin walls and features drift more than large ones—if your small details suffer first, extrusion accuracy is likely the root.
- Surface finish can mislead: you can make a surface smoother with temperature tweaks, while dimensions still stay wrong.
If the same dimension is off in the same direction across multiple prints, that’s the signal to tune flow/extrusion multiplier. If it changes print-to-print, pause and check the basics first: filament seating, extruder tension, clogged nozzle risk, and whether the printer is truly extruding at the commanded rate.
Tune Flow Rate and Extrusion Multiplier With Measurements

- Extrusion multiplier (sometimes shown as “E-steps”/“flow” depending on firmware or slicer) scales how much filament the extruder motor feeds.
- Flow rate is effectively the same idea, but typically controlled in the slicer (as a percentage) to correct volumetric output.
The goal is the same: make the amount extruded match what your slicer expects so line width and wall thickness land where the model says they should.
Use this practical approach that works for most FDM setups:
- Pick a calibration approach that you can measure easily (the key is consistency). Most people start with a dimensional test print and/or a short extrusion measurement.
- Confirm your slicer is set to the diameter you’re actually using (for example, the filament’s rated 1.75 mm). If the diameter is wrong, “calibration” will chase its tail.
- Do one normal test print with your current settings.
- Measure a few critical dimensions with calipers: a known outside length, a wall thickness (or feature width), and at least one hole/slot size.
- Decide which way to correct:
- If measured wall thickness/width is larger than expected, reduce flow/extrusion multiplier.
- If it’s smaller (or holes are tighter than expected), increase flow/extrusion multiplier.
- Apply a modest change. A common workflow is to adjust in small increments (often a few percent at a time) rather than jumping aggressively, because you want to avoid overshooting.
- Print again and re-measure the same dimensions.
- Stop when the measured values fall within your tolerance. Save the final multiplier/flow value as your baseline for that material and nozzle.
A note on “extrusion-only” tests versus full dimensional tests: extrusion-only moves can be useful to ensure the extruder isn’t wildly wrong, but volumetric flow affecting line width and bonding still benefits from dimensional validation. For dimension accuracy, measured test prints usually do the heavy lifting.
Validate With Calibration Models That Expose Dimensional Errors
To calibrate flow/extrusion multiplier for accurate dimensions, you need a test print that converts extrusion error into measurable geometry.
Look for a model that includes:
- Straight outside edges (to detect width/overshoot errors)
- A wall or perimeter feature (to read wall thickness drift)
- A hole or internal slot (to show how extrusion affects openings)
Common choices include a single-wall thickness pattern, a calibration cube with known dimensions, and models that repeat features so you can average measurements. The point isn’t magic—it’s using geometry that makes “too much plastic” and “too little plastic” show up clearly.
When you print calibration models, keep these variables stable so your flow tuning doesn’t get blamed for other problems:
- Use the same layer height and nozzle temperature as your target quality profile.
- Keep part cooling consistent for your material.
- Ensure bed leveling and Z offset are reasonably dialed; if the first layer is too squished or too high, dimensional results can skew.
- Use the same orientation you plan to print real parts in. Over-extrusion effects can look different on walls vs top surfaces.
Measure consistently:
- Measure the same side of the part (edges can show slight variation due to cooling).
- Measure several repetitions of the same feature if the model includes them.
- Compare measured values to the model’s nominal sizes and note the direction of error.
If you see a consistent trend—like outside dimensions consistently too large—your flow multiplier is still off. Keep iterating: change the multiplier slightly, print again, and re-check the same features. Stop when you get the repeatability you care about.
Lock in Results and Keep Them Accurate Across Prints
Once dimensions match, the calibration isn’t “done”—it’s just stable under your current conditions.
To keep flow and extrusion multiplier accurate long-term, treat calibration like a workflow you can reuse:
- Save your final flow/extrusion multiplier settings under a profile name that matches your printer/nozzle/material combination.
- If you swap nozzle size or change filament brand/material type, expect a new calibration cycle (even if it’s minor). Different filaments can behave differently in how they melt and spread.
- If you notice recurring drift (for example, holes gradually closing up over a string of prints), inspect the nozzle and extruder path. Partial clogs and worn nozzles can mimic flow errors.
- Re-check bed adhesion and Z offset whenever you change the build surface, perform major maintenance, or see first-layer changes.
A simple validation mindset helps: whenever you change one major variable, run the smallest useful check print that measures outside size and at least one internal feature. That way, you catch flow-related dimensional issues quickly instead of discovering them after a big job.
When your measured dimensions consistently match the calibration model within your tolerance, you’ve done the core job—your flow/extrusion multiplier now supports accurate geometry rather than fighting it.
PriceIt3D may earn a commission when you buy through links on this page, at no extra cost to you. Affiliate notice.