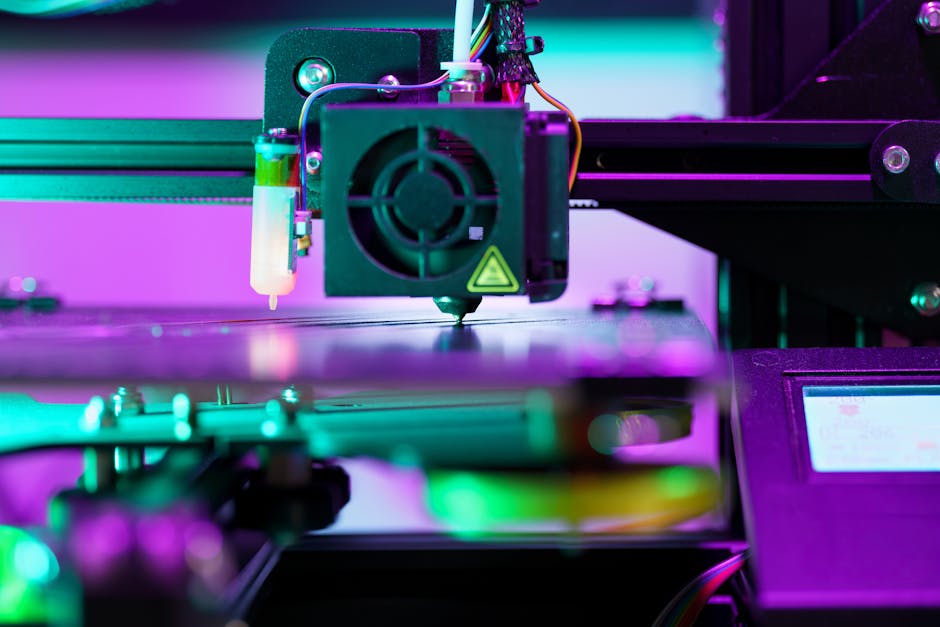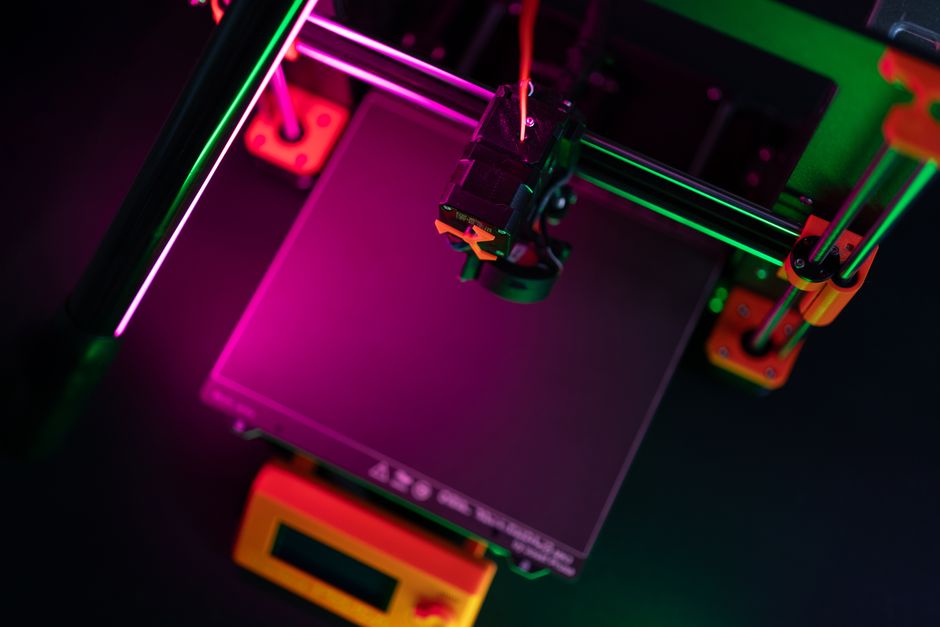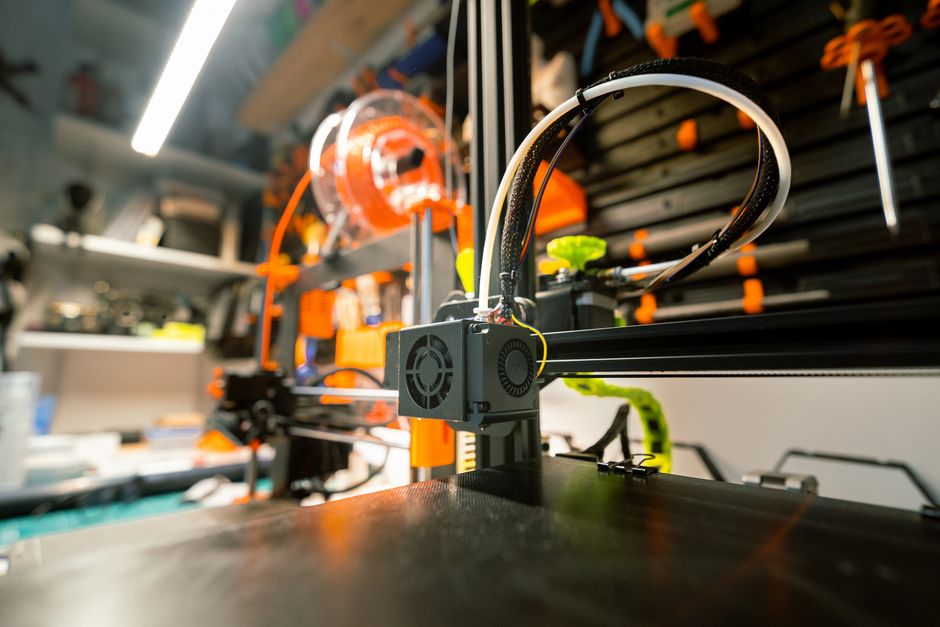

Linear advance (often called pressure advance) is the missing step when your prints look great at one speed, then subtly change dimensions—especially around corners—when the printer accelerates and slows down.
This guide shows an end-to-end workflow for a Cartesian FDM printer: what to prepare first, how to run a repeatable calibration test, how to pick a value, which variables to keep constant, and how to verify corner accuracy on real geometry with calipers and simple measurement techniques.
How to Understand Linear Advance and What It Fixes
When the motion planner ramps speed (typical at corners), the required extrusion rate changes immediately, but the pressure in the melt path doesn’t. If the firmware doesn’t compensate:
- Corners can turn into visible “bulges” because extra material continues to flow briefly.
- Or corners can become slightly “pinched in” because the opposite pressure lag causes too little material at the exact moment the direction changes.
- Dimensions can drift in small but noticeable ways: wall thickness varies, small holes shift, and chamfers/corners don’t match CAD.
The goal is not to make every print perfectly identical in every situation. The goal is to get consistent dimensional behavior across the speeds your printer uses most.
How to Set Up the Printer for a Repeatable Test

Do these checks so your test results actually mean something:
- Confirm your baseline extrusion behavior is reasonable (flow/extrusion multiplier is already close). If you’re consistently under/over-extruding, fix that first.
- Use the same material, nozzle, temperature range, and cooling behavior you plan to use. Pressure advance is sensitive to viscosity and melt behavior.
- Keep retraction settings consistent during testing. Retraction changes ooze behavior and can mask corner effects.
- Keep accelerations/jerk (or equivalents) the same while tuning. Linear advance is reacting to motion dynamics.
- Make sure the mechanical setup is tight: extruder tension, gear condition, belt tension, and carriage movement. If you have inconsistent motion, your “calibration” becomes noise.
How to Calibrate Linear Advance With a Step Test
Use a structured test pattern that triggers repeated speed changes in the same way and gives you measurable differences. Run the calibration in small increments so you can see the trend.
Follow this end-to-end workflow:
- Heat up fully and start each test with the same soak time. Melt conditions drift over the first few minutes.
- Pick a speed range that matches your typical print (and includes the acceleration-heavy corners you care about). Use the same range for all PA tests.
- Set a fixed “candidate” linear/pressure advance value and keep everything else unchanged (flow, retraction, temperatures, fan).
- Print the pressure/linear advance test pattern once per candidate value, keeping part cooling and filament path conditions the same.
- Measure the key dimension(s) on each segment: corner sharpness, wall thickness consistency, or the amount a line “stands proud” versus “pulls in.” Pick one measurement method and stick to it.
- Choose the value that best matches your target behavior for corners: you want minimal over/under compensation at direction changes, not the smoothest looking side wall.
- Re-test near the winner at the speeds you actually print. If your printer’s motion profile changes drastically between low-speed and high-speed moves, you may need a different value (or accept a compromise).
How to Read the Results (Fast)
If your PA value is too low, corners tend to show a “late” material response: you may get rounded bulges or extra width right where the direction changes.
If your PA value is too high, the firmware tends to “pull back” too aggressively: corners can look slightly pinched and thin, and small features may become undersized.
How to Choose a Value for Different Speeds and Corner Types
Many slicers and firmware configurations use different speed limits for perimeters, internal features, and travel-to-curve transitions. That means one linear advance value might not be perfect everywhere.
A practical way to choose:
- Tune for the speed where you see your dimensional errors most (often outer perimeters and visible corners).
- If you print both slow and fast settings frequently, consider separate profiles (for example, one for display-speed printing and one for production-speed).
- If your printer supports speed-based behavior for pressure advance (or you can approximate it), you’ll get more consistent accuracy across the motion range.
Common calibration mistakes to avoid:
- Changing flow/extrusion multiplier while tuning linear advance.
- Tuning with a different temperature, fan speed, or retraction than your real prints.
- Testing at only one segment speed while your prints run at several different speeds.
- Letting accelerations/jerk change between runs (even “small” changes can move the optimum).
How to Verify Corner Accuracy on Real Geometry
A pressure advance test pattern tells you about pressure lag under controlled moves, but you ultimately care about real geometry: the corners you see, the holes you measure, and the fit surfaces that must be right.
Use a verification part that includes:
- External corners (90-degree and/or small chamfers)
- Internal corners (especially in pockets)
- Thin walls and short segments (where acceleration changes are frequent)
- A couple of simple dimensions to measure: wall thickness, corner-to-corner distance, and hole diameter (if applicable)
Measuring corner accuracy the practical way
You don’t need a microscope. Calipers and a consistent measurement strategy are enough:
- For corner “bulge” versus “pinch,” measure the effective wall thickness near the corner and compare it to the same wall thickness away from the corner.
- For chamfers/angles, measure the width at two heights along the chamfer (near the top and near the bottom) to see whether the error is localized.
- For holes, measure diameter at the height where the corner transitions affect the perimeter most. If the firmware under/over-compensates, you’ll often see a systematic shift.
What “good” looks like
After tuning, corner behavior should become repeatable across runs:
- Outer corners should match CAD without noticeable swelling.
- Internal corners should show consistent filling without becoming thinner than expected.
- Small features shouldn’t drift wildly between low-speed and high-speed segments.
If your real-geometry part still shows a corner-specific dimensional error, don’t immediately blame linear advance. First confirm:
- The slicer is using the same perimeter speed and acceleration profile as your test.
- The nozzle and filament condition are consistent.
- Your flow is still correct (pressure advance can’t fix a flow error).
A reliable next step is to re-run a narrow PA refinement (a smaller value range around your current best) while keeping everything else frozen, then re-check the same corner measurement points.
Pick the linear advance value that gives you the closest match on the corners that matter for your parts. If your workflow uses widely different speeds, maintain more than one tuning profile instead of forcing a single value to cover everything.
PriceIt3D may earn a commission when you buy through links on this page, at no extra cost to you. Affiliate notice.