Stringing on resin prints isn’t just cosmetic—those wispy tails can pull into the model, cure onto supports, and leave you with extra cleanup. The good news: most causes trace back to a few controllable settings and a couple of resin/print-environment issues. This guide walks through diagnosing what you’re seeing and then adjusting exposure, temperature, and printer motion (including drain time and “retraction-like” lift behavior) to stop it.
Diagnose the cause from what the stringing looks like
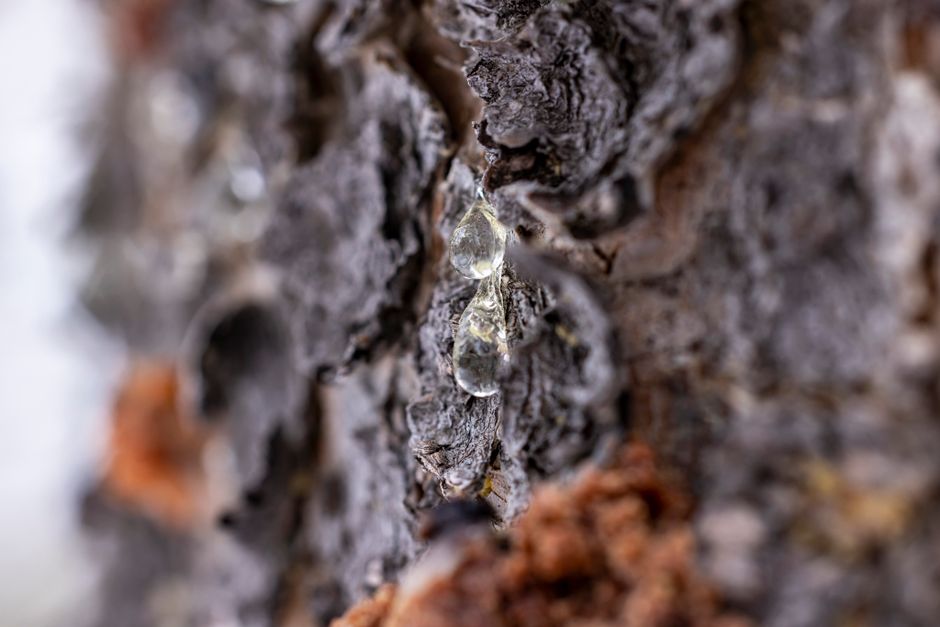
Start with this quick diagnosis checklist:
- Ropes and tails stretched from a cured edge during movement usually mean the model is sticking to the resin film, then being dragged up or sideways as it lifts.
- Whiskers that look like tiny cured filaments near supports often point to supports (and the adjacent surfaces) overexposing or not fully separating during the lift.
- Stringing that increases on taller prints suggests temperature/viscosity drift during a long run or insufficient drainage time.
- Stringing that changes right after you switch resin batches or brands often indicates different viscosity and wetting behavior, even if the settings “used to work.”
- Stringing that happens mostly on one side of the build can be a sign of uneven curing/contact with the FEP film (including film contamination).
- Thin threads appear on hollow areas and undersides can indicate insufficient draining after exposure or resin trapped where it can’t flow back smoothly.
- A film-like “web” effect across many features is more consistent with overexposure and/or too much time letting resin keep reacting after it should separate.
- Stringing that gets worse after you shake or leave resin out usually means the resin’s temperature changed (or it absorbed/redistributed air and bubbles), affecting viscosity.
Once you know which bucket you’re in—sticking/suction, overexposure, or resin condition—you can target the right slicer knobs instead of guessing.
Dial in exposure to stop overcure-related whiskers
What to do next:
- Lower the normal exposure in small steps. If you’re currently at the high end of what your resin recommends, reduce exposure slightly and re-test. The goal isn’t only dimensional accuracy—it’s getting the surface cure level that releases cleanly.
- Watch anti-aliasing / edge enhancement effects. Some slicer features intentionally push details to look sharper, but they can also increase the amount of effective exposure at edges. If you see stringing clustered along edges, dial those back.
- Confirm your calibration baseline. If you haven’t run a resin-specific exposure test recently, doing so can be the fastest path to stability. A small exposure error can look like “stringing” even if your motion settings are fine.
- Check support settings for overexposed support roots. If support bases are too “heavy,” they can leave cured bridges that then pull into threads as the part lifts.
Why this works: overcured edges are more rigid and more likely to maintain contact with the FEP film. That contact is what turns separation into dragging—ropes and tails are the visible result.
Control resin temperature and consistency
Temperature affects resin viscosity, wetting, and how quickly the resin retracts from surfaces. Even if exposure is correct, cold resin can behave like syrup—slower to drain and more prone to sticking. Too warm can lower viscosity and change how features bleed during the exposure cycle.
The practical fixes:
- Stabilize your workspace temperature. Keep your printer and resin in the same temperature range during prints instead of letting them swing day-to-day.
- Warm resin gently if it’s cold. Aim for a consistent operating temperature; large temperature changes can increase inconsistencies between batches.
- Avoid leaving resin uncapped or exposed to varying conditions. Evaporation and contamination can change viscosity and behavior.
- Strain or mix resin correctly. Some resins settle solids or dye gradients. Mixing the resin as the manufacturer recommends helps you get consistent material behavior.
If your shop tends to be drafty or inconsistent, enclosing the printer can reduce temperature swings. A simple option is The Original Prusa Enclosure, which can help keep the build environment more stable—useful when stringing worsens with long prints or seasonal temperature changes.
Adjust drain time and lift/retract behavior to prevent “dragging”
For resin printers, stringing often happens when the part is still releasing while the printer starts the next motion. Two things matter a lot here: drain time (how long resin has to flow back) and lift timing/motion (how the printer separates the part from the FEP film).
Target these settings in your slicer:
- Increase drain time after each exposure layer (if available). More time lets resin flow back, reducing the chance that a moving part drags a thin strand.
- Increase lift height enough to clear the resin film cleanly. If the part doesn’t fully clear the film, it can catch resin and stretch it into ropes.
- Slow down lift speed for the separation step. Faster motion can turn separation into suction/draw, especially on tall prints.
- Reduce or tune “retraction-like” Z behavior. Some slicers have a parameter for lift/retract distance or anti-stringing behavior that changes how the Z axis moves after exposure. If it’s aggressively moving, soften it; if it’s too timid, it may not break contact reliably.
- Check transition/rest times between movements. Even when exposure is correct, too-short rest times can keep the interface sticky as the printer begins the next layer.
- Clean and maintain the FEP film. Even small contamination can increase suction. If stringing suddenly appears across multiple prints, inspect the film for residue or cloudiness.
Why this works: the resin film acts like a tacky membrane while parts are lifting. Give the resin time to drain and break contact, and you reduce the “stretch then cure” pathway that forms ropes, tails, and whiskers.
Tip: change one major factor at a time (for example, drain time, then lift speed) and re-test. If you adjust everything together, it’s hard to learn which setting actually fixed the problem.
Fix what post-processing can reveal (and prevent new strands)
Sometimes the “stringing” you see isn’t only printed-in. Thin uncured resin can smear during washing, and partially cured surfaces can feel tacky—making strands cling or form as the part is handled.
Post-processing steps that help:
- Rinse thoroughly with the right dwell and agitation. Under-rinsed resin can remain in micro-gaps, then cure into fine filaments when it sees UV.
- Don’t over-agitate small, support-heavy details. Aggressive scrubbing can pull soft resin into whisker-like threads that look like print artifacts.
- Let the part drip and dry the way your workflow supports. Moving too soon (while resin is still wet) can create tails where resin touches and then pulls.
- Use consistent final curing. If curing is uneven, edges and support zones may remain slightly soft and attract residue, making cleanup harder. A dedicated curing setup like SUNLU UV Resin Curing Box can help keep curing repeatable.
- Remove and re-check supports with a clean tool. If cured support residues remain, they can mimic stringing or leave thin bridges.
If you’re still seeing the same exact rope/tail pattern after post-processing is correct, that’s strong evidence the cause is still during printing—most commonly exposure being a bit high or separation timing/duration needing adjustment.
Choose the right fix based on your pattern
Use this quick matching approach:
- Whiskers mostly along edges or support bases: reduce exposure or dial back edge/detail enhancement effects, then re-test.
- Ropes/tails that look stretched from surfaces as layers lift: focus on drain time, lift height, and lift/retract motion behavior.
- Stringing that worsens over long prints or with temperature swings: stabilize temperature and ensure resin is consistently mixed and operating at the same viscosity.
- Stringing that suddenly appears after a film change or cleaning gap: inspect FEP condition and contamination first.
The most reliable next step is to run a small resin calibration print for exposure, then do one motion-focused test adjusting drain time and lift behavior. That two-pass approach usually eliminates stringing without turning your printer into a complicated tuning project.
PriceIt3D may earn a commission when you buy through links on this page, at no extra cost to you. Affiliate notice.