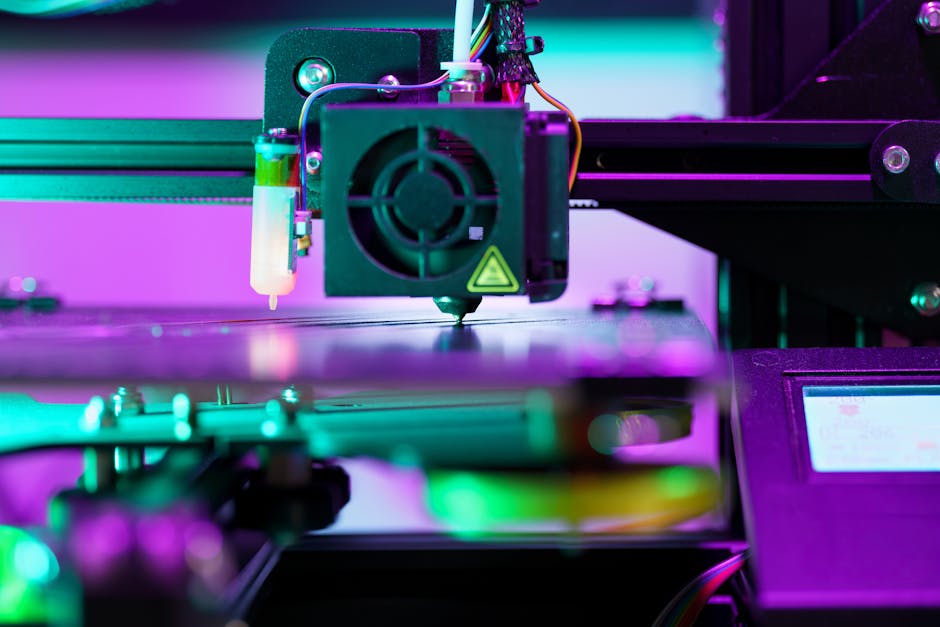

The build plate surface is the “contact point” that decides whether your first layer lays down smoothly or peels up mid-print. PEI, spring steel, and Garolite can all work well—but each one has a different adhesion style, cleaning routine, and tolerance for mistakes.
This guide walks you through each surface option end to end: how it grips common FDM materials, how to clean it, when (and how) to use release techniques, and what to do to avoid warping, scratches, and permanent loss of adhesion.
PEI (Polyetherimide) Sheets and Coated Plates

What it grips like
- PEI tends to bond well with many common FDM filaments when your bed temperature and first-layer flow are dialed in.
- It typically releases more predictably after the print cools (many people see a “pop off” effect once temperatures drop), which helps reduce gouges from prying.
The practical takeaway: PEI is often easiest to run when you want repeatability and don’t mind keeping the surface clean.
Strengths
- Strong adhesion for many print types, so you can achieve reliable first layers.
- Predictable release after cooling for many materials, which reduces the temptation to scrape aggressively.
- Plenty of flexibility in how you tune adhesion (cleaning quality, bed temp, and first-layer height).
Weaknesses
- Oils and residue can quickly reduce adhesion, leading to inconsistent first layers.
- If you use metal tools or aggressive scraping, you can permanently damage the PEI coating.
- Some PEI surfaces are sensitive to the “wrong” solvents or abrasive cleaners.
Cleaning and “don’t ruin it” rules
For PEI, cleanliness matters as much as temperature.
- Use a gentle routine first: typically isopropyl alcohol on a cool surface, followed by a clean wipe.
- If you ever used glue, tapes, or a release agent on that PEI sheet, remove residues fully before expecting “no-glue” behavior.
- Avoid scrubbing pads that shed grit—tiny scratches can become failure points.
Spring Steel Build Plates

What it grips like
With a coated or treated spring steel surface:
- Adhesion is often strong for the first layer during printing.
- Release can be driven by cooling and the flexibility of the sheet—many prints separate with less force once the bed temperature changes.
The practical takeaway: spring steel can make removal easy while still delivering good first-layer attachment.
Strengths
- Often strong performance with good release once the print is done.
- The springy steel can tolerate normal use better than thin glass surfaces.
- Many people find it easier to remove prints without bending or cracking the “build surface.”
Weaknesses
- If the coating is worn, contaminated, or scratched, adhesion can become inconsistent.
- If the bed is not cleaned regularly, oils and film can interfere with the coating.
- Heat cycling plus poor mounting can contribute to edge lift or warping.
Cleaning and maintenance
Spring steel care is about protecting the coating layer.
- Clean using routines safe for the specific coating you have; start with isopropyl alcohol or mild soap and water if that’s consistent with your setup.
- If prints are sticking too hard, don’t compensate by scraping harder—address temperature, first-layer squish, and surface condition first.
- Check edges and fasteners. If the sheet isn’t sitting flat, adhesion issues often show up first in corners.
Garolite (G-10/FR4) and Similar Epoxy Glass-Cored Surfaces
Garolite-style surfaces are known for their stable, durable feel and a different adhesion “personality” than PEI.
What it grips like
Garolite surfaces generally provide mechanical grip and stable thermal behavior, which can be very helpful for certain filament types and enclosures.
- Adhesion often behaves more like “staying put until you decide to remove it,” rather than a quick, low-force release.
- For many users, it can be easier to maintain adhesion with a controlled routine than to chase perfect “no residue” behavior.
The practical takeaway: Garolite can be excellent when you’re willing to manage removal and keep the surface in a consistent condition.
Strengths
- Durable, stable surface that can handle repeated print cycles.
- Often a good option for users who want predictable attachment without as much sensitivity to oils as some coated surfaces.
- Typically tolerant of enclosure-style printing where chamber temperatures stay elevated.
Weaknesses
- Removal may require more patience. If you pry too early, you risk surface damage.
- Some Garolite surfaces can accumulate residue patterns over time, gradually changing adhesion.
- Aggressive scraping can gouge the epoxy/glass layer.
Cleaning and surface conditioning
Garolite cleaning often focuses on removing residue rather than “polishing clean.”
- Start with gentle cleaning appropriate for epoxy surfaces.
- If you use any bonding agents (glue or similar), treat the surface like a system: clean thoroughly when changing filament or when adhesion trends drift.
- If the surface becomes glossy or uneven from residue, adhesion can become unpredictable—cleaning and consistent technique matter.
Cleaning, Release Techniques, and Preventing Damage
Even the best surface fails if residue, wrong timing, or rough removal habits get involved. This is the part that connects adhesion quality to long-term plate health.
- Start every print with an oil-free surface. Fingerprints, skin oils, and residues are a top cause of first-layer failure.
- Match your surface to your material strategy. Strong grip surfaces (like PEI) may reduce or eliminate the need for release for some filaments, while Garolite may need more deliberate removal habits.
- Tune first-layer setup before adding glue. Bed temperature, first-layer height, and flow affect adhesion more directly than most “extra” products.
- Use release timing instead of force. If your prints won’t release, cool-down behavior is often the real lever—especially for PEI and coated spring steel.
- When you do need release, apply it thinly and consistently. A light, even layer (rather than blobs) helps avoid mess and prevents “new residue zones” that trap filament.
- Remove prints using safe tools and angles. Avoid metal pry points on coated surfaces; if you need leverage, wait for the correct thermal state.
- Inspect after removal and keep the surface layer intact. If you see scratches, chips, or areas where adhesion suddenly drops, treat that spot first before assuming your slicer settings are wrong.
How to know you’re in the danger zone
You’re more likely to cause permanent damage when:
- A print is “stuck” and you’re tempted to pry while the bed is still at printing temperature.
- You’re using the same scraper method repeatedly on the same spot.
- Adhesion keeps changing even after cleaning, which often points to coating wear or uneven mounting.
Preventing warping and edge lift
Warping and edge lift are usually about heat management and flat mounting.
- Ensure your plate sits flat and is secured as intended. Springy plates need proper mounting to perform consistently.
- Avoid rapid temperature changes when your surface and substrate are sensitive.
- In enclosed printing, manage airflow so one side doesn’t cool faster than the other.
Troubleshooting Surface Problems by Symptom
When you see a problem, it helps to match it to the surface behavior rather than guessing.
First layer won’t stick
Common causes include surface contamination (oils or old residue), a first-layer that’s too high, or an incorrect bed temperature.
- On PEI: clean thoroughly and check whether the surface has been scratched or glazed with residue.
- On spring steel: inspect the coating for wear and confirm the sheet is flat at the edges.
- On Garolite: clean residue patterns and avoid scraping before the material and bed have reached the right state for release.
Prints release too easily
If adhesion is weak, reduce the likelihood of accidental pull-off.
- Verify your bed temperature and first-layer squish.
- Clean again with the correct method for your surface to remove any “over-release” residue.
- If you’ve added a release layer, make sure it’s actually thin and designed for your material.
Layers lift or corners curl
Corner lift often comes from uneven cooling and first-layer geometry.
- Improve flatness and ensure the bed is mounted correctly.
- Consider enclosure and draft control.
- Re-check z-offset and first-layer speed; overly aggressive settings can starve adhesion right at the edges.
You’re scratching the plate to remove prints
That’s a signal to change technique before the surface gets worse.
- For PEI and coated spring steel, shift toward correct thermal release (wait for the bed to cool as intended).
- Reduce first-layer adhesion tension by adjusting height/temperature rather than using harder tools.
- If you’re repeatedly forcing removal, you may have coating wear or the wrong release/cleaning routine.
Choosing the Best Surface for Your Needs
If you want quick, repeatable first layers and predictable cool-down release, PEI is usually the easiest starting point—provided you treat cleanliness as part of your process.
If you want a durable, flexible build that often releases with less force after cool-down, spring steel (with its specific coating) can be a great fit—just don’t ignore flat mounting and coating wear.
If you print in a way that benefits from stable thermal behavior and you’re comfortable managing residue and removal timing, Garolite-style surfaces can hold up well over many cycles.
The next step is to pick one surface, commit to a consistent cleaning routine, and run small “first-layer test” prints for each filament you care about—then adjust only one variable at a time (usually z-height and bed temperature) until adhesion and release match your expectations.
PriceIt3D may earn a commission when you buy through links on this page, at no extra cost to you. Affiliate notice.