Wet filament doesn’t just make prints look worse—it can also make them unreliable. If your prints show extra stringing, popping sounds, or inconsistent extrusion, the fastest fix is usually drying the filament first.
Below you’ll learn how to recognize wet filament, which materials tend to soak up moisture fastest, how oven drying compares to a dedicated filament dryer, and how to store your filament afterward so you don’t have to repeat the process every few prints.
Signs of Wet Filament
Look for these common symptoms:
- Popping, sizzling, or crackling during extrusion
- Increased stringing or wispy hairs that weren’t there before
- Rough, bubbly, or “fuzzy” surface finish
- Under-extrusion even though the temperature and flow settings haven’t changed
- Poor layer adhesion (layers look like they’re separating more easily)
- Inconsistent extrusion from the start to the finish of a print
If you see multiple symptoms at once, assume moisture first—especially if the filament has been stored in a room with normal humidity or left open in between printing sessions.
Drying Filament in a Home Oven
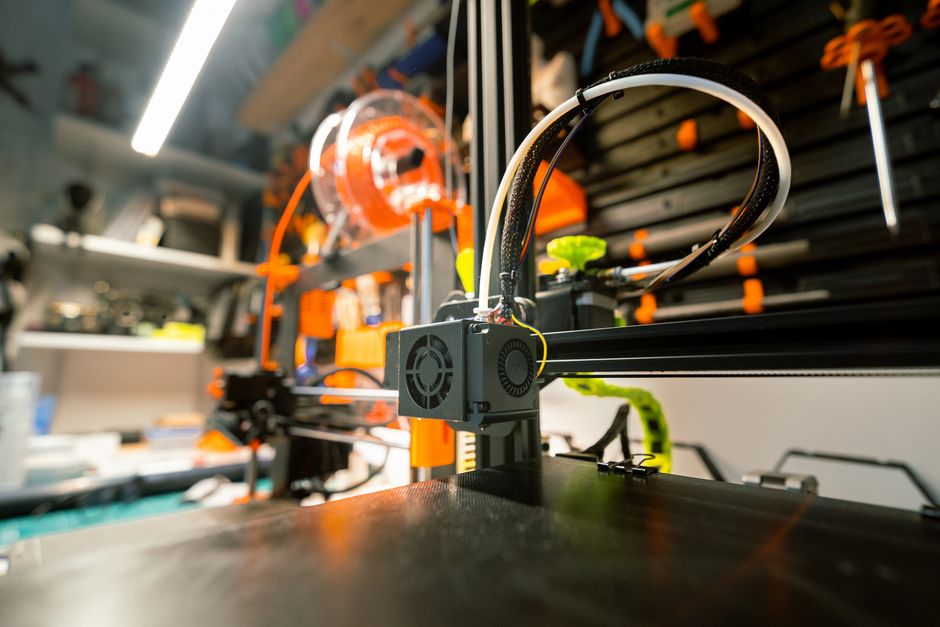
Key things to get right:
- Temperature stability: Many ovens are “warmer at the top” or cycle around the setpoint. If your oven fluctuates, drying can be uneven.
- Air circulation: Moist air needs somewhere to go. Stagnant air can slow drying.
- Material protection: Don’t let filament sit directly on hot metal surfaces. Use a rack or a tray setup so air can circulate.
- Safety: Keep filament away from open heating elements and avoid placing anything that could melt or smoke near it.
For practical results, treat the oven like a controlled drying chamber. Start with the drying guidance on the filament label or manufacturer notes, and avoid pushing temperature higher than required “to be faster.” Overheating can cause warping, nozzle clogs, or degraded mechanical properties.
Using a Dedicated Filament Dryer
A dedicated filament dryer is designed for this exact job: controlled warmth, often with an airflow path that keeps moisture from building up.
What typically makes dedicated dryers easier:
- Consistent setpoints: Most dryers aim for stable temperatures that match filament needs.
- Drying control: Many include features that make it harder to accidentally overshoot temperature.
- Workflow simplicity: It’s easier to dry and then keep filament ready in a protected state.
Where you still need judgment:
- Don’t assume every cycle is universal: Even if the machine has preset modes, follow your filament’s recommended settings.
- Know the difference between “dry enough” and “fully dried”: Some filaments may be usable after a shorter cycle, while others need longer to reliably stop popping.
If you print often and hate troubleshooting, a dedicated dryer usually saves time because it reduces variability.
Which Drying Option Fits Your Setup
Choose based on how often you print, how sensitive your material is to moisture, and how much temperature control you can trust.
A home oven is a good fit if you:
- Only need drying occasionally
- Can keep temperature stable and manage airflow
- Are comfortable following safe, conservative settings
A dedicated dryer is usually the better fit if you:
- Print regularly and want repeatable results
- Use moisture-sensitive plastics
- Want an easier “dry first, then print” workflow
If you’re deciding between them and moisture issues have already affected print quality, the next best step is simple: prioritize consistent drying conditions, because that consistency matters more than chasing the fastest possible dry time.
Which Materials Absorb Moisture Fastest
Not all filaments behave the same way. Some materials pick up moisture quickly and need more deliberate drying to print cleanly.
In general, nylon and TPU are among the most moisture-sensitive. That means they often show the worst symptoms—popping and inconsistent extrusion—when left out. If you’re drying nylon such as OVERTRUE Nylon 1kg 1.75mm Gray, expect longer drying cycles and a more careful “dry and store” routine.
PETG is usually more tolerant than nylon, but it can still suffer from moisture-related stringing and surface issues. For example, OVERTURE PETG 1kg 1.75mm Starry Blue may print fine for a while, then gradually get worse as moisture builds.
PLA is typically less sensitive. You may not need dramatic drying unless the filament has been exposed for a long time or in very humid conditions—but a shorter dry can still improve reliability.
A practical approach: start with conservative drying settings, then run a small test print. If moisture symptoms persist, extend drying time rather than immediately increasing temperature.
How to Dry 3D Printer Filament at Home
Drying is straightforward, but doing it safely and consistently is what prevents new problems.
- Check the filament label or manufacturer guidance. Use it as your baseline for temperature targets and drying time.
- Preheat your oven or dryer to a conservative setpoint. Keep it within the typical range for that material rather than guessing high.
- Set up airflow and insulation. In an oven, use a rack or tray so air can circulate and the filament doesn’t sit on scorching surfaces.
- Load the filament to avoid tangles. Make sure the spool can rotate smoothly (if supported) and the filament path isn’t tightly kinked.
- Dry for long enough to remove moisture, not just “warm the plastic.” As a rough planning guide: PLA often needs shorter cycles; PETG usually needs moderate time; nylon/TPU typically need longer.
- Avoid overdrying temperature spikes. If your oven overshoots or cycles widely, reduce setpoint and extend time instead of pushing harder.
- Let filament cool in a dry environment. Warm filament absorbs moisture faster once it cools in humid air.
- Start with a quick test print. If you still hear popping or see severe stringing, extend drying time and repeat.
Typical planning ranges (always treat the label as the authority): PLA often dries at relatively lower temperatures for shorter periods, while nylon and TPU usually need higher temperatures and longer cycles. PETG sits in the middle.
If you’re using an oven and you’re unsure about accuracy, consider the first drying cycle a “calibration run.” Small adjustments to time (rather than aggressive temperature changes) tend to improve results.
Storage After Drying Keeps It Dry
Drying is only half the battle. Filament re-absorbs moisture from humid air—sometimes quickly.
To keep filament print-ready:
- Seal it immediately after drying. Use an airtight container or vacuum-sealed bag if possible.
- Add desiccant for long-term storage. Silica gel packs (or other suitable desiccants) help keep humidity down.
- Let containers reach room temperature before fully sealing. Sealing hot filament can create condensation inside the container.
- Avoid leaving filament out between print jobs. If you print daily, a “dry box” approach helps—dry, load, and keep covered.
A simple rule: after drying, minimize the time the filament spends in open air. If moisture symptoms keep returning quickly, focus on storage quality first—because even the best drying cycle can’t compensate for frequent exposure.
For most home setups, a dedicated dryer plus sealed storage is the lowest-effort path to consistent prints. If you’re using an oven, conservative temperatures, enough drying time, and careful post-dry sealing are what make it work reliably.
PriceIt3D may earn a commission when you buy through links on this page, at no extra cost to you. Affiliate notice.