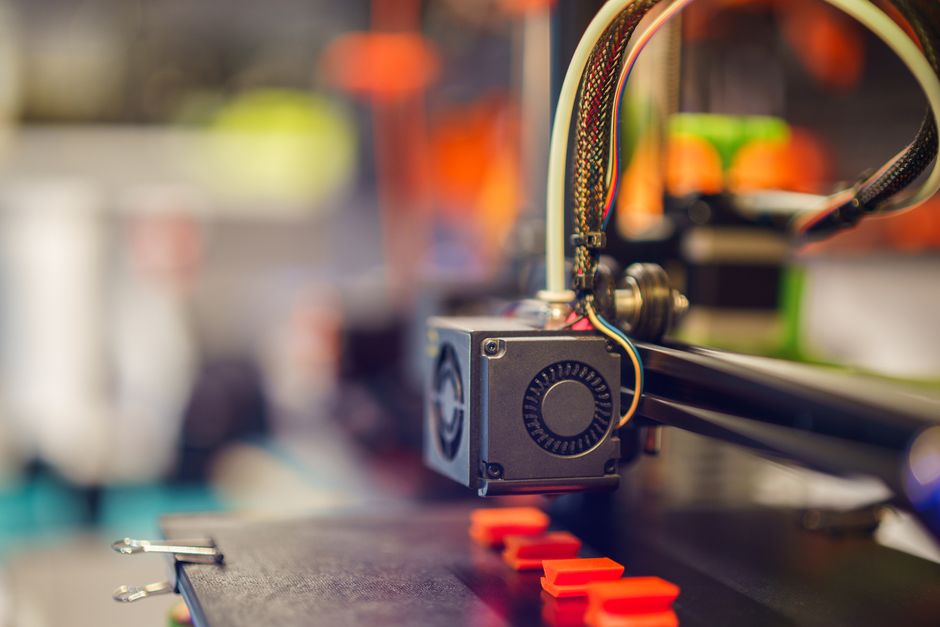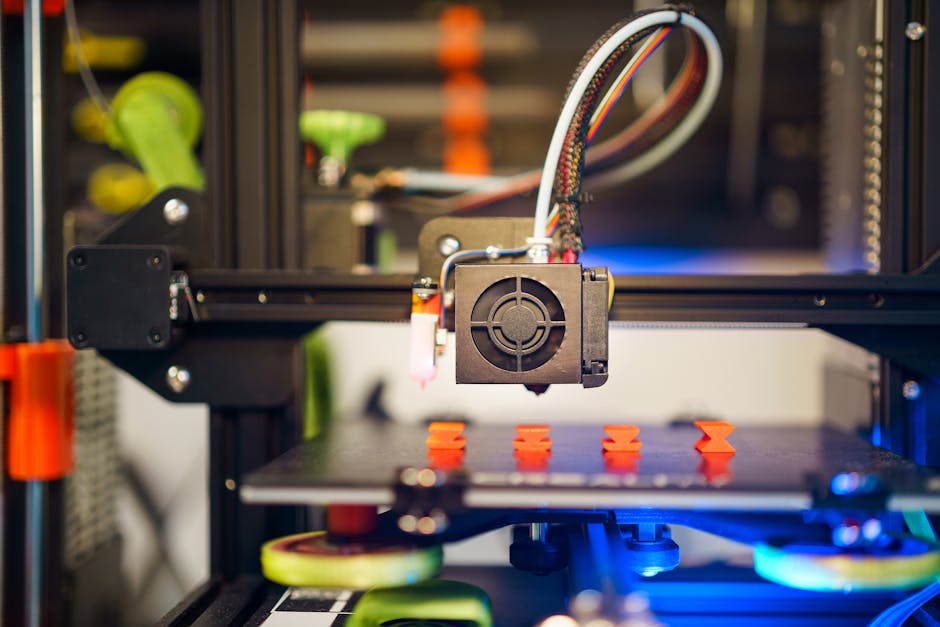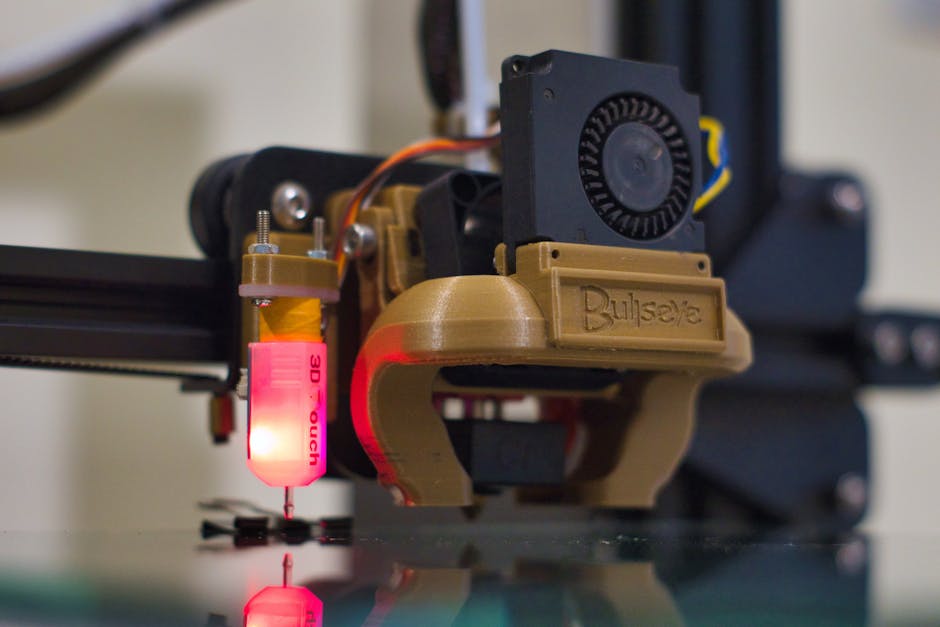

A worn FDM nozzle doesn’t just print poorly—it can also make leaks and jams more likely, and forcing the swap can damage the heat break. If you focus on how you heat the hotend, how you use the tools, and how you clean the mating surfaces, you can replace the nozzle and keep the heat break intact.
Below is a safe, practical workflow that works for most common FDM hotends: heat-down/heat-up removal, thread-safe cleaning (including cold-pull alternatives), and a quick flow verification so you don’t find out problems mid-print.
Heat-down and heat-up steps before you touch the nozzle
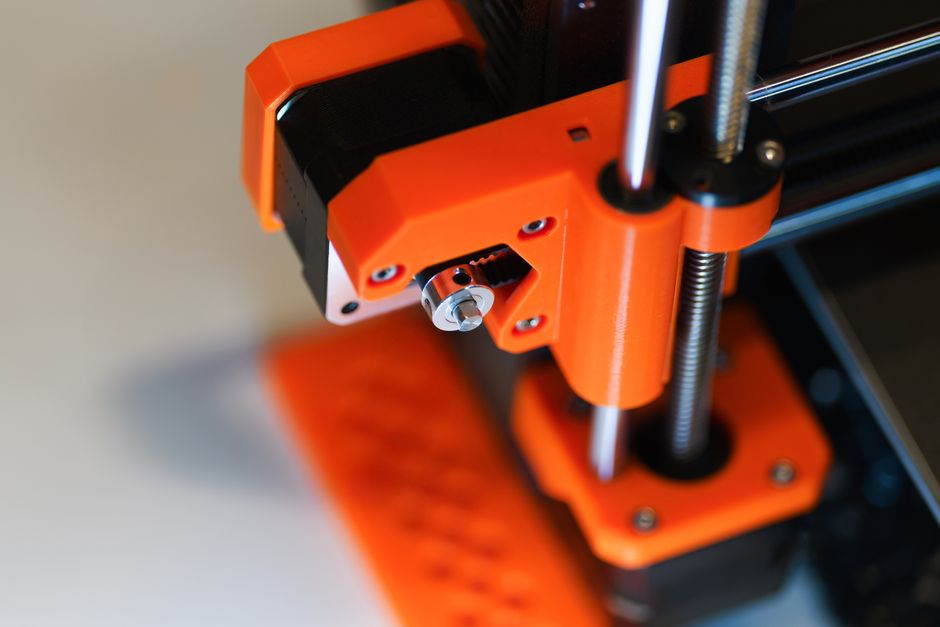
The key idea: treat nozzle removal and re-tightening as a controlled thermal step, not a cold wrenching job.
Use this general sequence:
- Preheat so any filament inside the nozzle softens and releases.
- Remove the nozzle when the metal is hot enough to avoid binding, but not so hot that you’re heating unattended for long periods.
- When reinstalling, seat and tighten the nozzle in a heated state so it mates correctly, then let it cool before you extrude again.
Follow the procedure below for the least-risk path.
Replace the nozzle without twisting the heat break

Do it like this:
- Preheat the hotend to your nozzle’s normal operating temperature (the one you’d typically use when printing that filament type).
- With the nozzle fully heated, heat-soak briefly, then stop heating/extrusion and position the hotend so it can cool safely without stressing cables (fan and steady handling help).
- Use two-tool technique: hold the hotend’s heat block/adapter steady with one wrench/hex key, and turn only the nozzle with the other tool. Do not apply wrench force to the heat break body.
- Remove the nozzle while it’s still hot. If it doesn’t move after steady, controlled force, stop and reheat briefly—don’t “snap it free.”
- Inspect the nozzle threads and the heat break tip where they seat. If you see old residue, look for a carbonized ring; that’s usually why leaks happen.
- Clean the mating area carefully (thread-safe cleaning is covered next). Avoid aggressive scraping that can nick the heat break sealing surface.
- Reinstall: finger-thread the nozzle first to prevent cross-threading, then heat the hotend again and tighten while hot. When tightening, keep the heat block held steady so the heat break doesn’t get twisted.
- Let the hotend cool fully before any major handling or long purge passes. Then do a short test extrusion to confirm there’s no leakage.
Why these steps protect the heat break: heating reduces seizure, holding the correct part prevents torque transfer into the heat break, finger-threading prevents thread mismatch, and cooling before cleanup reduces the chance of smearing debris into the wrong place.
Thread-safe cleaning and cold-pull alternatives
A clean nozzle-to-heat-break seal matters more than people expect. Even a small ring of residue can create a tiny leak path, which then looks like blobs, stringing, or “wet” prints.
Thread-safe cleaning means two things: remove gunk where it affects sealing and flow, and don’t damage the sealing surfaces or threads.
Start with removal-era cleaning:
If you still have filament in the nozzle, use a cold-pull first if your hotend design supports it. A cold pull can lift stuck debris out of the nozzle and heat break without you having to drive material out violently.
For cold-pull alternatives when you don’t want to do a full cold pull:
- If the nozzle is coming off because it’s worn, focus on removing loose residue from the nozzle exterior and the heat break opening. Wipe with a clean, lint-free cloth (or paper designed for printing use) while the hotend is appropriately warm so softened plastic doesn’t cool into a harder layer.
- If your hotend uses PTFE-lined paths in the heat range (common in many designs), avoid letting the hot zone stay at extreme temperatures for long. The goal is to loosen and clean, not to overheat components that are more temperature-sensitive.
- For thread cleaning, a soft brush works better than scraping. Gently brush the nozzle threads and the heat break sealing face region so you remove carbonized specks rather than carving grooves.
What to avoid:
- Don’t scrape the heat break sealing surface with metal tools.
- Don’t run a drill bit or aggressive hardware into the heat break threads.
- Don’t over-tighten to compensate for cross-threading or residue—if the nozzle feels wrong, back up and fix alignment.
Cold-pull basics (only if your hotend supports it well):
Heat to the filament’s melting range, then transition down until filament is firm but not brittle. Pull the filament out quickly and consistently. If the pulled filament tip looks “dirty” or has a dark, crusty tail, you removed stuck material. Repeat once more only if needed.
Why this helps your nozzle swap: a cold pull can clear debris trapped above the worn nozzle, so the new nozzle isn’t sealed onto a contaminated surface.
Verify flow afterward so leaks and clogs show up early
After a nozzle change, the first problem you want to catch is leakage between the nozzle and heat break. The second is flow irregularity caused by a partially blocked nozzle or misaligned seating.
Do a short verification cycle before you commit to a full print:
- Reheat and watch around the nozzle/heat break seam. If you see wisps forming where the parts meet, stop—something is preventing a clean seal (residue, poor seating, or cross-threading).
- Purge a small amount at printing temperature. You should see consistent extrusion and a clean, continuous strand (not sudden gaps).
- Perform a simple extrusion test on a wipe surface: draw a thin line or small cross-hatch. A good nozzle produces even lines with clear edges.
- If extrusion looks weak but there’s no visible leak, the new nozzle may still have residue or your retraction/flow settings may be off for the new nozzle condition.
- If your prints show under-extrusion immediately, pause and check that the extruder is gripping the filament and that the hotend isn’t partially clogged. A brief additional purge or another cold-pull-style clean (if appropriate) is often safer than repeatedly forcing material through.
What “good” looks like: stable bead/lines, minimal stringing from the first purge, and no oozing from the seam while the hotend is at temperature.
What “bad” looks like: constant bubbling at the seam, popping noises during extrusion, sudden spurts, or a new nozzle that behaves dramatically differently from your last prints.
Replacing a worn FDM nozzle doesn’t need to be risky—you just need to control heat, avoid transferring torque into the heat break, clean the sealing surfaces gently, and verify flow with a short, early test.
PriceIt3D may earn a commission when you buy through links on this page, at no extra cost to you. Affiliate notice.