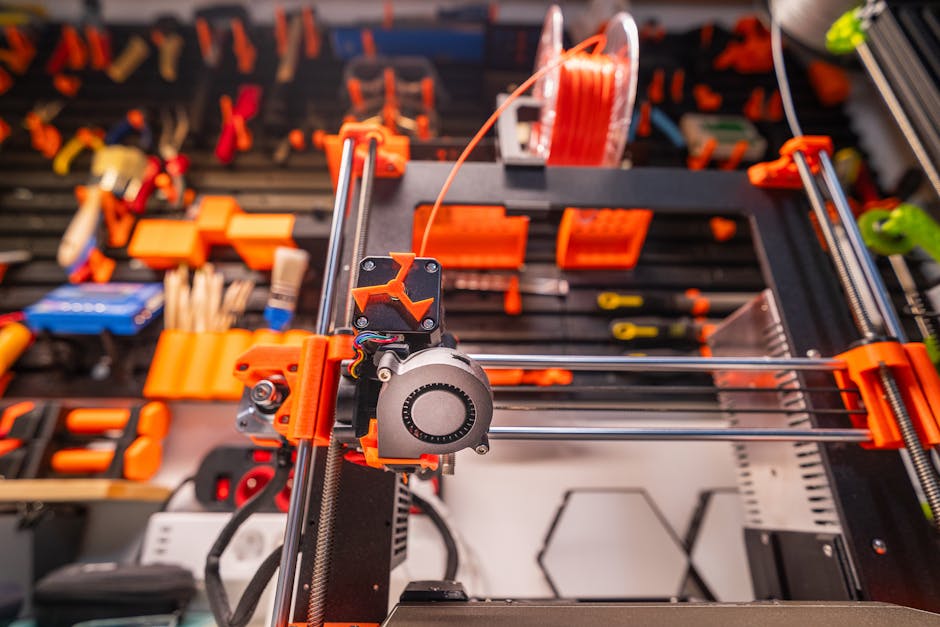
E-steps that are off by even a little can turn a crisp CAD model into stringy, underfilled, or overstuffed prints. Luckily, calibrating them is straightforward: measure how much filament the extruder actually moves, adjust the E-steps value, and confirm the result with a controlled test cube.
This guide walks you through the full workflow—measurement, updating E-steps, verification, and troubleshooting the most common extrusion symptoms.
Measure Filament Movement Before Changing Anything
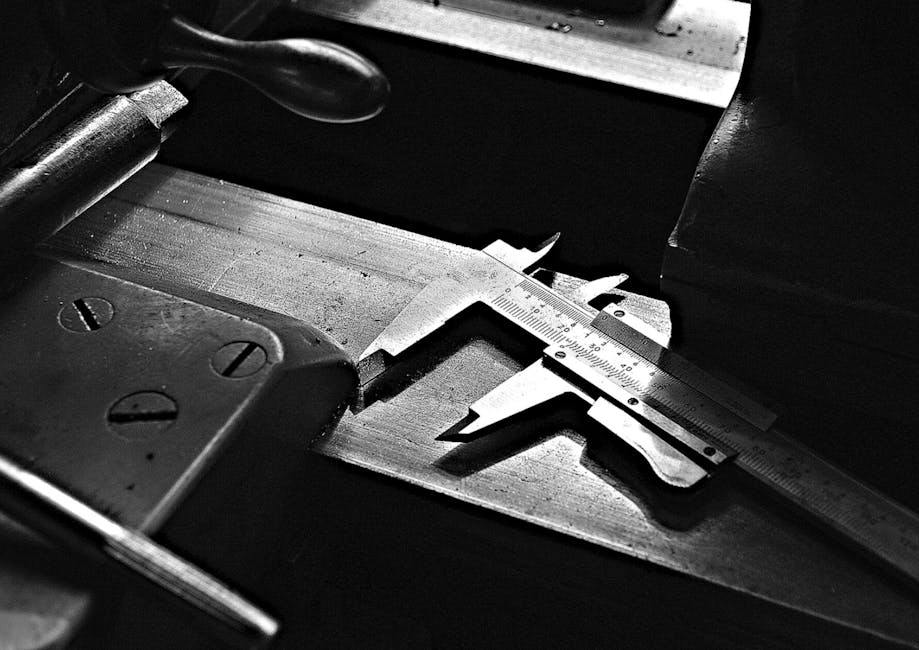
Do this calibration with the extruder already warmed up to a typical operating temperature for your filament. Also make sure your nozzle isn’t clogged and the filament feeds freely—calibrating e-steps while the extruder is fighting friction will bake errors into your settings.
Follow this measurement routine:
- Heat the nozzle and select the filament you’re calibrating for.
- Retract slightly, then mark the filament where it enters the extruder (use a permanent marker or tape and measure from a consistent reference point).
- Using your printer’s control interface (or a g-code send command), extrude a known amount of filament—commonly 50–100 mm.
- After extrusion stops, measure how far the filament mark moved. Record the actual filament movement (from the same reference method).
- Use the ratio of actual-to-commanded extrusion to compute your new E-steps.
If you want the math in plain terms, it’s:
- New E-steps = Current E-steps × (Commanded extrusion ÷ Actual extrusion)
Example logic (no special numbers needed):
- If you commanded 100 mm but the filament only moved 95 mm, the extruder is delivering less filament than it thinks, so E-steps should go up.
- If you commanded 100 mm but the filament moved 110 mm, the extruder is delivering more filament than expected, so E-steps should go down.
Update E-Steps in Your Printer Firmware

Use these tips so you don’t accidentally introduce other variables:
- Keep everything else constant while updating and retesting: same hotend temperature, same filament, same extruder, and the same nozzle.
- Make small changes if your measurement suggests a big correction. A large jump can still be correct, but smaller adjustments make it easier to catch a mistake in measurement or a clogged/draggy filament path.
- Save the change to non-volatile storage (EEPROM or firmware settings) if your printer supports it, so the value persists after a restart.
A practical workflow is:
- Calculate the new E-steps using your measured commanded-vs-actual values.
- Enter the new E-steps value in the correct extruder setting (make sure you’re editing the right tool/extruder if your printer has more than one).
- Save and reboot if your firmware requires it.
- Repeat the measurement step quickly to confirm your E-steps change worked.
One more thing: make sure you’re calibrating the extruder distance, not just “it looks right.” Visual results are useful later, but the filament-movement measurement is what makes the calibration reliable.
Verify Extrusion With a Test Cube
Once your E-steps match the measured filament movement, verify with an actual print. A test cube is the quickest way to see whether your nozzle flow matches your slicer’s expectations.
Choose a simple model: a small cube with multiple visible perimeters and solid walls tends to make extrusion errors obvious. You’re looking for consistency in wall thickness and surface fill—not artistic perfection.
When the cube prints, check these quality cues:
- Wall thickness consistency: walls should look uniform from bottom to top.
- No gaps or underfilling: if e-steps are too low, you’ll often see thin walls, gaps in perimeters, or “stringy but hollow” surfaces.
- No bulging or blobbing: if e-steps are too high, walls may look overly fat, surfaces may overfill, and corners can look messy.
- Layer bonding: severe under-extrusion often makes layers look like they’re not fusing well; severe over-extrusion can create excess material that doesn’t stack cleanly.
If the cube doesn’t look right, don’t immediately assume your E-steps are wrong. The most common cause of “looks off” is that extrusion is affected by something besides E-steps (like nozzle clogging, temperature mismatch, or retraction/friction issues). That’s why we troubleshoot symptoms separately.
After you adjust E-steps, repeat the cube test if needed. You want the smallest set of changes that produces consistent, clean wall lines.
Troubleshoot Under- and Over-Extrusion Symptoms
If your test cube shows problems, the goal is to identify whether the issue is primarily e-steps, mechanical feeding resistance, nozzle condition, or slicer flow settings.
Here are common symptoms and what to check next:
- Under-extrusion (thin walls, visible gaps, weak top surfaces): Re-measure filament movement and confirm you entered the corrected E-steps value. Then inspect for nozzle clogging and verify the hotend temperature is within the normal range for your filament.
- Over-extrusion (bulging walls, blisters, messy corners): Confirm you saved the updated E-steps value and re-run a short filament-movement measurement. If the extruder is delivering too much, reduce e-steps and re-test the cube.
- Inconsistent extrusion along the print (good lines in some areas, worse in others): Check for mechanical drag: tight filament path components, rough or gummed-up filament, worn extruder gears, and loose mounting. E-steps won’t fix a feeding bottleneck that changes during the print.
- Extrusion seems “fine” but surfaces look off: This can be slicer flow, temperature, or cooling-related rather than e-steps. Verify that you haven’t changed flow rate multipliers or used incompatible nozzle/filament settings while testing.
A quick sanity rule: if your filament-movement measurement and the cube disagree, the likely culprit isn’t just e-steps—it’s usually nozzle clog, friction in the extruder path, or a slicer setting changing effective flow.
Dial It In for Repeatable Results
Once your test cube looks right, you’ve earned something valuable: a printer that matches your slicer’s expectations for filament-to-volume conversion.
To keep it stable:
- Recheck e-steps when you change hardware that affects feeding (extruder, drive gear, Bowden/PTFE path, nozzle).
- Calibrate per filament type when switching between very different materials, especially flexible filaments where feeding behavior changes.
- Avoid stacking corrections: after e-steps are accurate, use temperature or flow adjustments only if the cube still shows clear signs that they—not e-steps—are the limiter.
A good final habit is to repeat the measurement step whenever the mechanical setup changes, and rely on test prints to confirm the real-world outcome.
PriceIt3D may earn a commission when you buy through links on this page, at no extra cost to you. Affiliate notice.