
Nylon is known for making tough, flexible, low-friction parts—but it’s also one of the most humidity-sensitive filaments. If you want strong layers and stable dimensions, your choice between nylon 6 and nylon 12 matters, but your process matters even more.
Below is what to look for, how each nylon type behaves in real printing, and how to choose the best filament for your use case—especially if you’re getting started or moving beyond basics.
Nylon 6 vs Nylon 12: what changes in real printing

Here’s the practical difference you’ll feel:
- Nylon 6 tends to be more common and often the more straightforward starting point for nylon printing. It can deliver great strength and stiffness for functional parts, but it’s also more sensitive to moisture than many beginner filaments—so drying and storage make or break your results.
- Nylon 12 is commonly chosen when you want excellent toughness and wear resistance along with good dimensional stability (often with slightly less drama than nylon 6 when everything else is equal). It’s still hygroscopic, though, so “easier than nylon 6” doesn’t mean “no preparation required.”
Why this matters:
- Moisture absorption affects layer adhesion. Wet nylon can produce weak layers, bubbles, stringing, and inconsistent extrusion.
- Warping and shrinkage are tied to how nylon cools and how strongly it contracts. Both nylons benefit from an enclosure and controlled cooling.
Best choice for beginners: nylon 6 setups

What you should plan around:
- You must treat moisture as a variable you control, not a mystery you hope disappears. Nylon will pull water from the air, and that directly impacts print quality.
- You must manage the temperature environment. Even small drafts can cool the part too fast, encouraging corners to lift.
When nylon 6 is a great fit:
- Mechanical fixtures and durable housings where stiffness and impact resistance both matter
- Gear-like components and linkages (especially when you dial in tolerances)
- Parts that benefit from wear resistance where you don’t need ultra-precise cosmetic surfaces
Tip that helps beginners most: don’t judge “nylon quality” from one print. Evaluate three things in order—dryness, temperature consistency, and bed adhesion—before you switch materials.
Best choice for advanced prints: nylon 12 setups
Nylon 12 is a strong pick when you already understand the workflow and want parts that tend to hold their shape well, especially after processing and handling.
What typically makes nylon 12 appealing:
- Dimensional stability: it often behaves more predictably across runs when the environment and drying are consistent.
- Toughness for functional parts: it’s commonly used for parts that see repeated stress, vibration, and impacts.
When nylon 12 is a great fit:
- Snap-fit parts and fatigue-resistant components where toughness and resilience matter
- Wear surfaces like bushings and sliding interfaces
- Functional parts that must stay dimensionally consistent across multiple prints
A caution for intermediate users: nylon 12 still needs the same core discipline—dry filament, manage heat around the part, and control cooling. If you skip those steps, you’ll still get poor layer bonding and inconsistent surface quality.
Moisture control and warping risk you can't ignore
If nylon printing feels “finicky,” moisture and warping are almost always the root causes. You can reduce both with a repeatable system.
Use this routine to keep nylon dry and the part calm while it cools:
- Dry nylon before printing using the manufacturer’s recommended method for that specific filament.
- Store nylon sealed after drying (with desiccant) so the material doesn’t re-absorb moisture overnight.
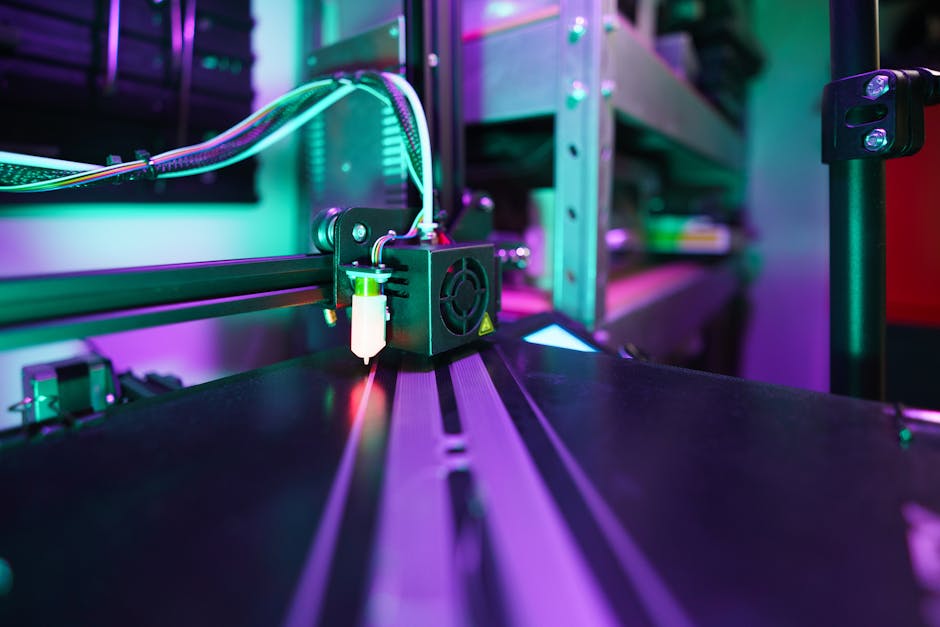
- Use a heated/enclosed build area to prevent drafts. If your printer is open-frame, adding an enclosure can make a noticeable difference—The Original Prusa Enclosure is one example of an enclosure approach.
- Keep the part warmer for longer by reducing fan blast on the part and avoiding aggressive cooling.
- Improve bed adhesion with a suitable bed surface and consistent cleaning. Nylon wants a reliable first layer.
- Add a brim when needed for large or tall parts, and orient parts so the most stressful edges aren’t free to lift.
Why these steps matter:
- When nylon absorbs water, the polymer’s behavior changes mid-print, making extrusion less consistent. That’s why “it printed once” can turn into “it never looks right again.”
- When corners lift, nylon keeps contracting as it cools, which can turn a small failure into a full detach.
If you’re comparing nylon 6 vs nylon 12 for your workflow, think about which failures you’re most willing to manage:
- If you want the easiest path to learning nylon printing, start with nylon 6 and follow the routine tightly.
- If you already have stable processes and want parts that often behave more consistently, nylon 12 can be worth the extra attention.
Matching nylon type to your project
The “best filament” depends less on chemistry trivia and more on what your part has to do. Use this quick mapping to pick which nylon type makes sense.
- Need tough, general-purpose functional parts? Choose nylon 6 to start, then optimize drying, enclosure stability, and adhesion.
- Need high toughness with predictable fit and durability? Choose nylon 12 once your setup is consistent.
- Need sliding/wear components (bushings, guides, interfaces): nylon 12 often fits well; nylon 6 is also workable if you control moisture and tolerances.
- Building nylon printing confidence (multiple iterations and tolerance tests): nylon 6 is usually the better training ground.
A final practical note for both materials: precision tolerances are only as good as your process repeatability. The same STL can print differently if the filament condition changes or if the enclosure temperature fluctuates.
What to do next
Pick based on your current workflow maturity:
- Beginner / early-intermediate: nylon 6, paired with a strict drying + sealed storage routine and an enclosure or draft-free environment.
- Intermediate / advanced: nylon 12 if you want the benefits of strong, tough, often more stable behavior—again, assuming your drying and heat management are already solid.
Next step: choose one nylon type to commit to for a short “test sprint” (a few small functional prints). Once moisture control and warping behavior are predictable, changing nylon types becomes a meaningful upgrade—not a reset of your troubleshooting.
PriceIt3D may earn a commission when you buy through links on this page, at no extra cost to you. Affiliate notice.